The original Apple TV released in 2007. By the time these went on sale, Apple computers were already in transition-mode to Intel processors. Although Apple’s mainstream lineup carried Intel’s then-new “Core” processors, the Apple TV was relegated to a lower cost, low-powered Pentium M chip (not to be confused with the terrible Pentium 4 Mobile chips).
Like the original Xbox, the Apple TV came with commodity hardware, making it easy to mod. It piqued my interests, but at $299, I didn’t bite.
Fast-forward to 2018…

Browsing eBay for early Intel Mac Mini’s, I stumbled on this gem for $26 shipped to my door.
Specifications
- Intel Pentium M 1.0GHz (Dothan)
- 256MB DDR2
- 10/100Mbit Ethernet
- 802.11n WiFi
- GeForce Go 7300 w/ 64MB GDDR3
- 2.5″ 40GB PATA HDD
- USB 2.0 (1)
- HDMI
- Component Video Out
- RCA 2-channel Audio Out
- Optical Audio out
The size? It has the footprint of a first generation Mac Mini, just flattened down. The power supply is internal so the power cord is just that — a cord.
Disassembly

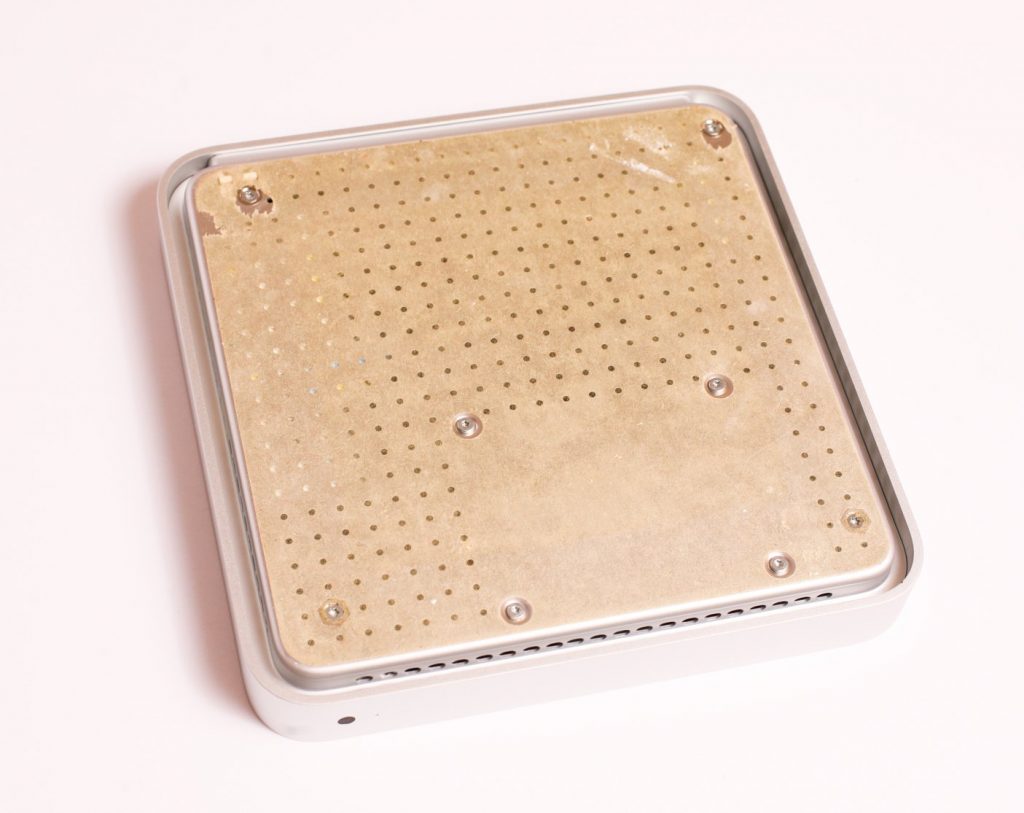
Taking the Apple TV apart was pretty straight forward. The rubber base (not shown) peels off easily, although I did tear mine doing so. The metal base is held on with four T10 screws. The internal hard drive is also held to the base with four T8 screws. Removing the T8 hard drive screws aren’t required to remove the base.

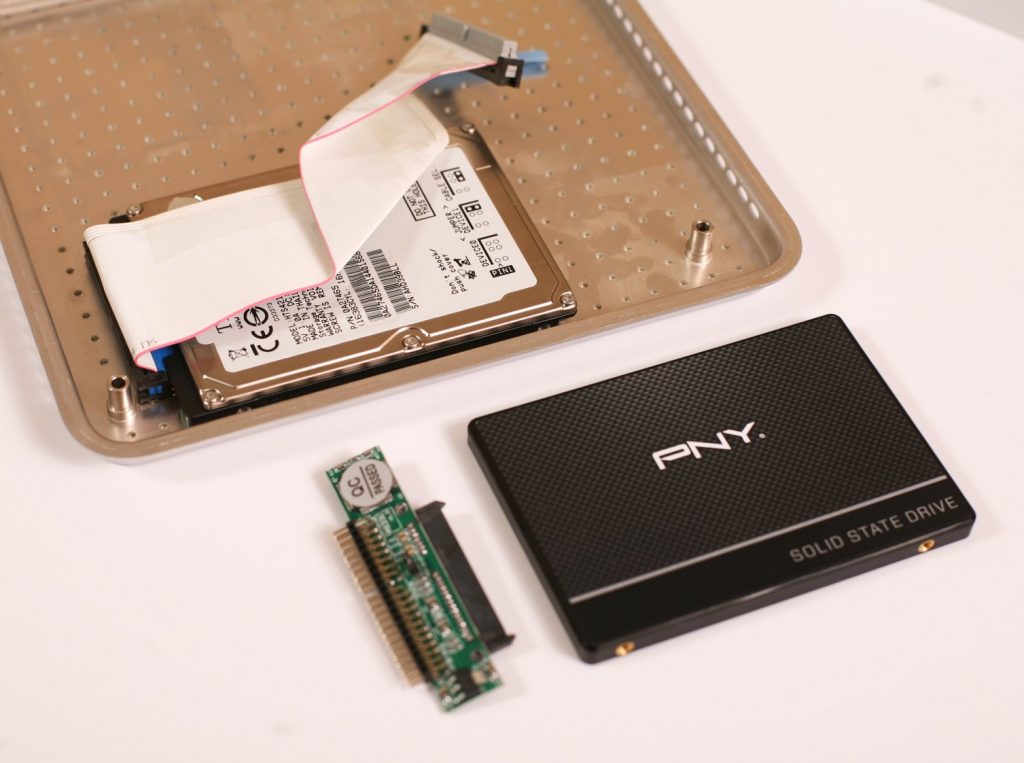
My plan was to replace the 40GB IDE drive with a 240GB SATA SSD for obvious reasons: temperature, power, speed, and storage space.

It’s hard to say how much a 240GB SSD would cost in 2007 because no one made a solid state drive that big.
I repurposed a $40 PNY SSD for this project. Obviously, I needed an adapter to make this work.

You’re looking at a 44-pin IDE to SATA adapter ($8 on Amazon.com). For those of you not familiar, the 44-pin 2.5″ IDE interface also carries power, unlike the more common 40-pin 3.5″ IDE that had a separate 4-pin Molex connection for power.

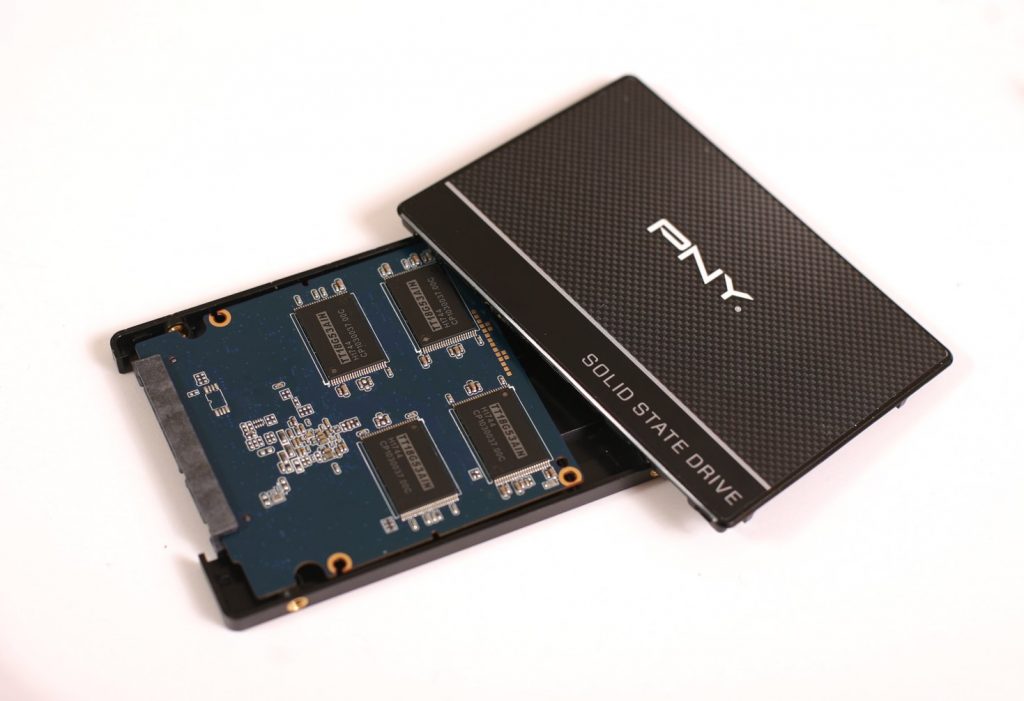
So here’s the rub. The SSD and the adapter are too big to fit back into the case. Removing the casing for the SSD solves that problem. Just be careful when prying the two pieces apart.

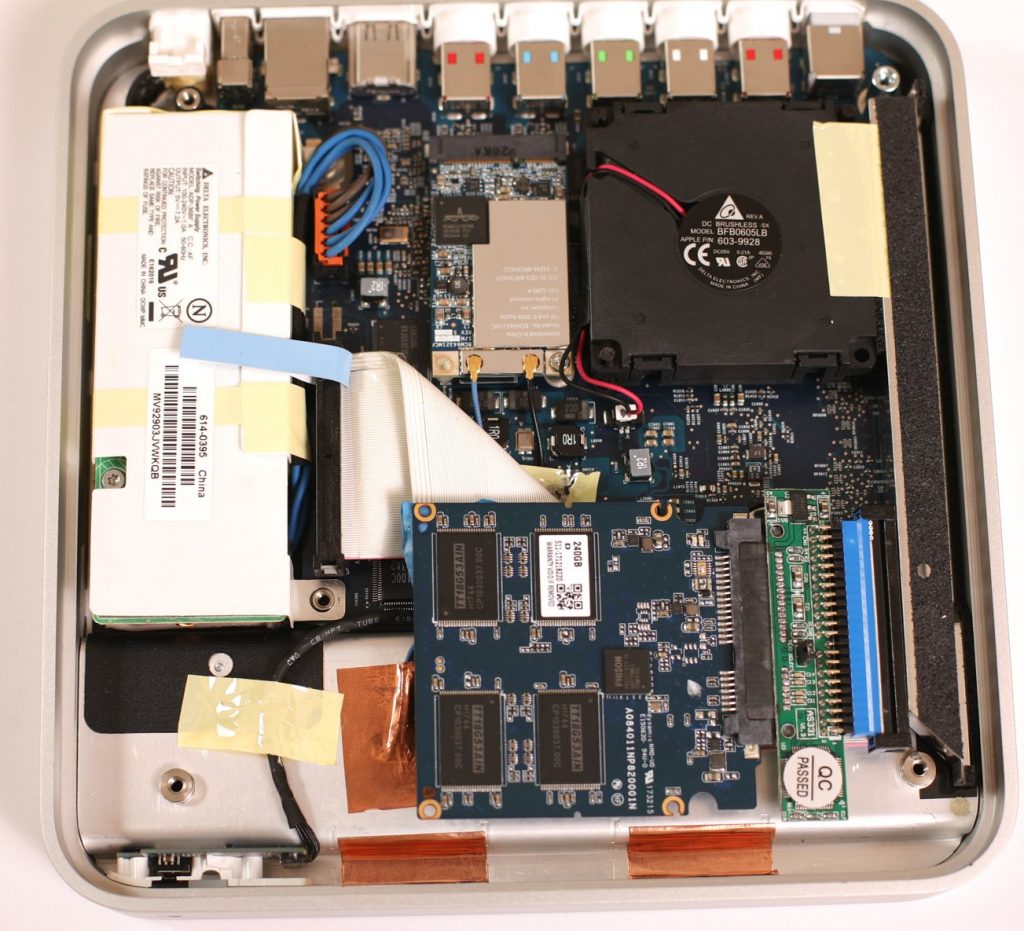
Here is the final unit before putting the cover back on. I have nothing holding the SSD in place other than two pieces of plastic padding that sandwiches between the covers.
Other than the WiFi card, nothing else in here is removable. The USB2.0 port is your only path to further expansion.

