Table of Contents
Getting Started
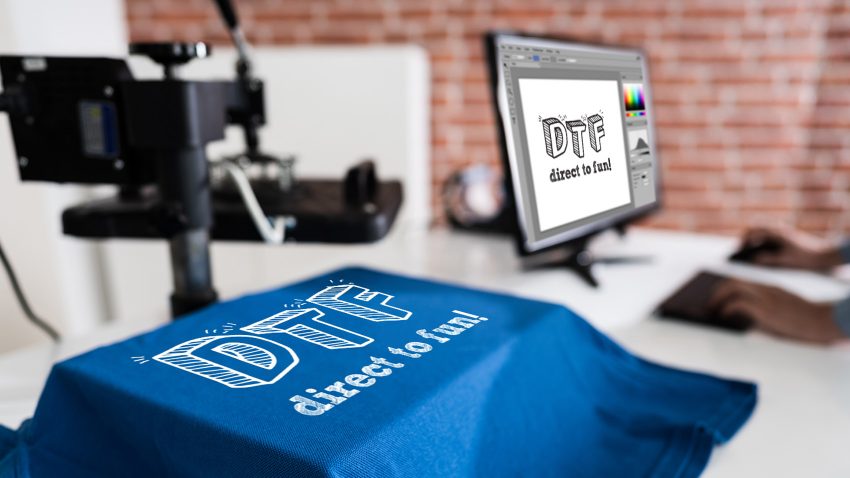
What is DTF?
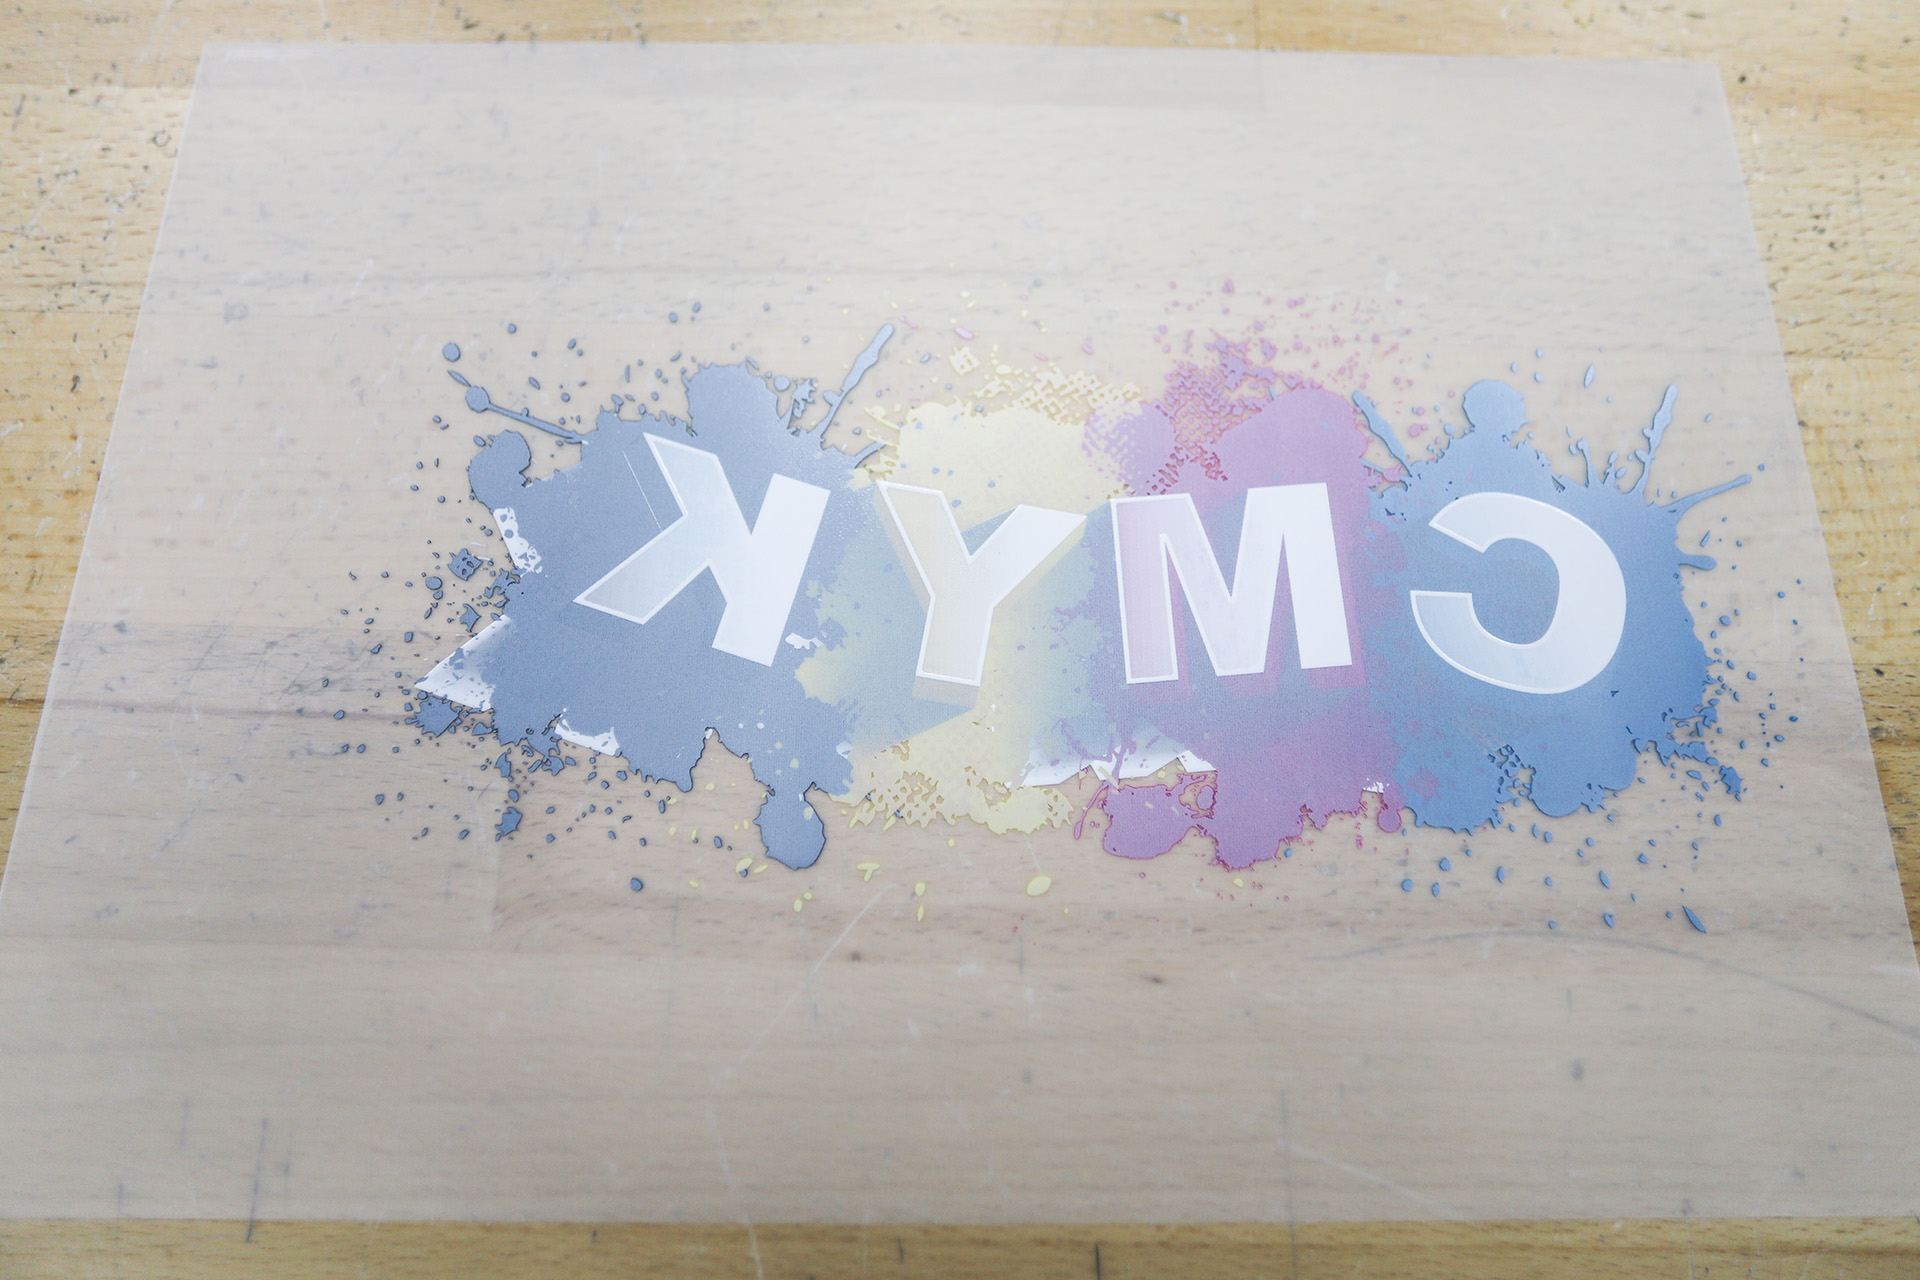
Direct to Film printing (DTF) is a method of transferring digital designs to shirts or other garments. DTF ink is printed onto a carrier sheet, usually PET (Polyethylene Terephthalate), and the carrier sheet is heat-pressed onto a garment.
What type of inkjet printer is needed?
Ideally, the printer will need to meet two conditions:
- The ability to use chip-less or re-settable ink cartridges.
- Be supported by a RIP software like AcroRip or CADlink Digital Factory.
Broad Overview of Steps
- Upload custom firmware to printer
- Some printer modifications
- Flush old ink out of printer
- Install DTF Ink
- Install CadLink or other RIP software
Supplies Needed
- Heat Press
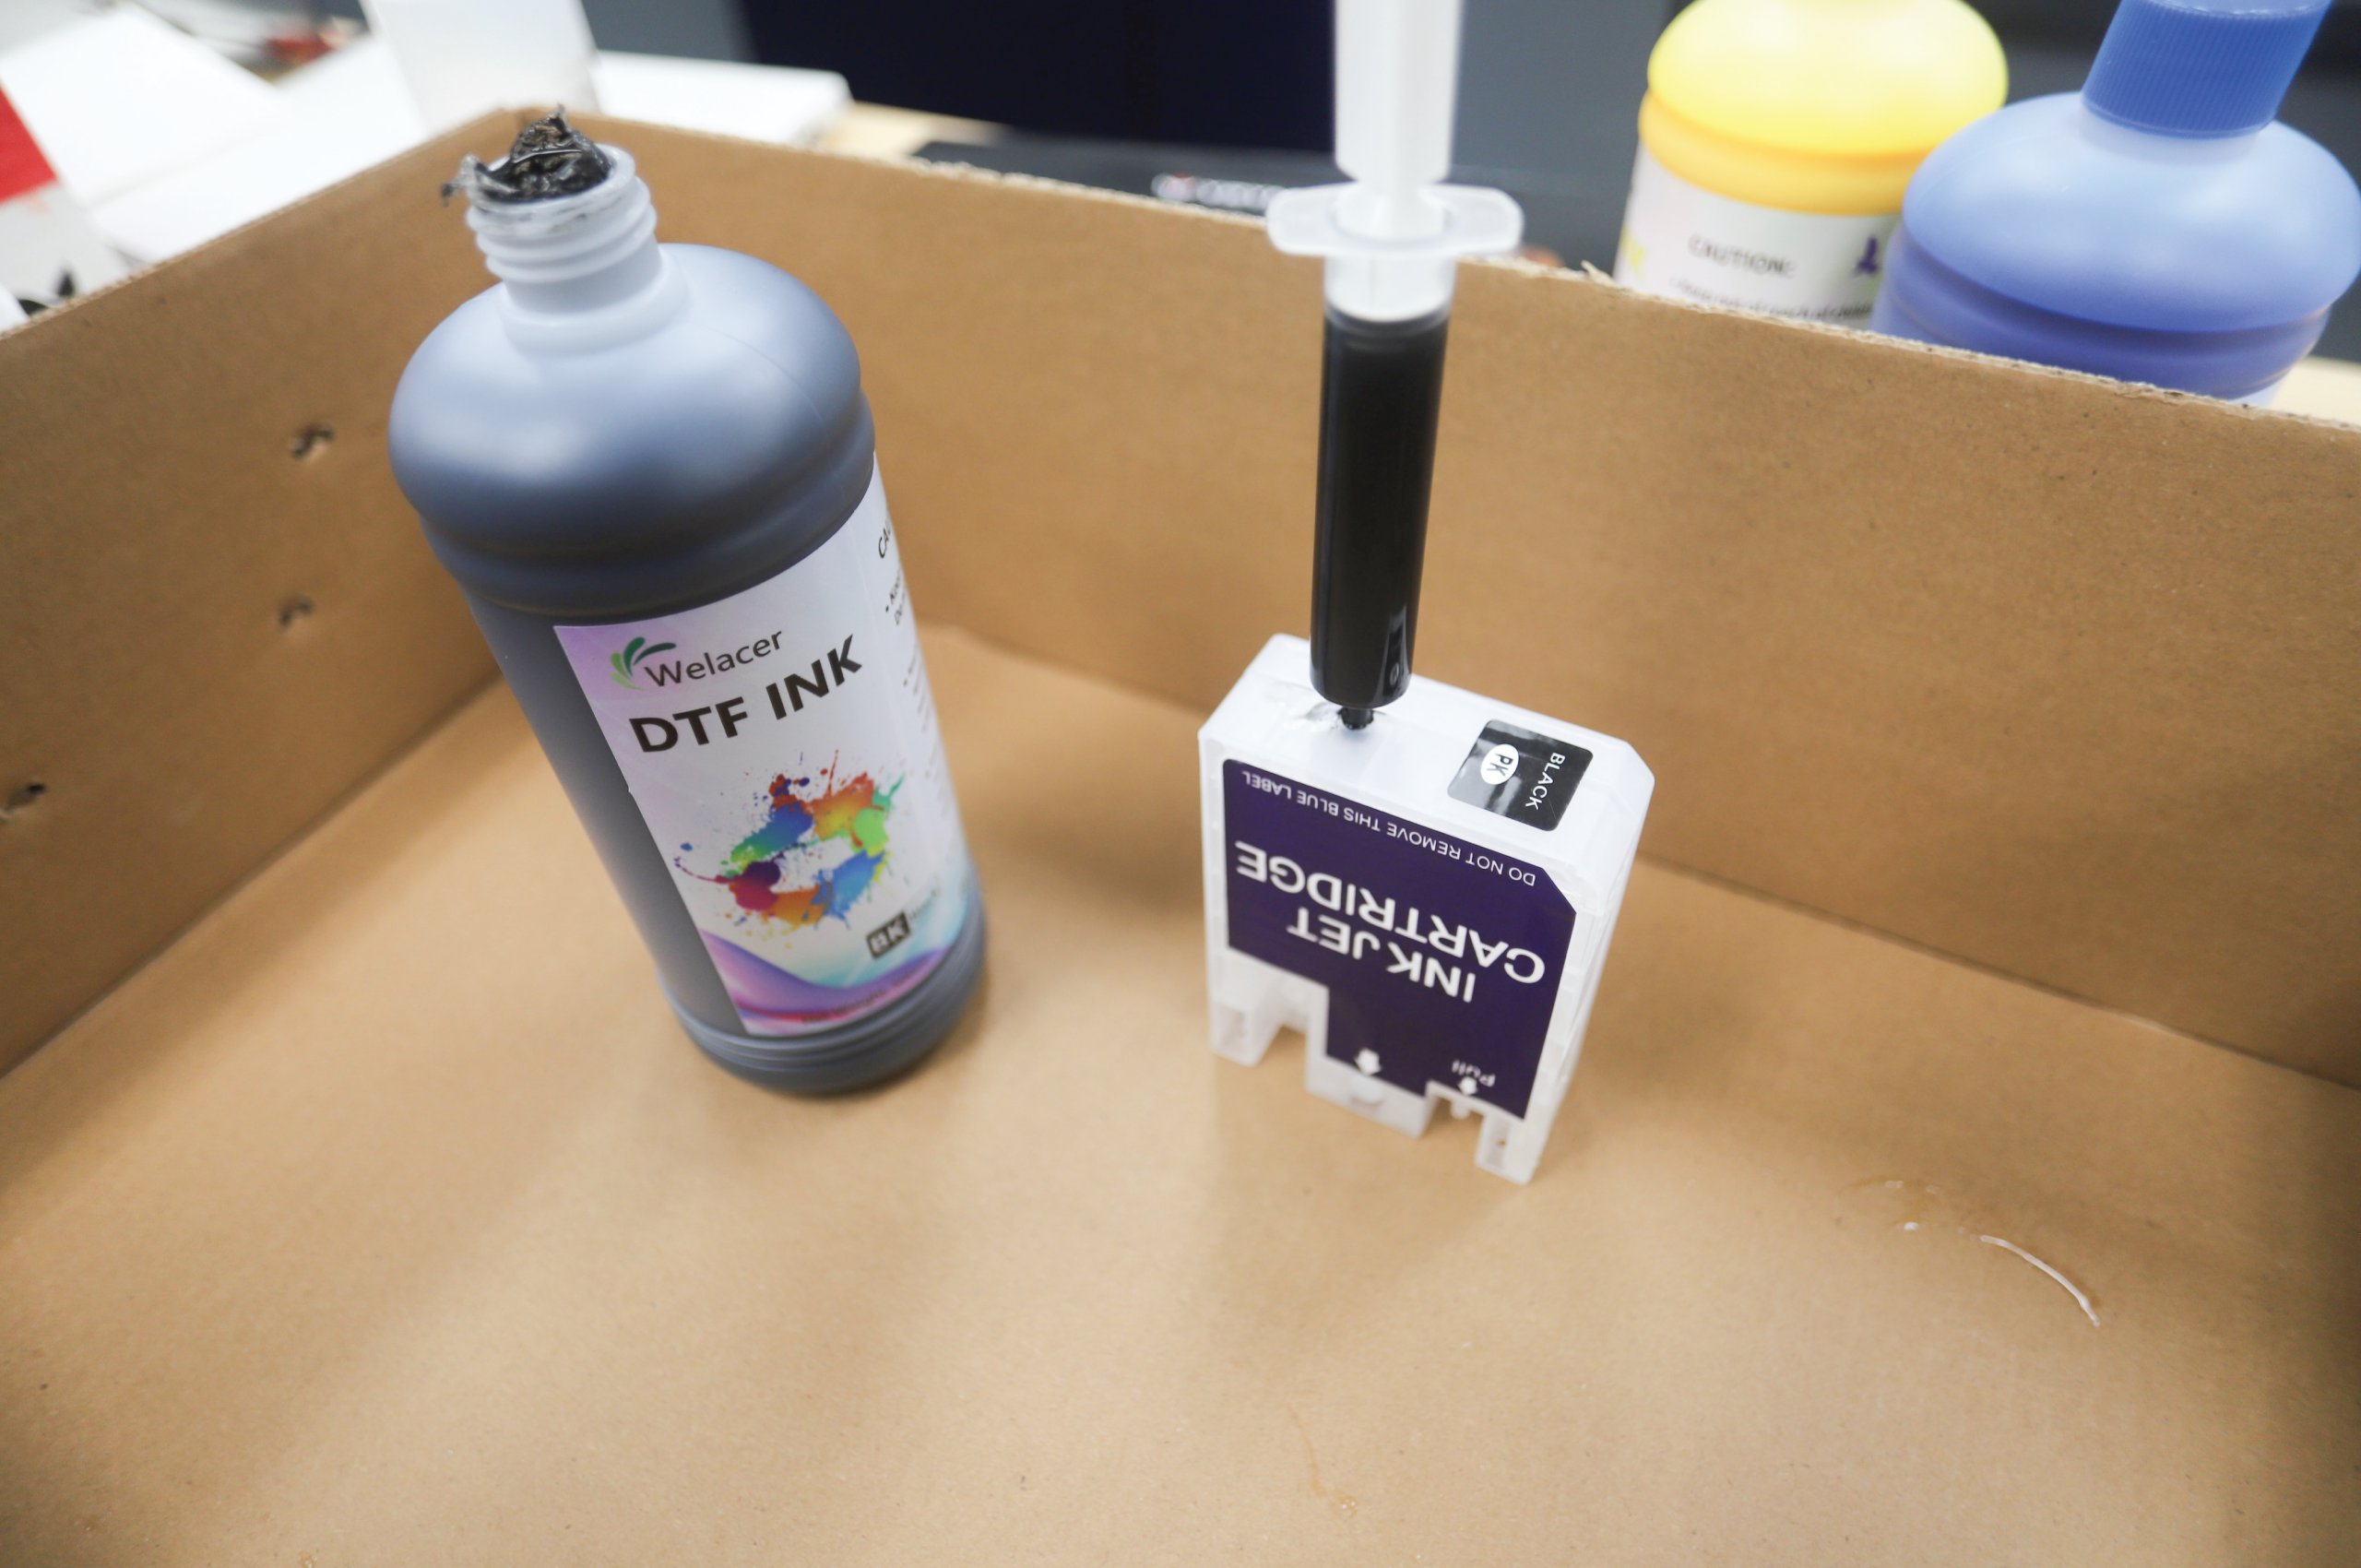
- DTF Ink
- DTF film
- DTF Powder
- Teflon Sheets
- Print Head Cleaning Solution
- Empty Ink Cartridges
- Small funnels and/or syringes
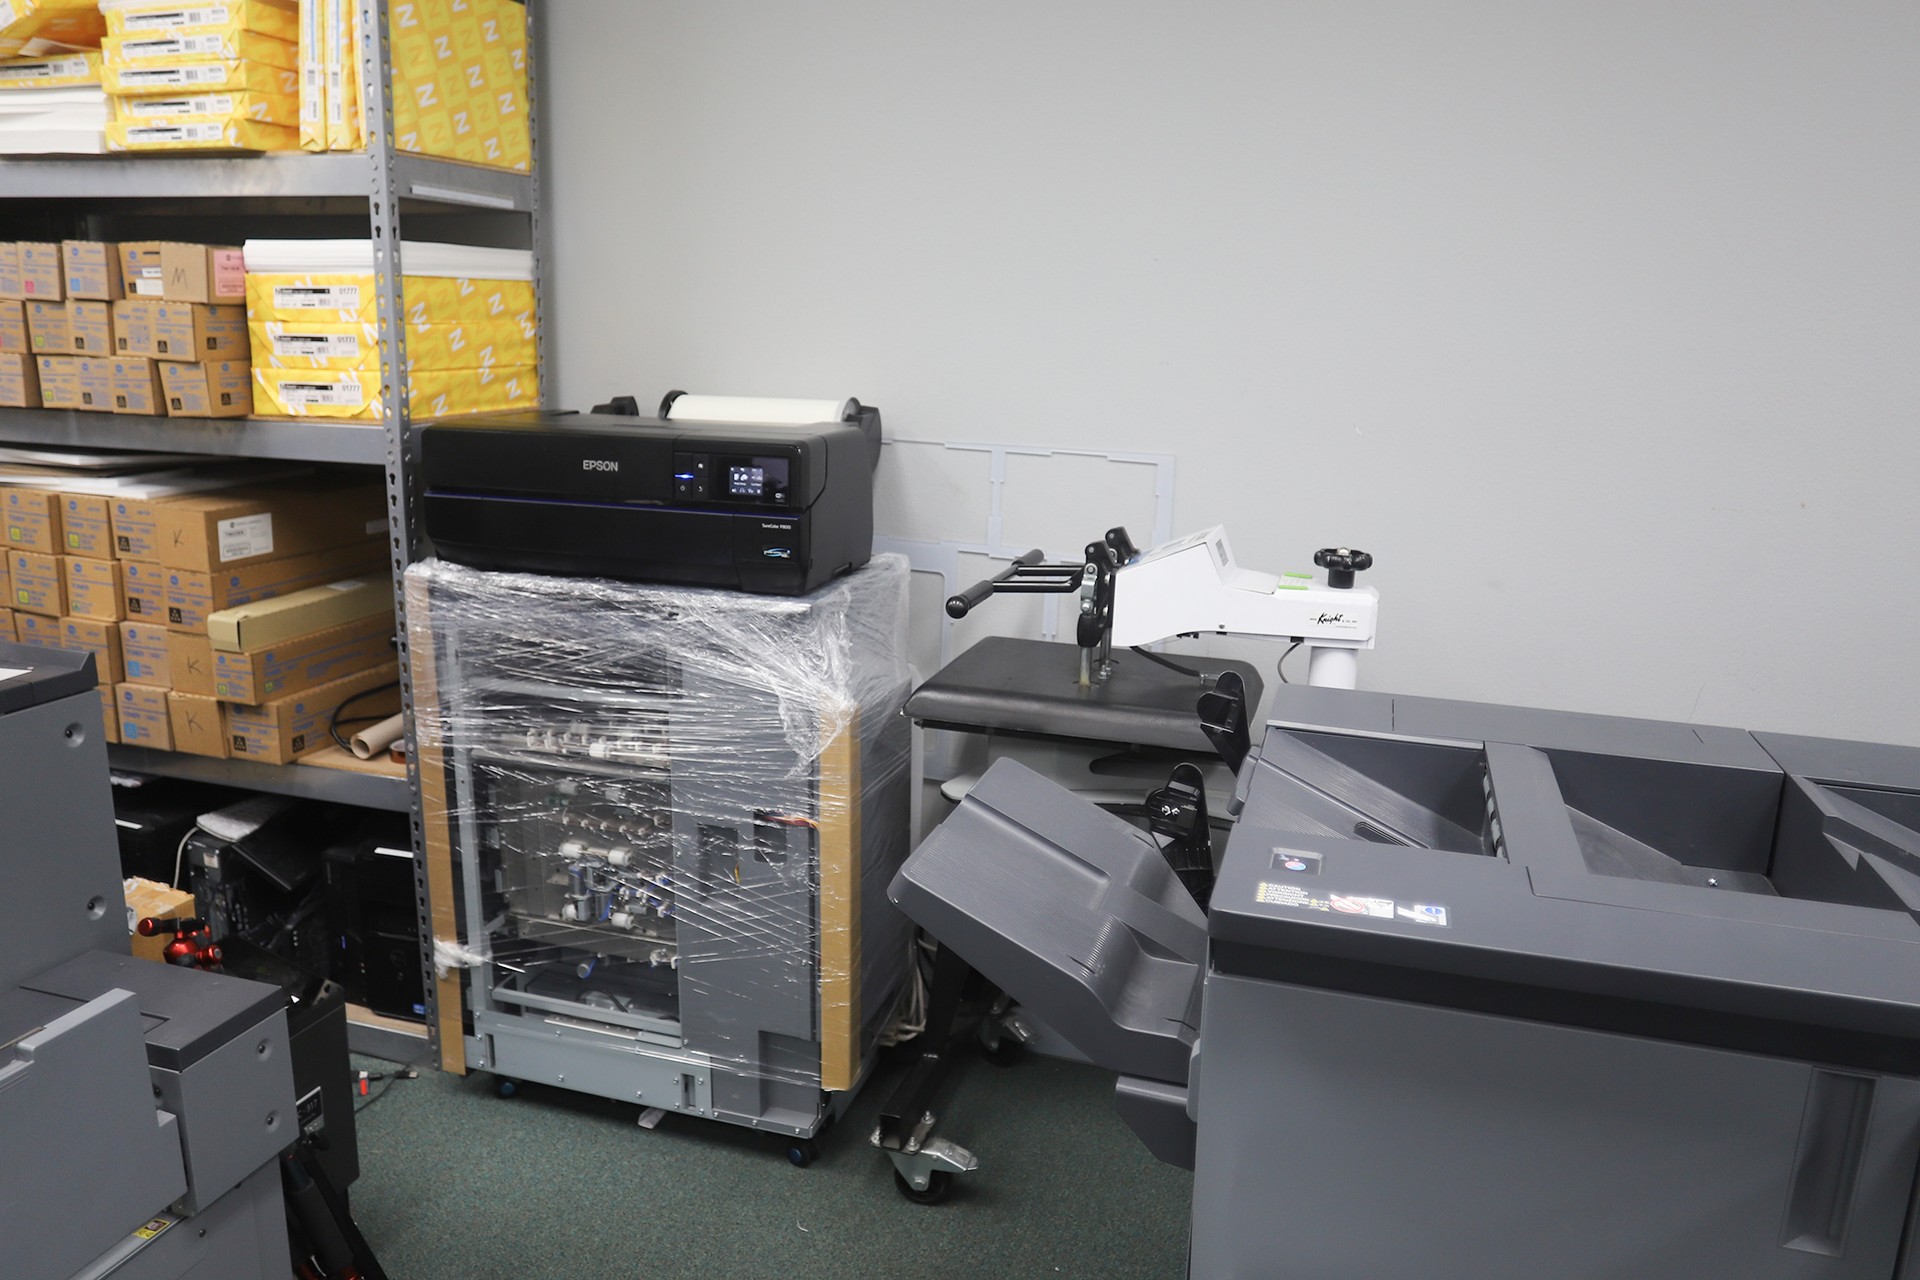
My Printer
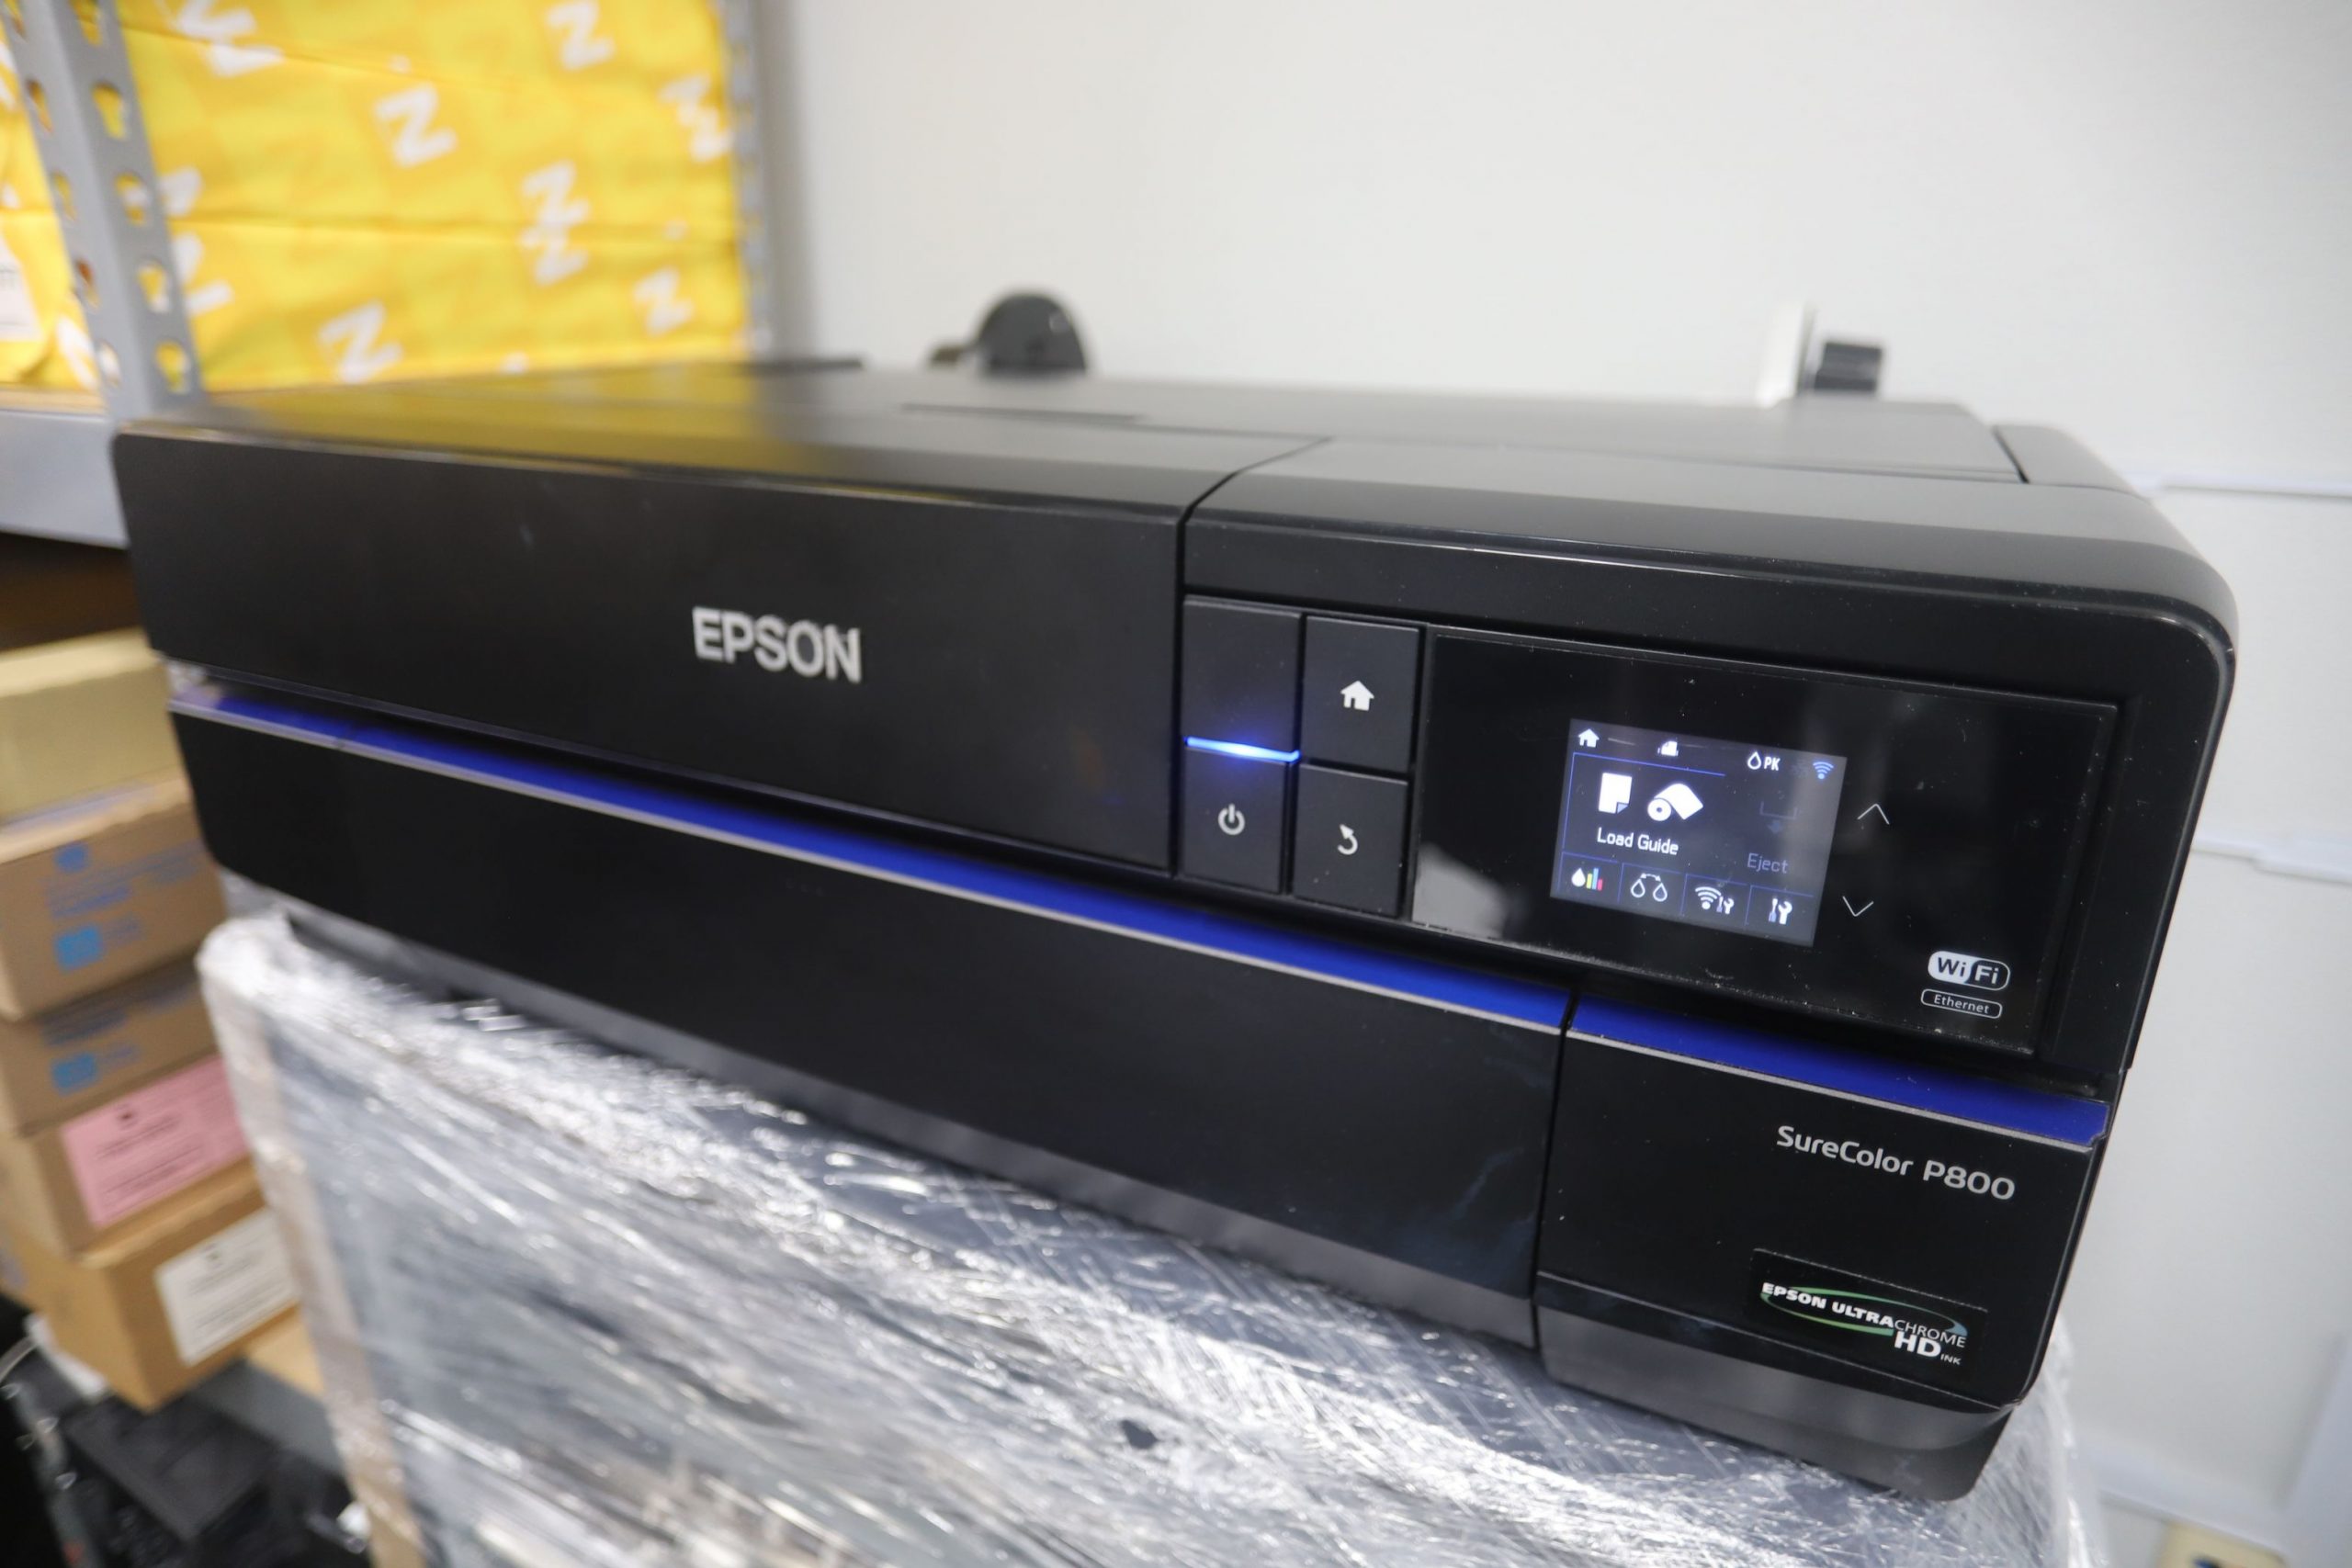
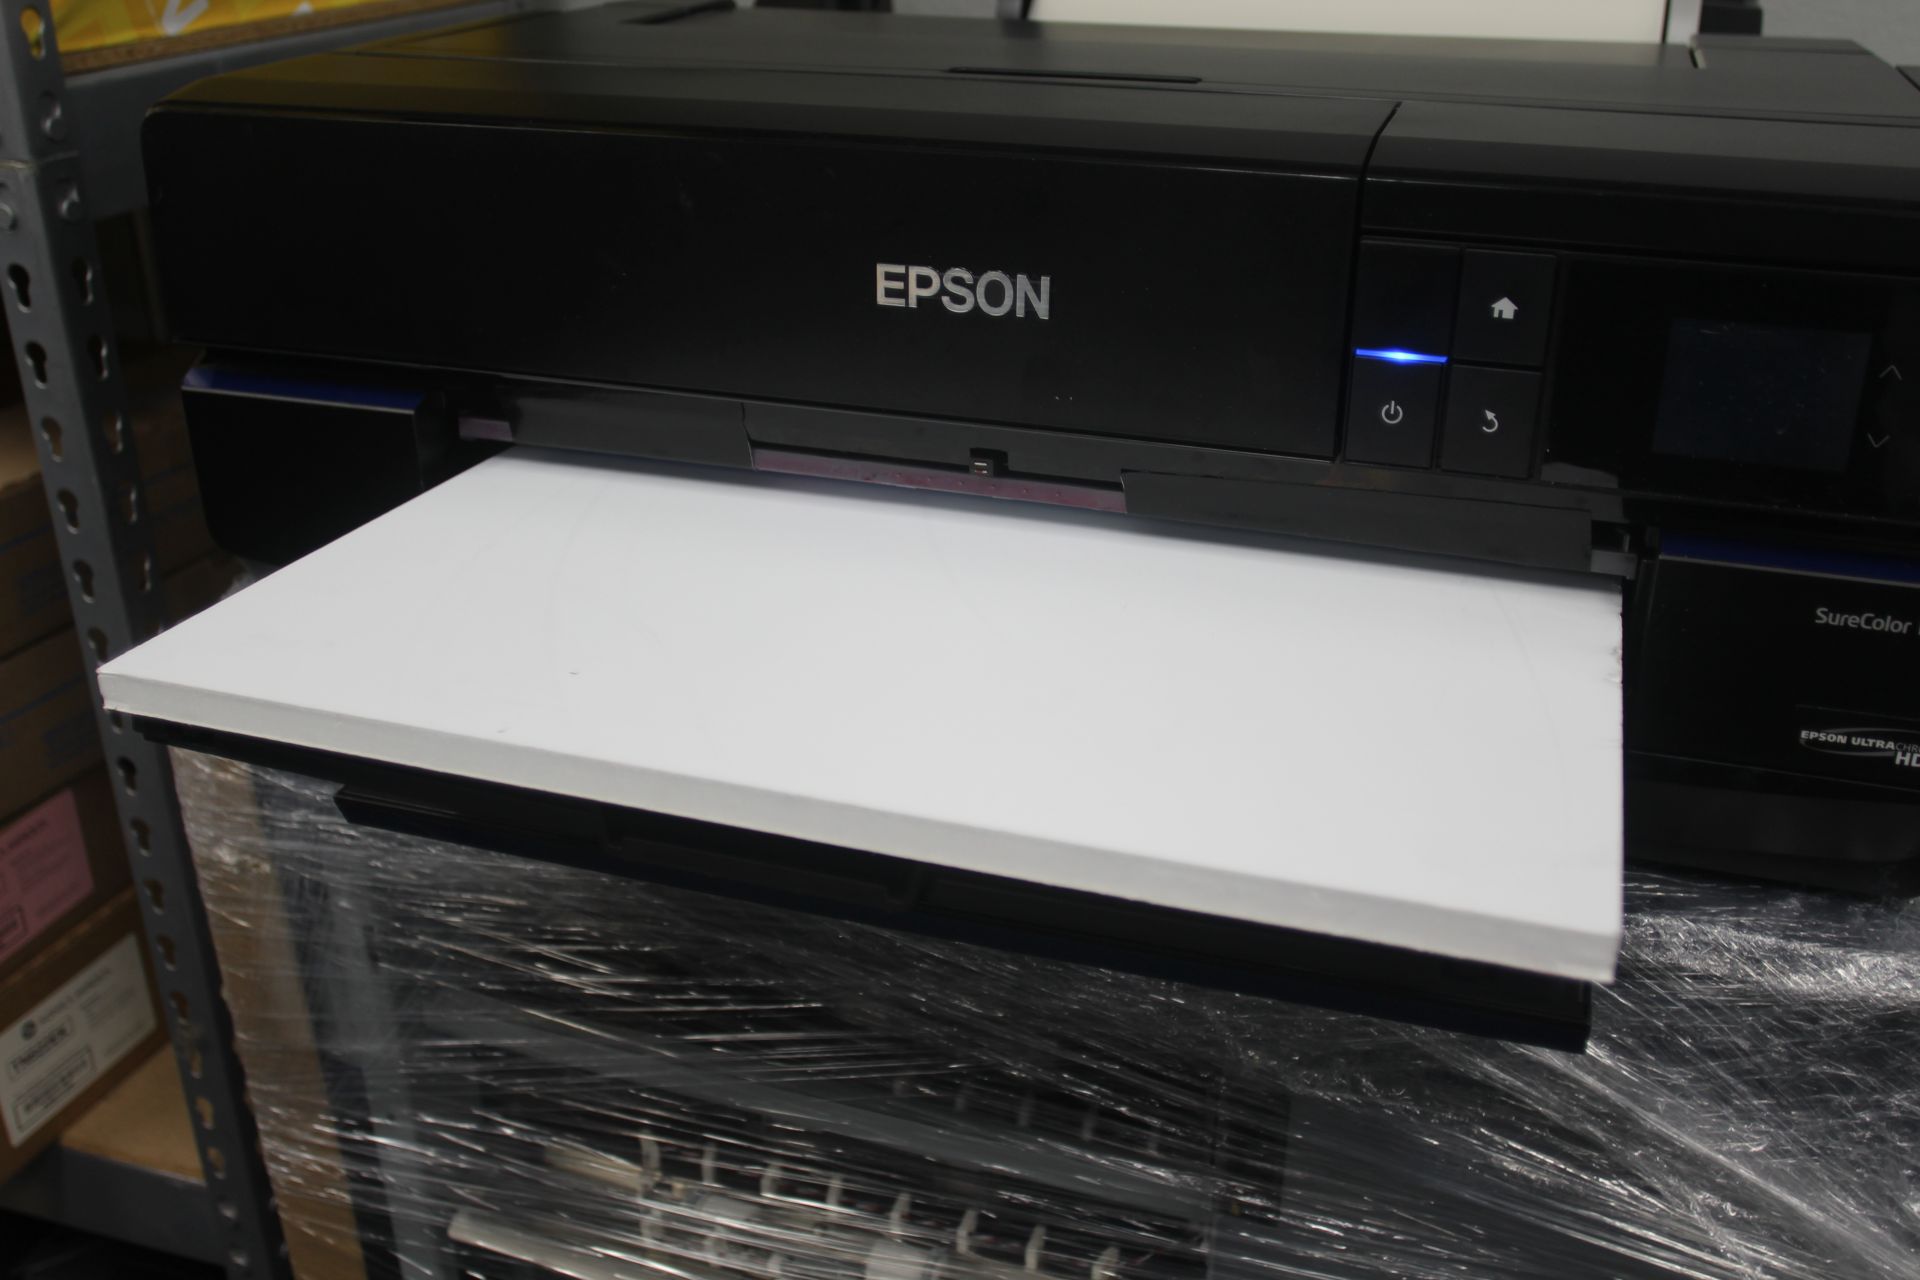
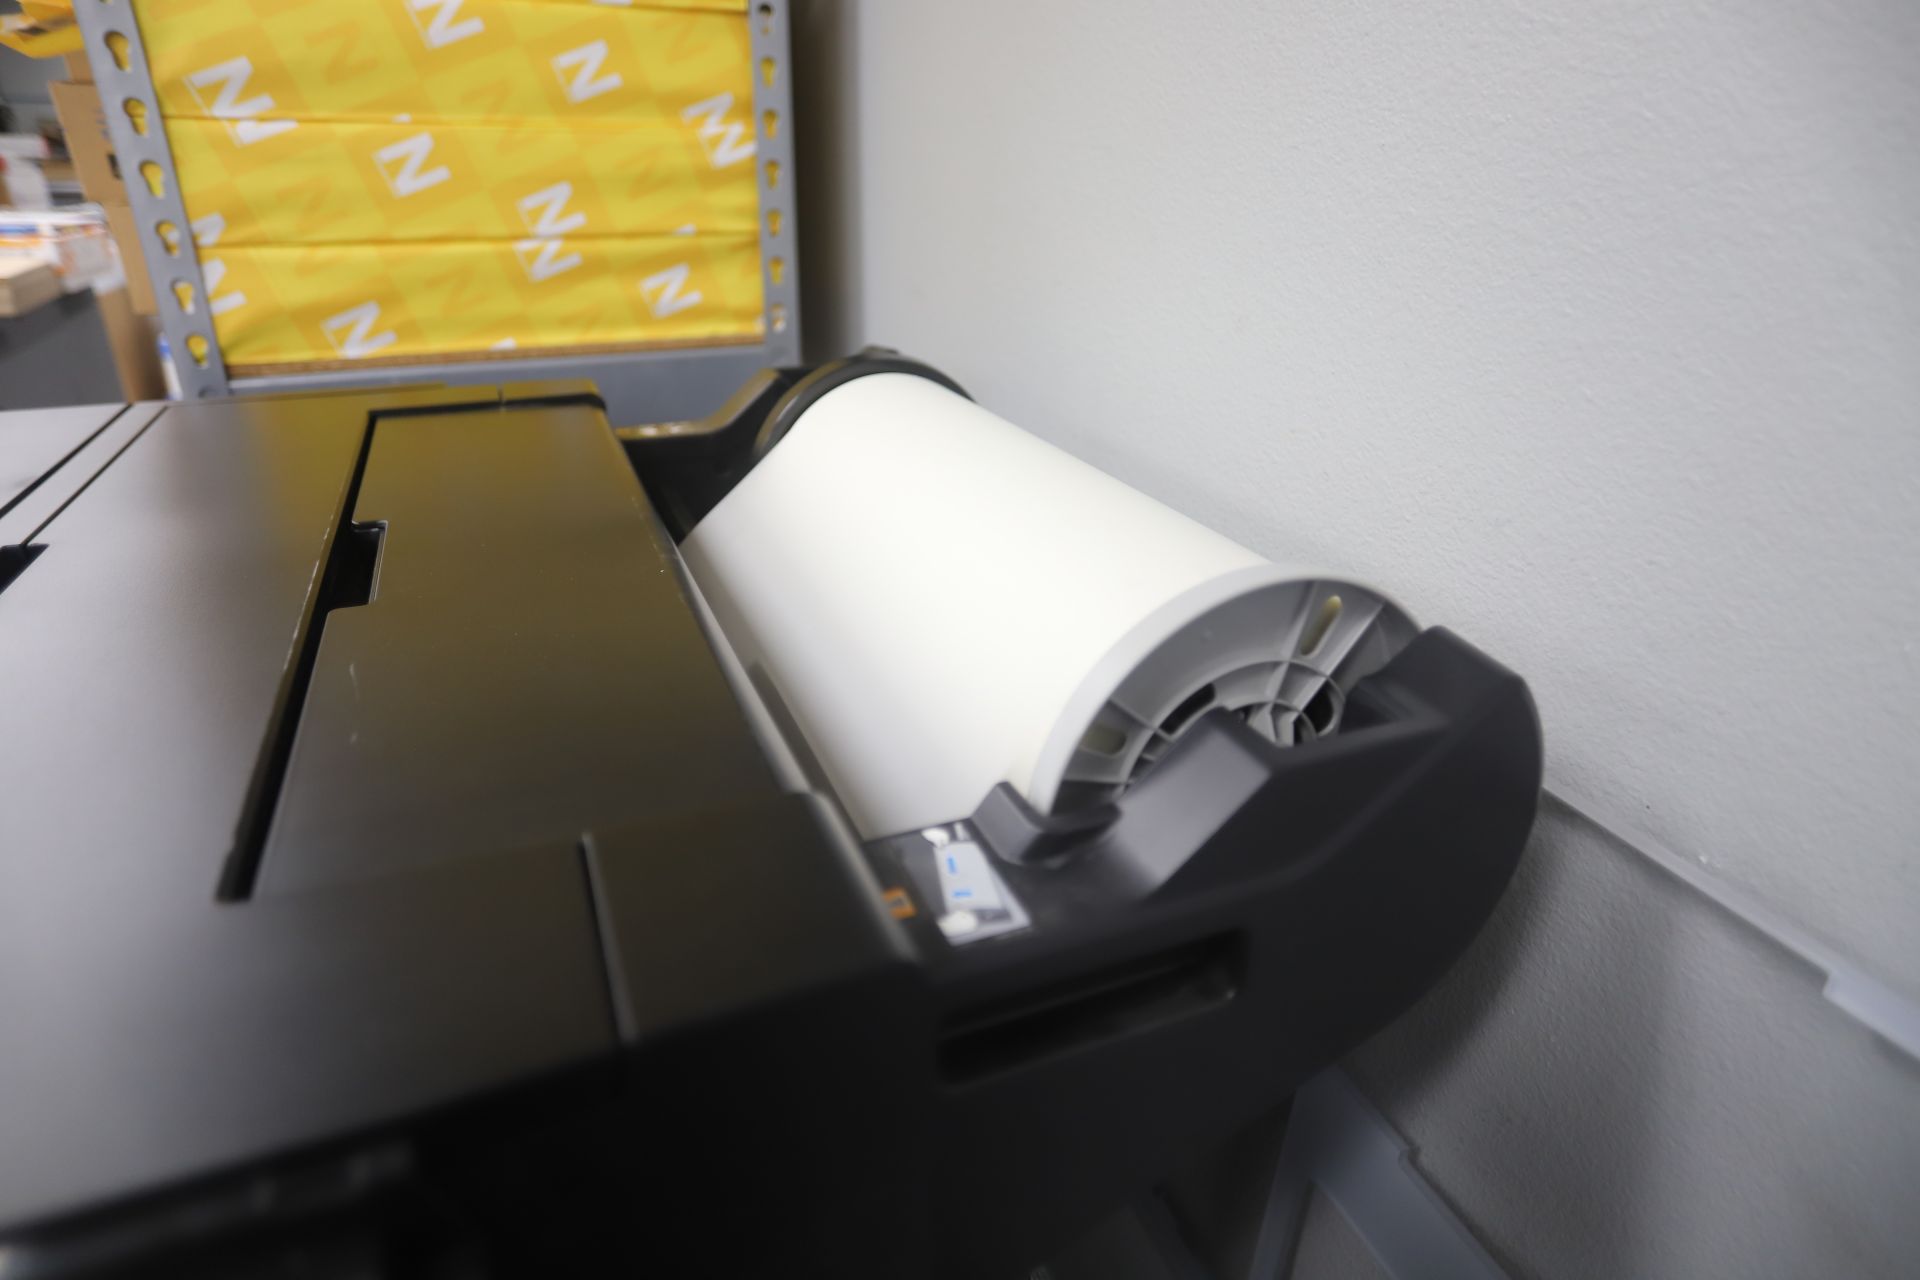
I’m using an Epson SureColor P800. It’s a photo-quality printer and has nine ink cartridge slots. It can do sheet feed or roll feed paper up to 17 inches wide.

I will need to replace these inks with DTF inks. There are nine colors here, but for DTF printing you only need Cyan, Magenta, Yellow, Black and White.
Installing Custom Firmware
In its factory state, the Epson firmware will only allow printing from Epson ink cartridges. Each cartridge is “chipped” and the printer will refuse to work without the chips. The chips also have a finite “ink-life” that decreases with usage, so they can’t be used indefinitely.
Third-party firmwares can bypass the chip completely allowing any type of ink to be used.
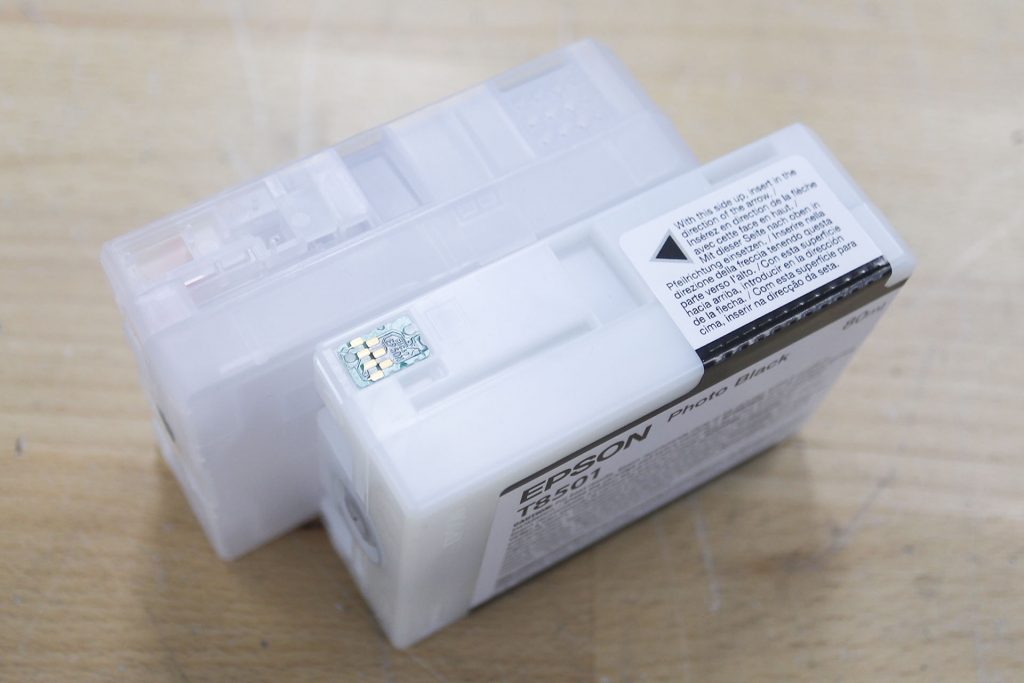
The empty cartridge above has no chip and is not “keyed” so it can be inserted into any of the P800’s cartridge slots. I bought three complete empty sets from Aliexpress. One set was for cleaning/flushing fluid, one set was for DTF ink, and the last was a spare set.
Since the chip is never used, there is no ‘low-ink’ notification. The printer will always report full cartridges regardless of the actual ink level.
I bought my firmware from https://www.inkchip.net. It was USD $60.
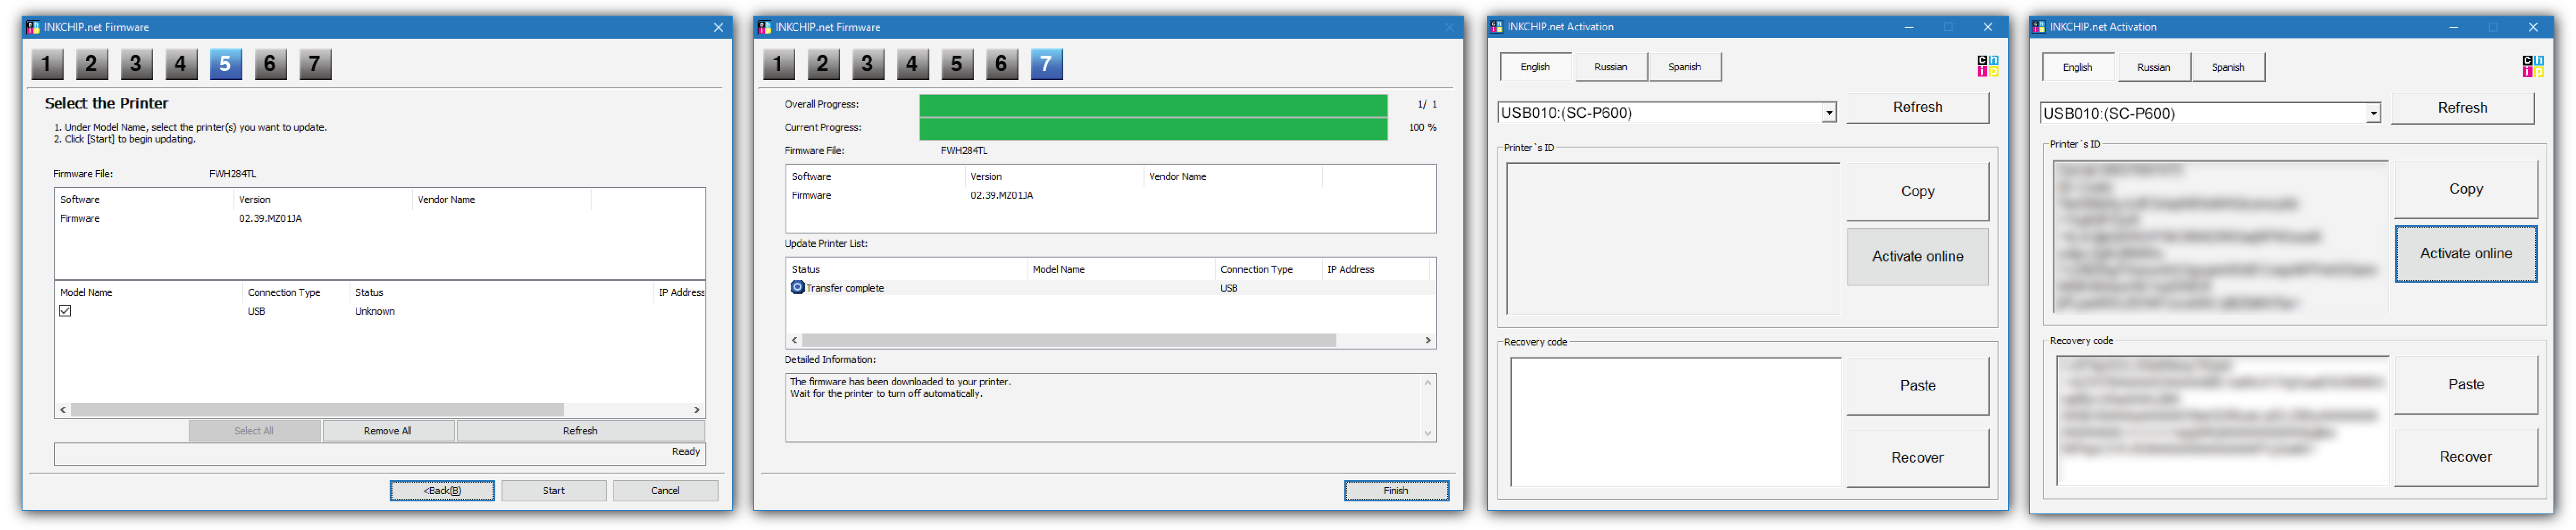
You get an installation PDF and the firmware files for your printer. The instructions were easy to follow. Not every printer is supported though. They have a list of supported models. I believe most or all of them are Epson printers.
Hardware Modifications
Removing Star Wheels
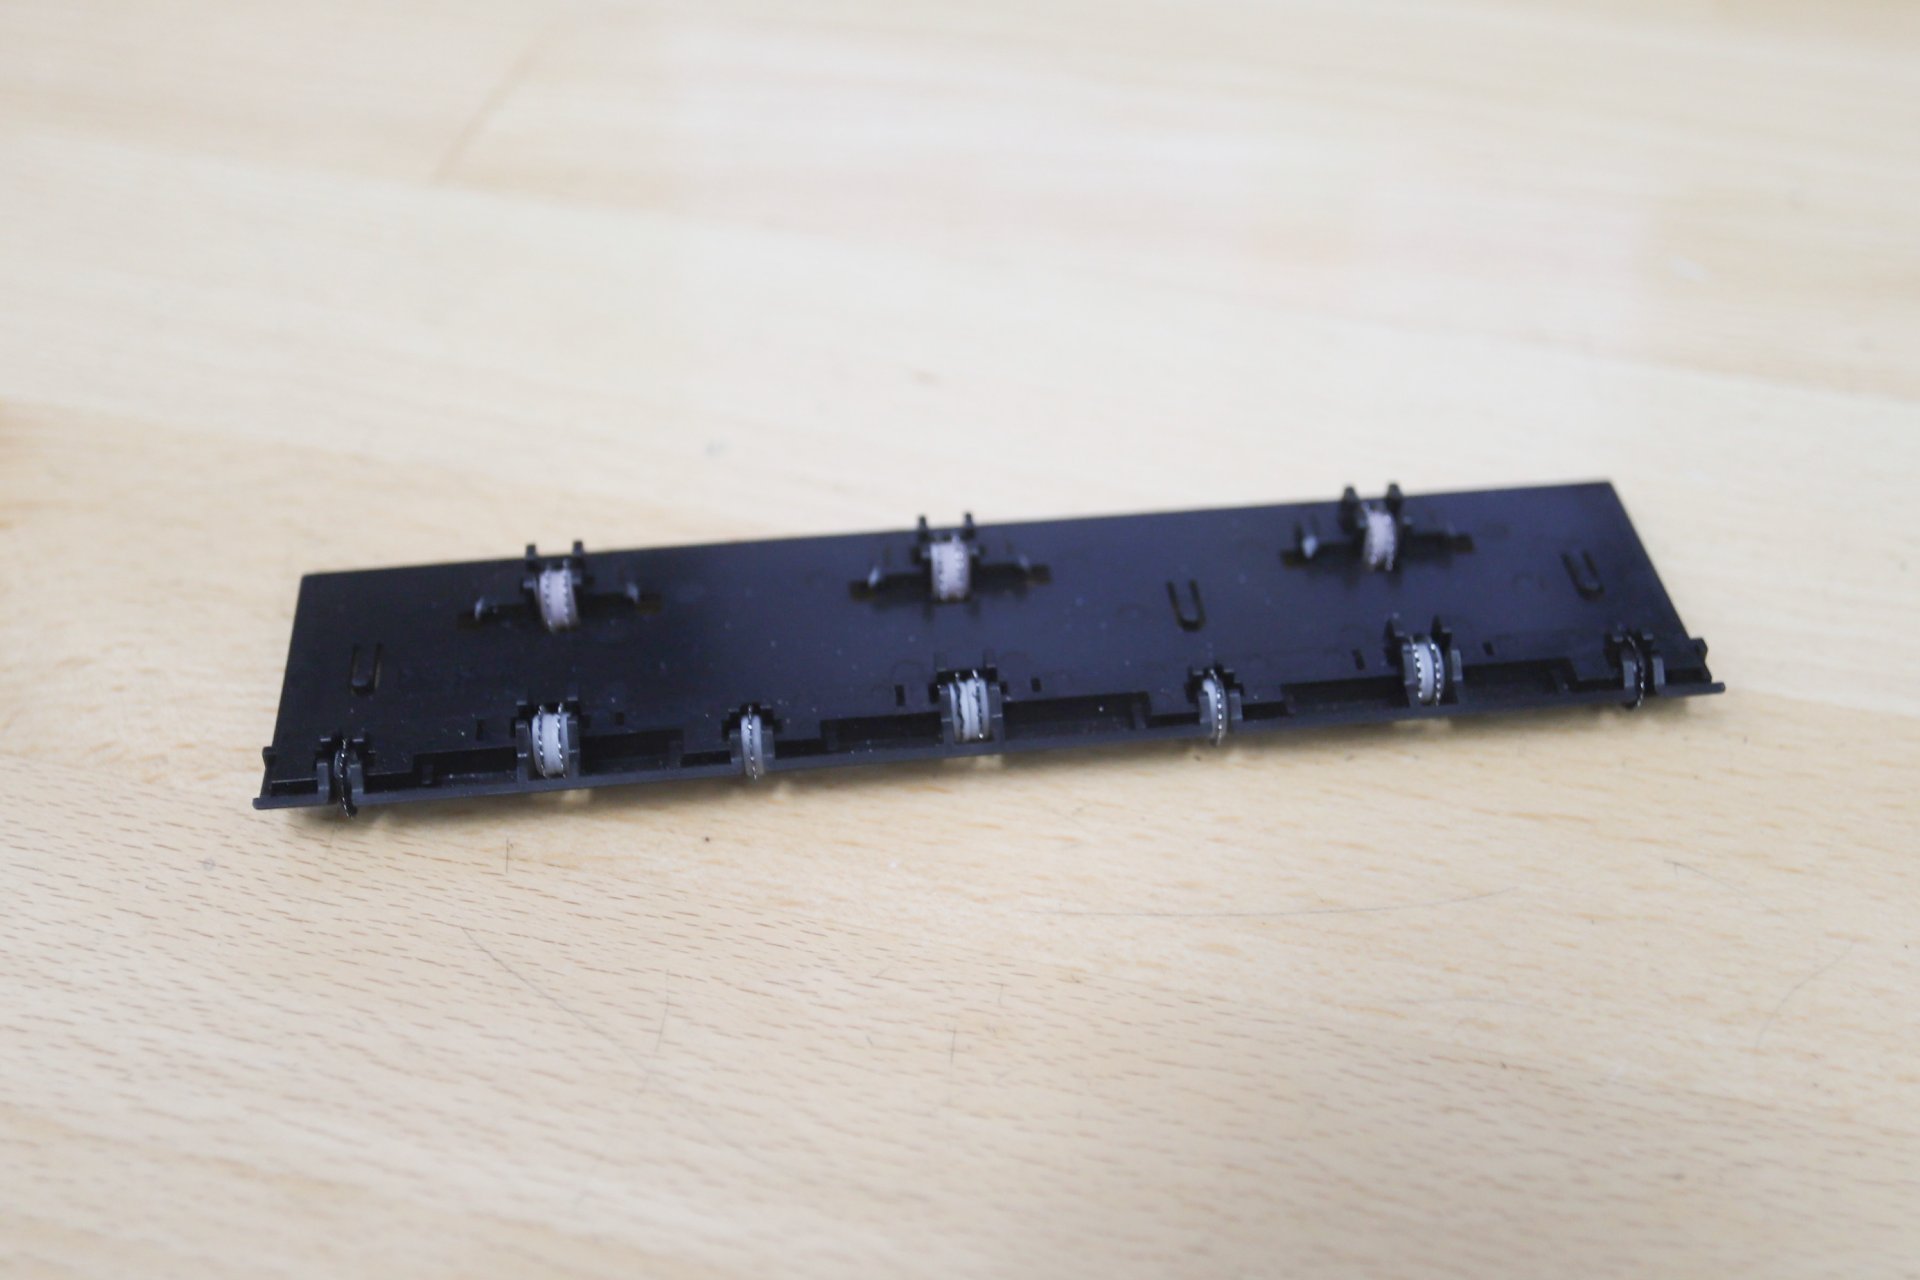
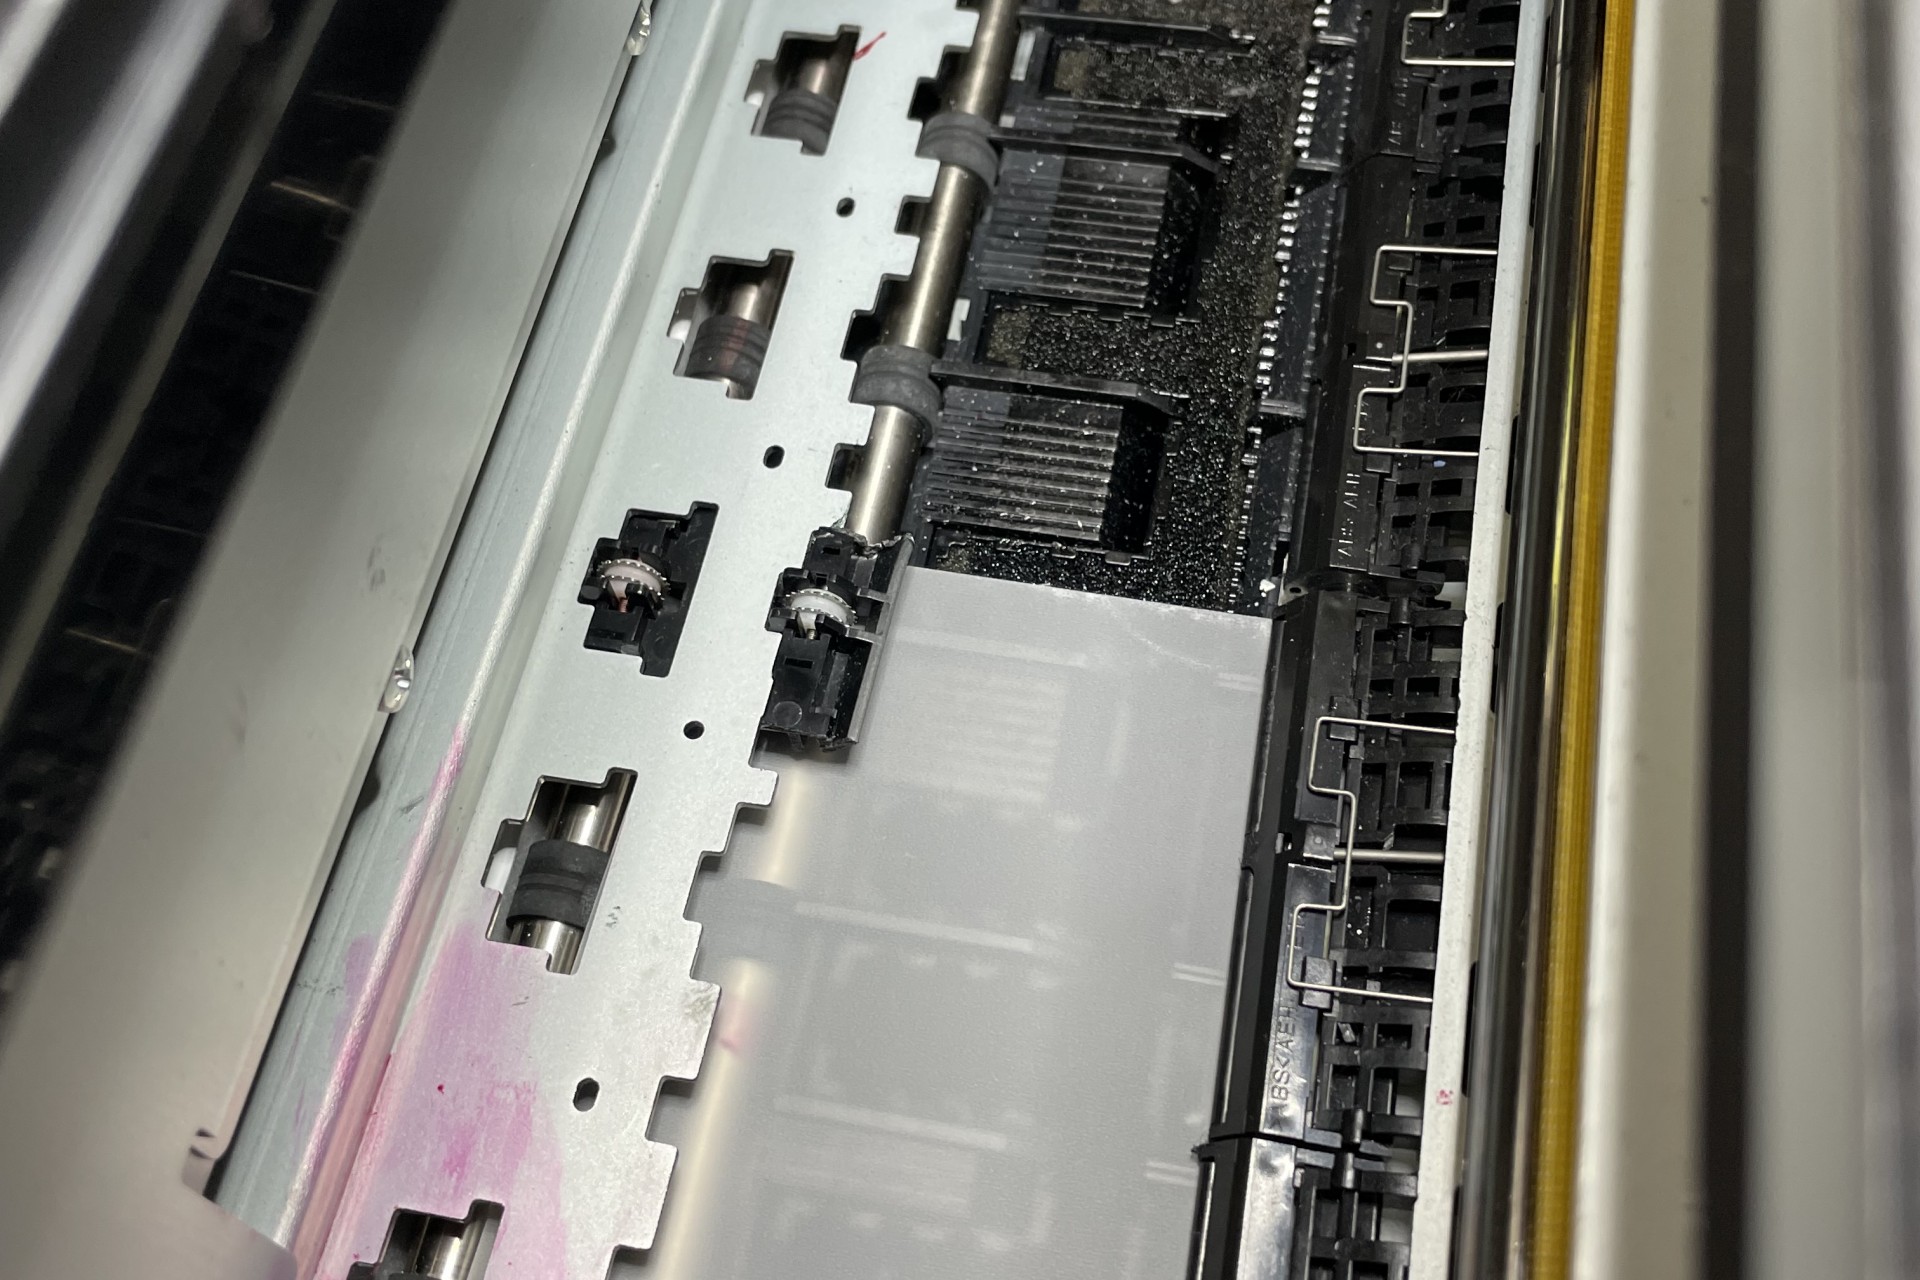
The exit rollers have a row of “star wheels” that make contact with the top of the film. They have to be removed to prevent contact with the wet DTF ink. Once the print head puts ink down, nothing in the printer should touch the imprint.

The star wheels are held in place by small plastic tabs. The easiest way to remove them is to push down hard on each one until the tabs break and you can remove them.
It might be possible to remove these star wheels without breaking them, but you would most likely have to take the machine apart. There’s very little space to work with when all the covers are on.
They should come out as three separate plastic pieces about 5 inches long.
After removing them, it’s a good idea to cut two star wheels away from the others. You can insert one each on the left and right sides of your paper feed. This helps keep the paper flat while printing.
Output Tray Support
I’m using a half-inch piece of foam board cut to size. It sits on top of the standard output tray and butts up to the exit rollers of the printer. The film exiting the printer needs to be perfectly flat and supported. Otherwise the print head will rub against the paper and the ink.
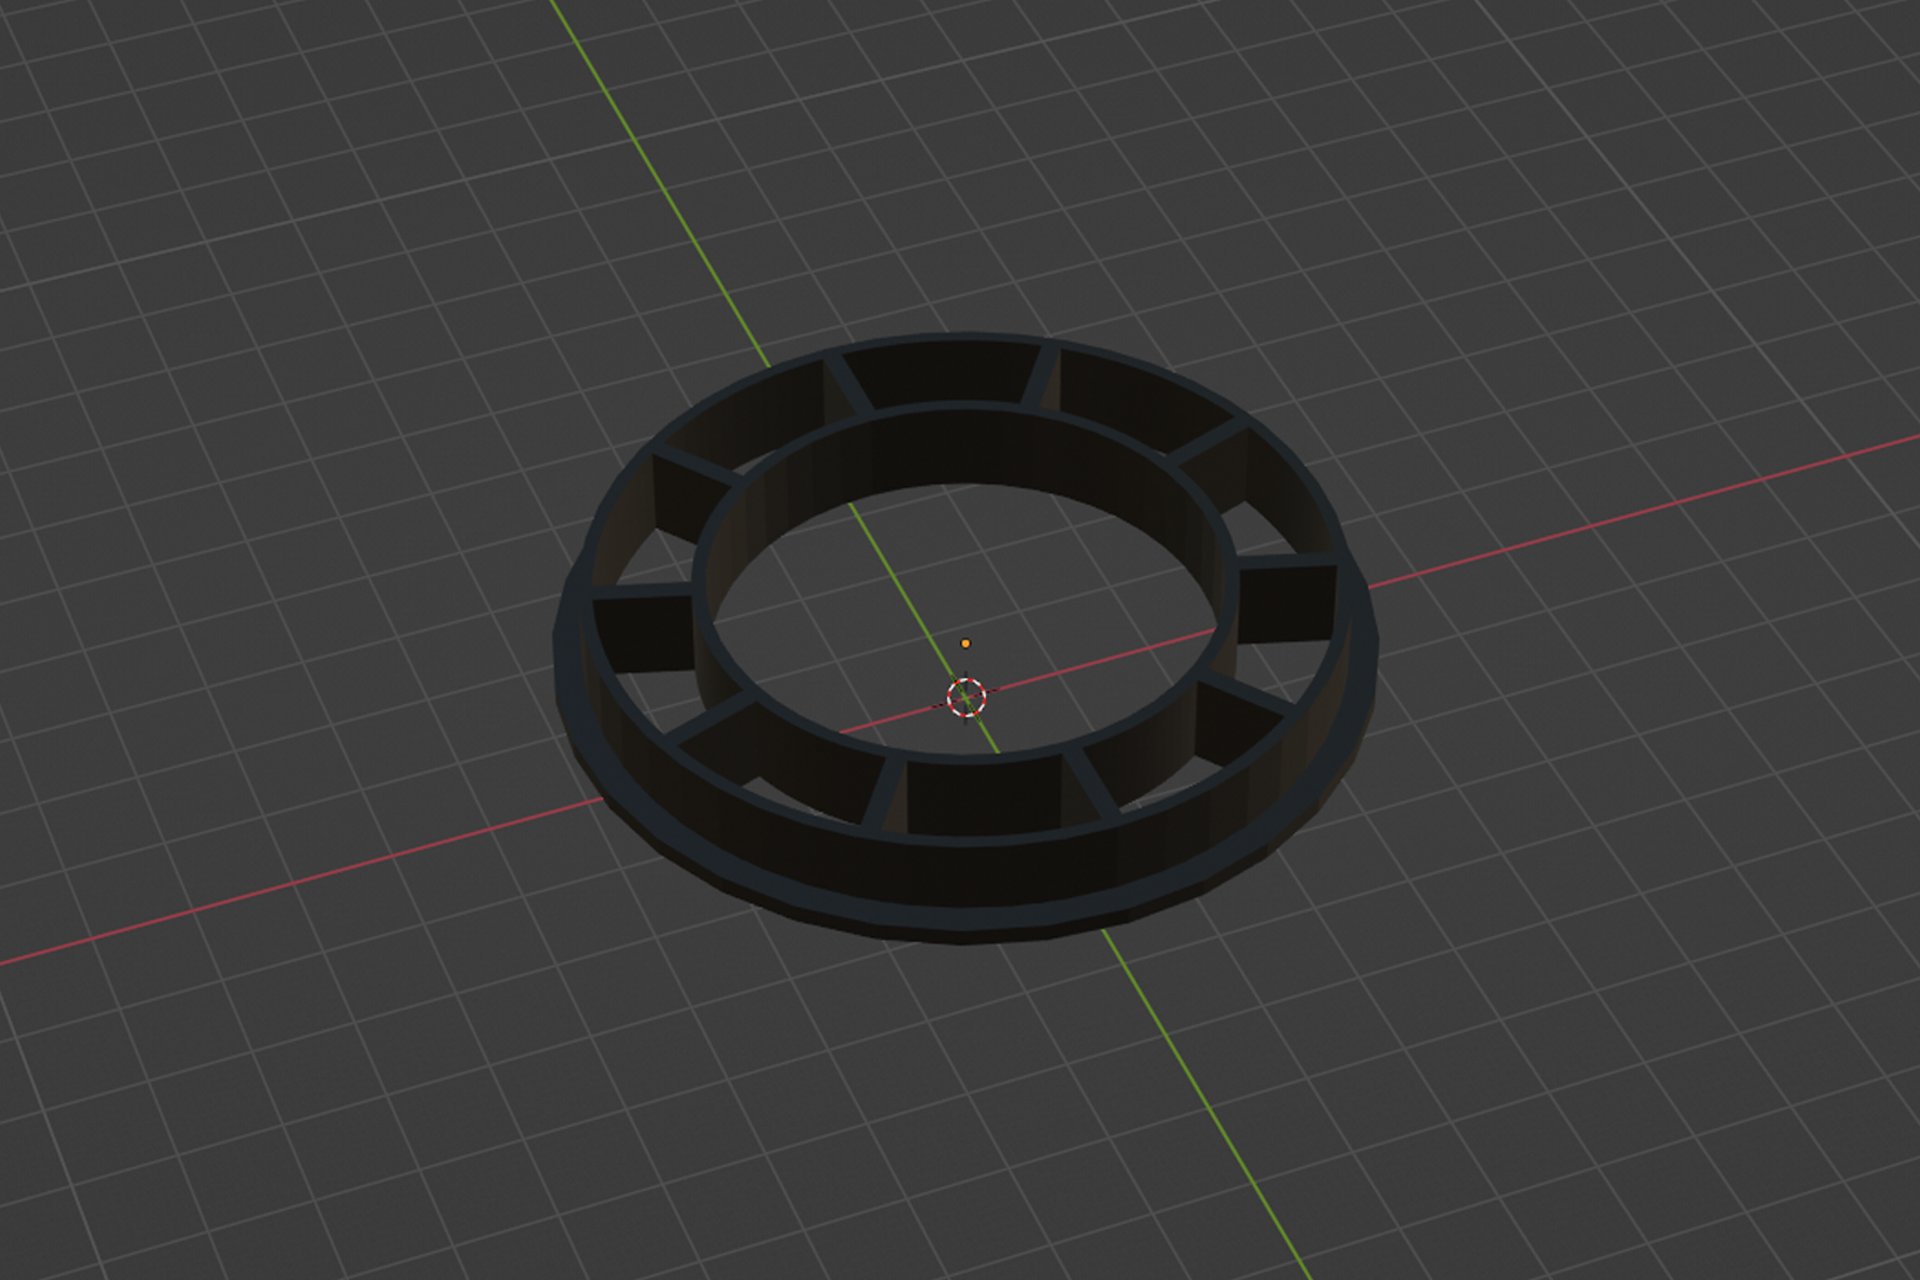
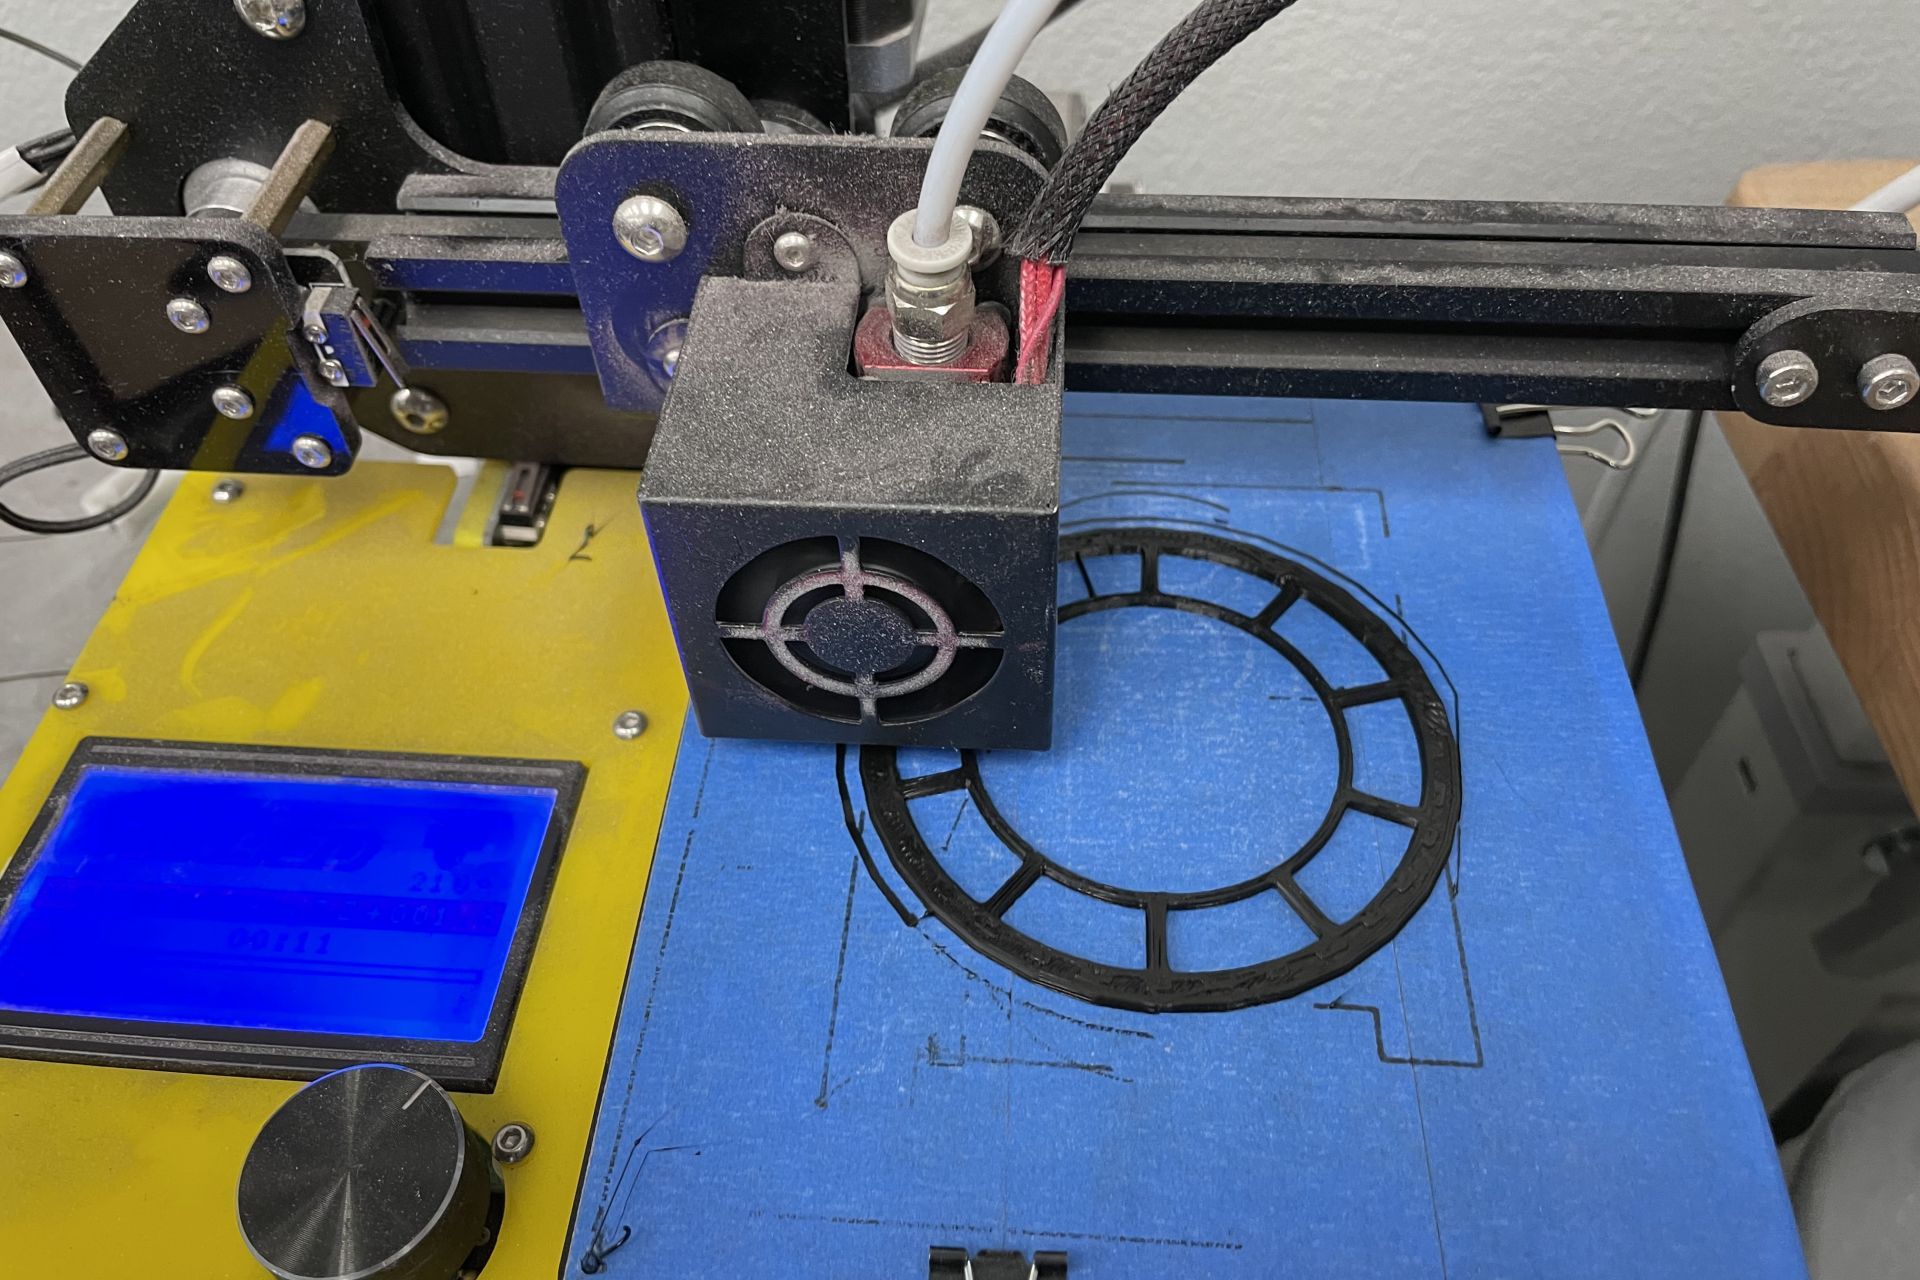
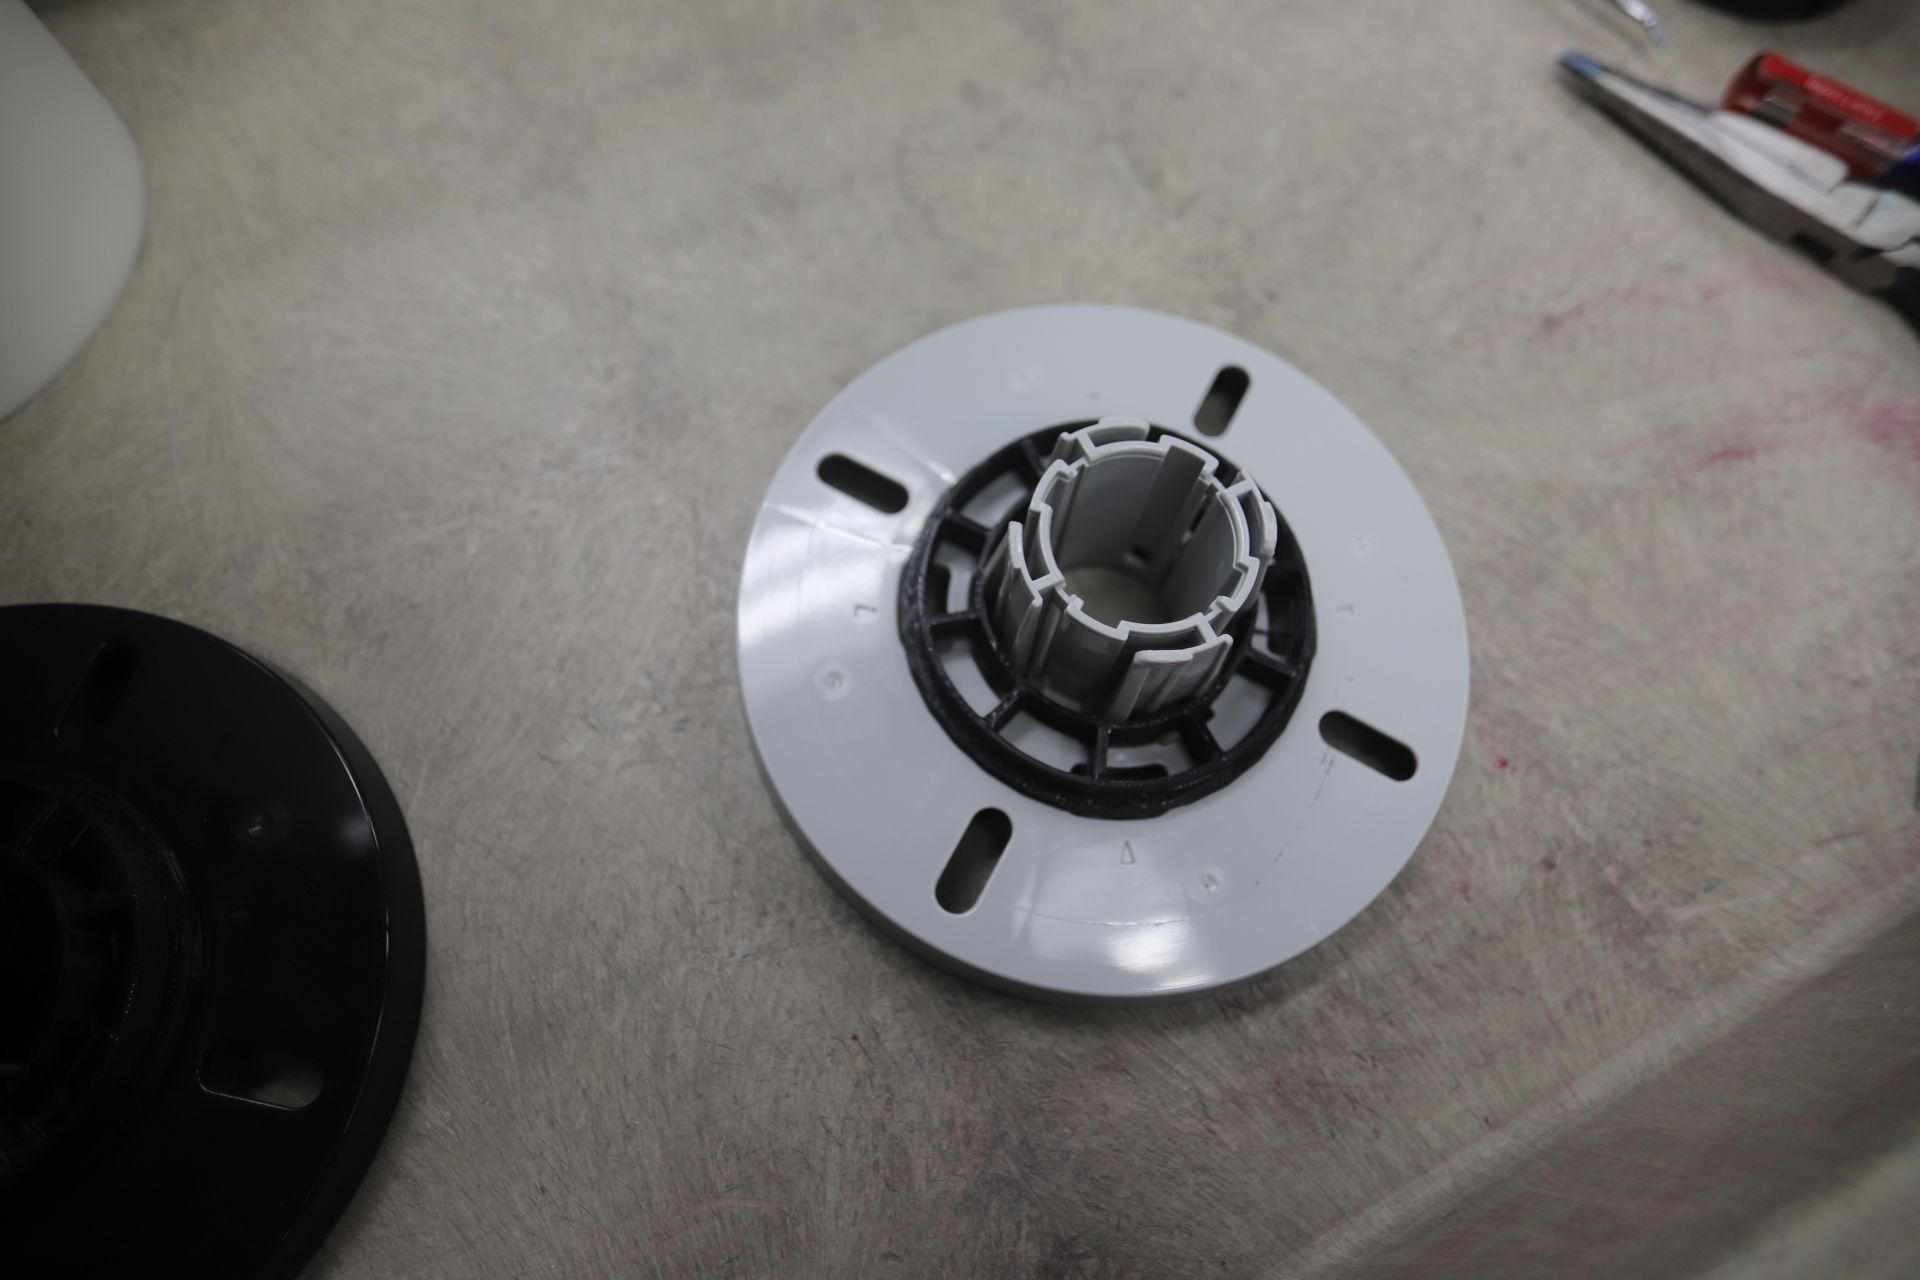
Roll-Feed Adapter Rings
I’m using roll-feed DTF Film, 13 inches wide and 328 feet long. The inner core of the roll is larger than the P800’s roll carrier. I 3D printed two spacer rings so the roll can sit properly in the machine.
The roll film was advertised as being hot peel or cold peel. I typically wait 90 seconds after I remove heat to pull the film.
Installing DTF Ink
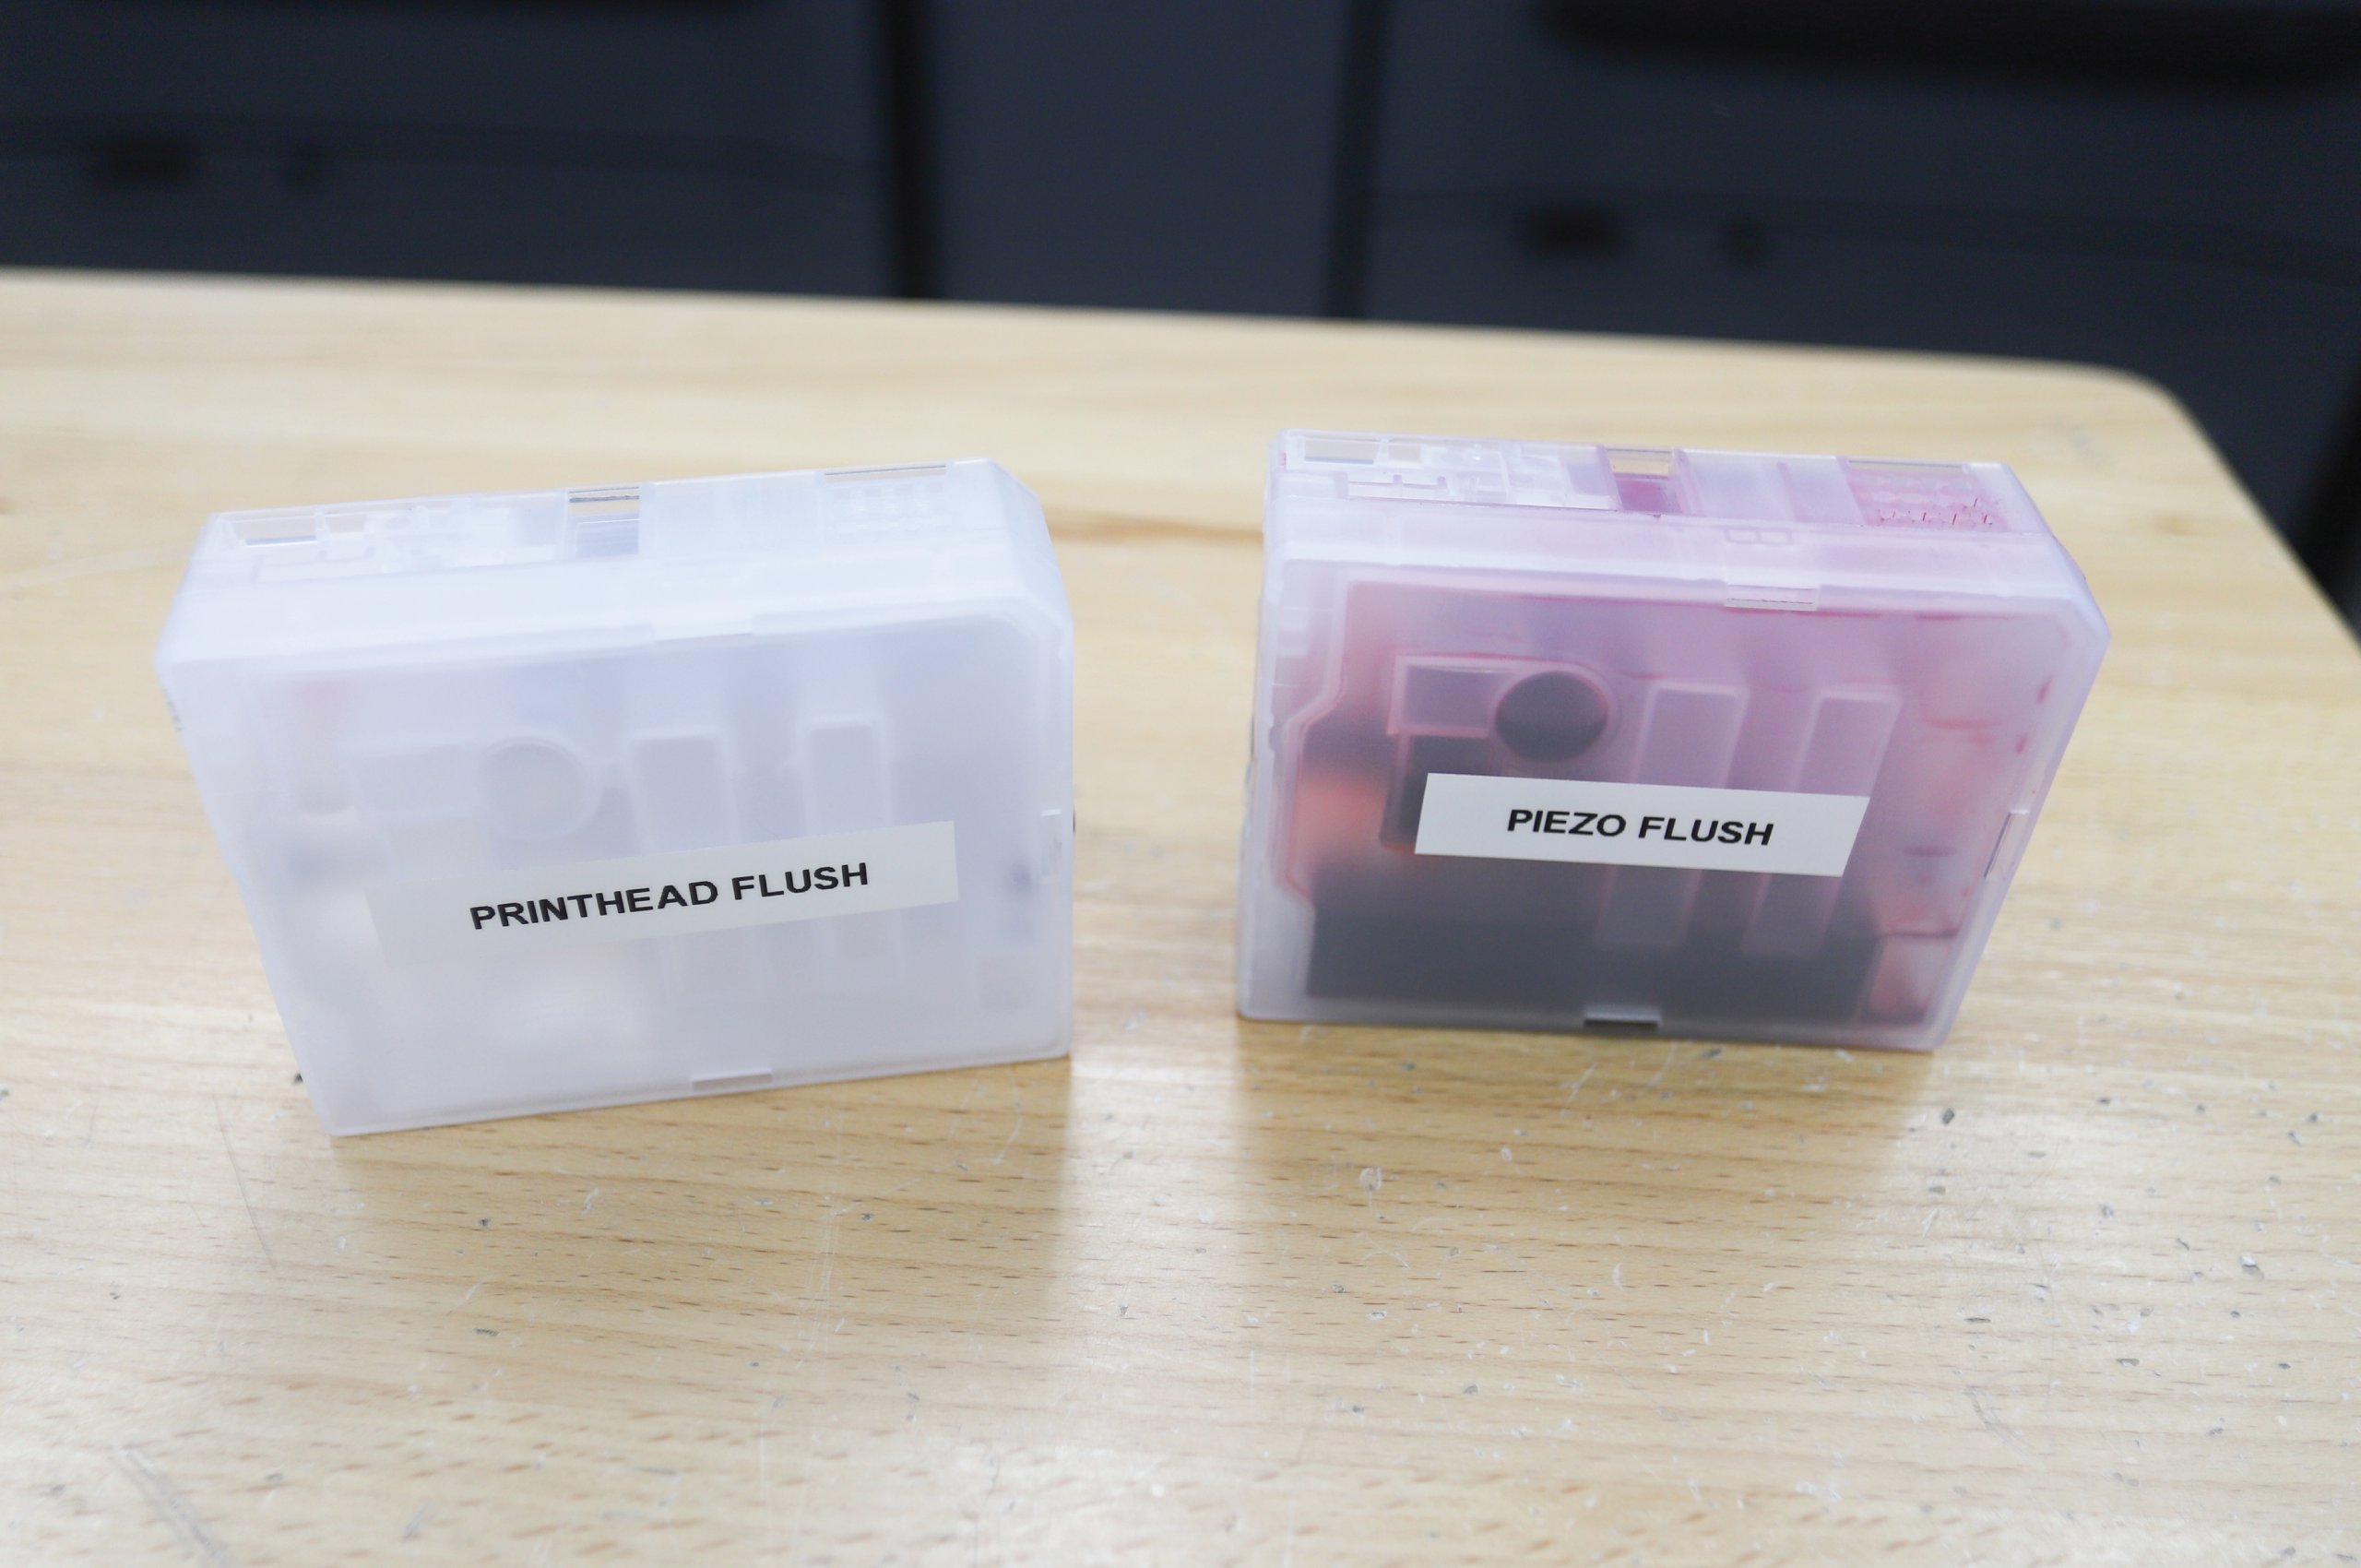
I bought some generic print head cleaning solution along with some PiezoFlush. The printer had been sitting for three months so I took the safe route and flushed all the ink.

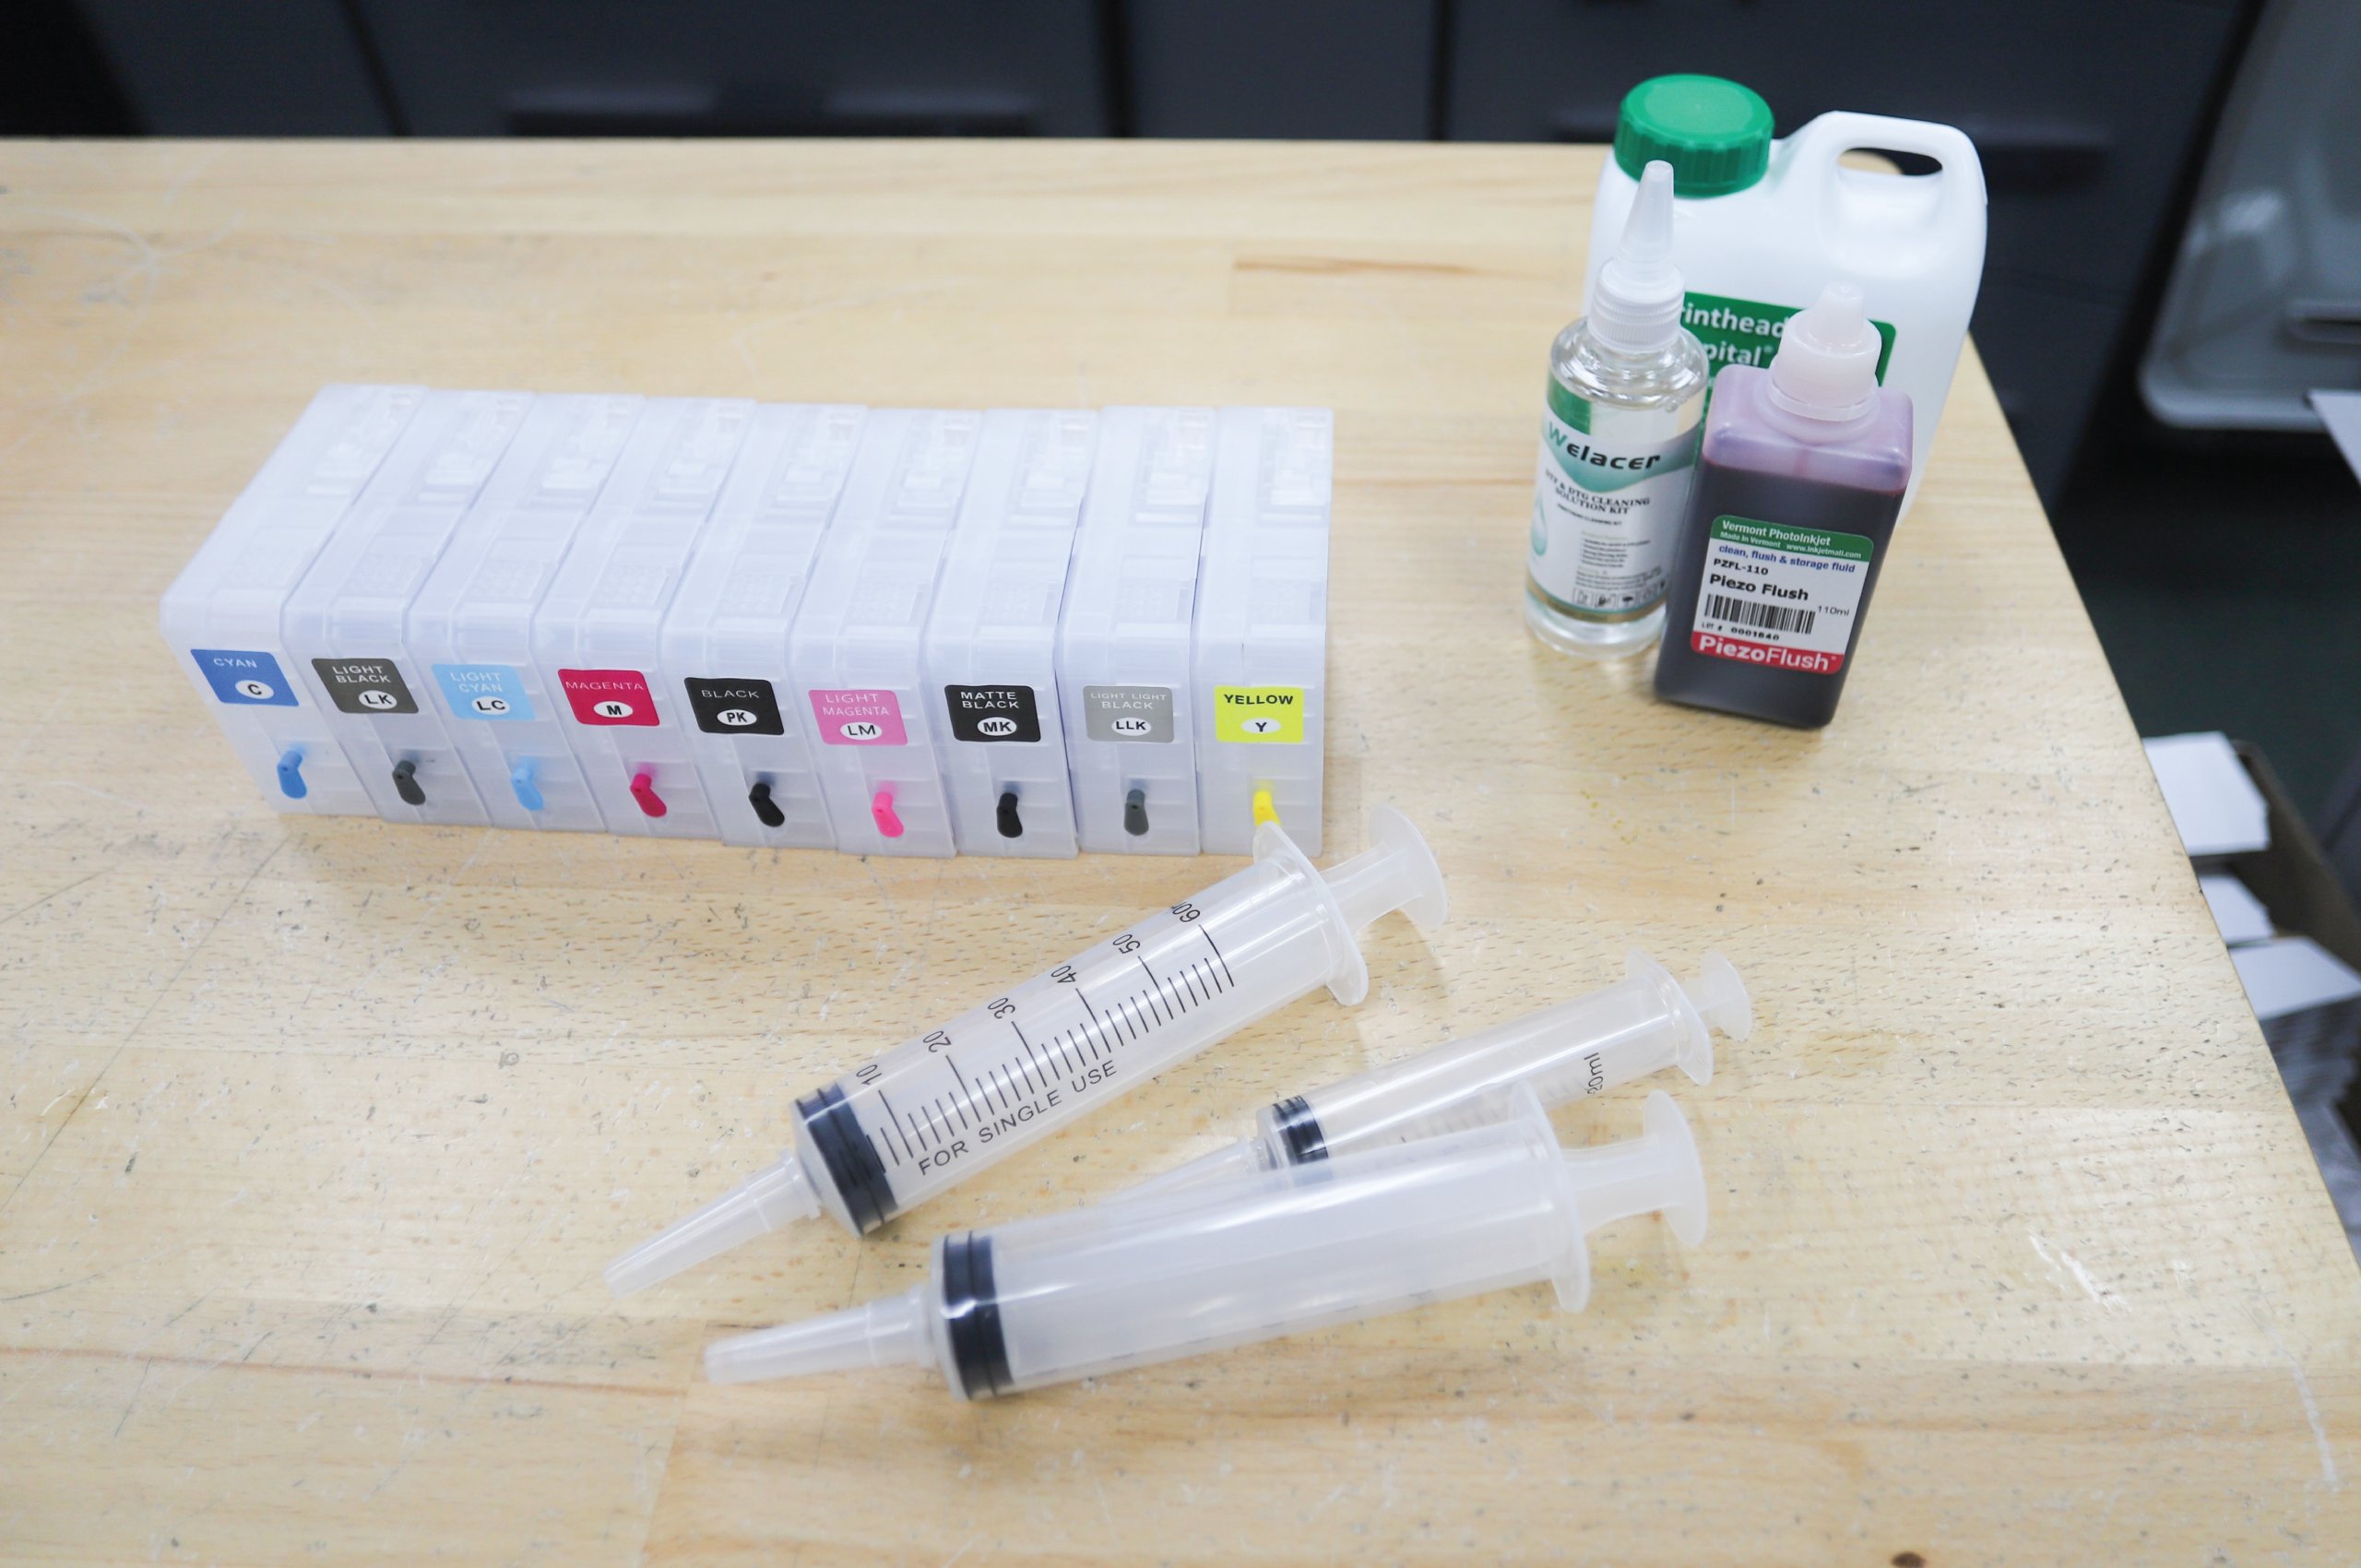
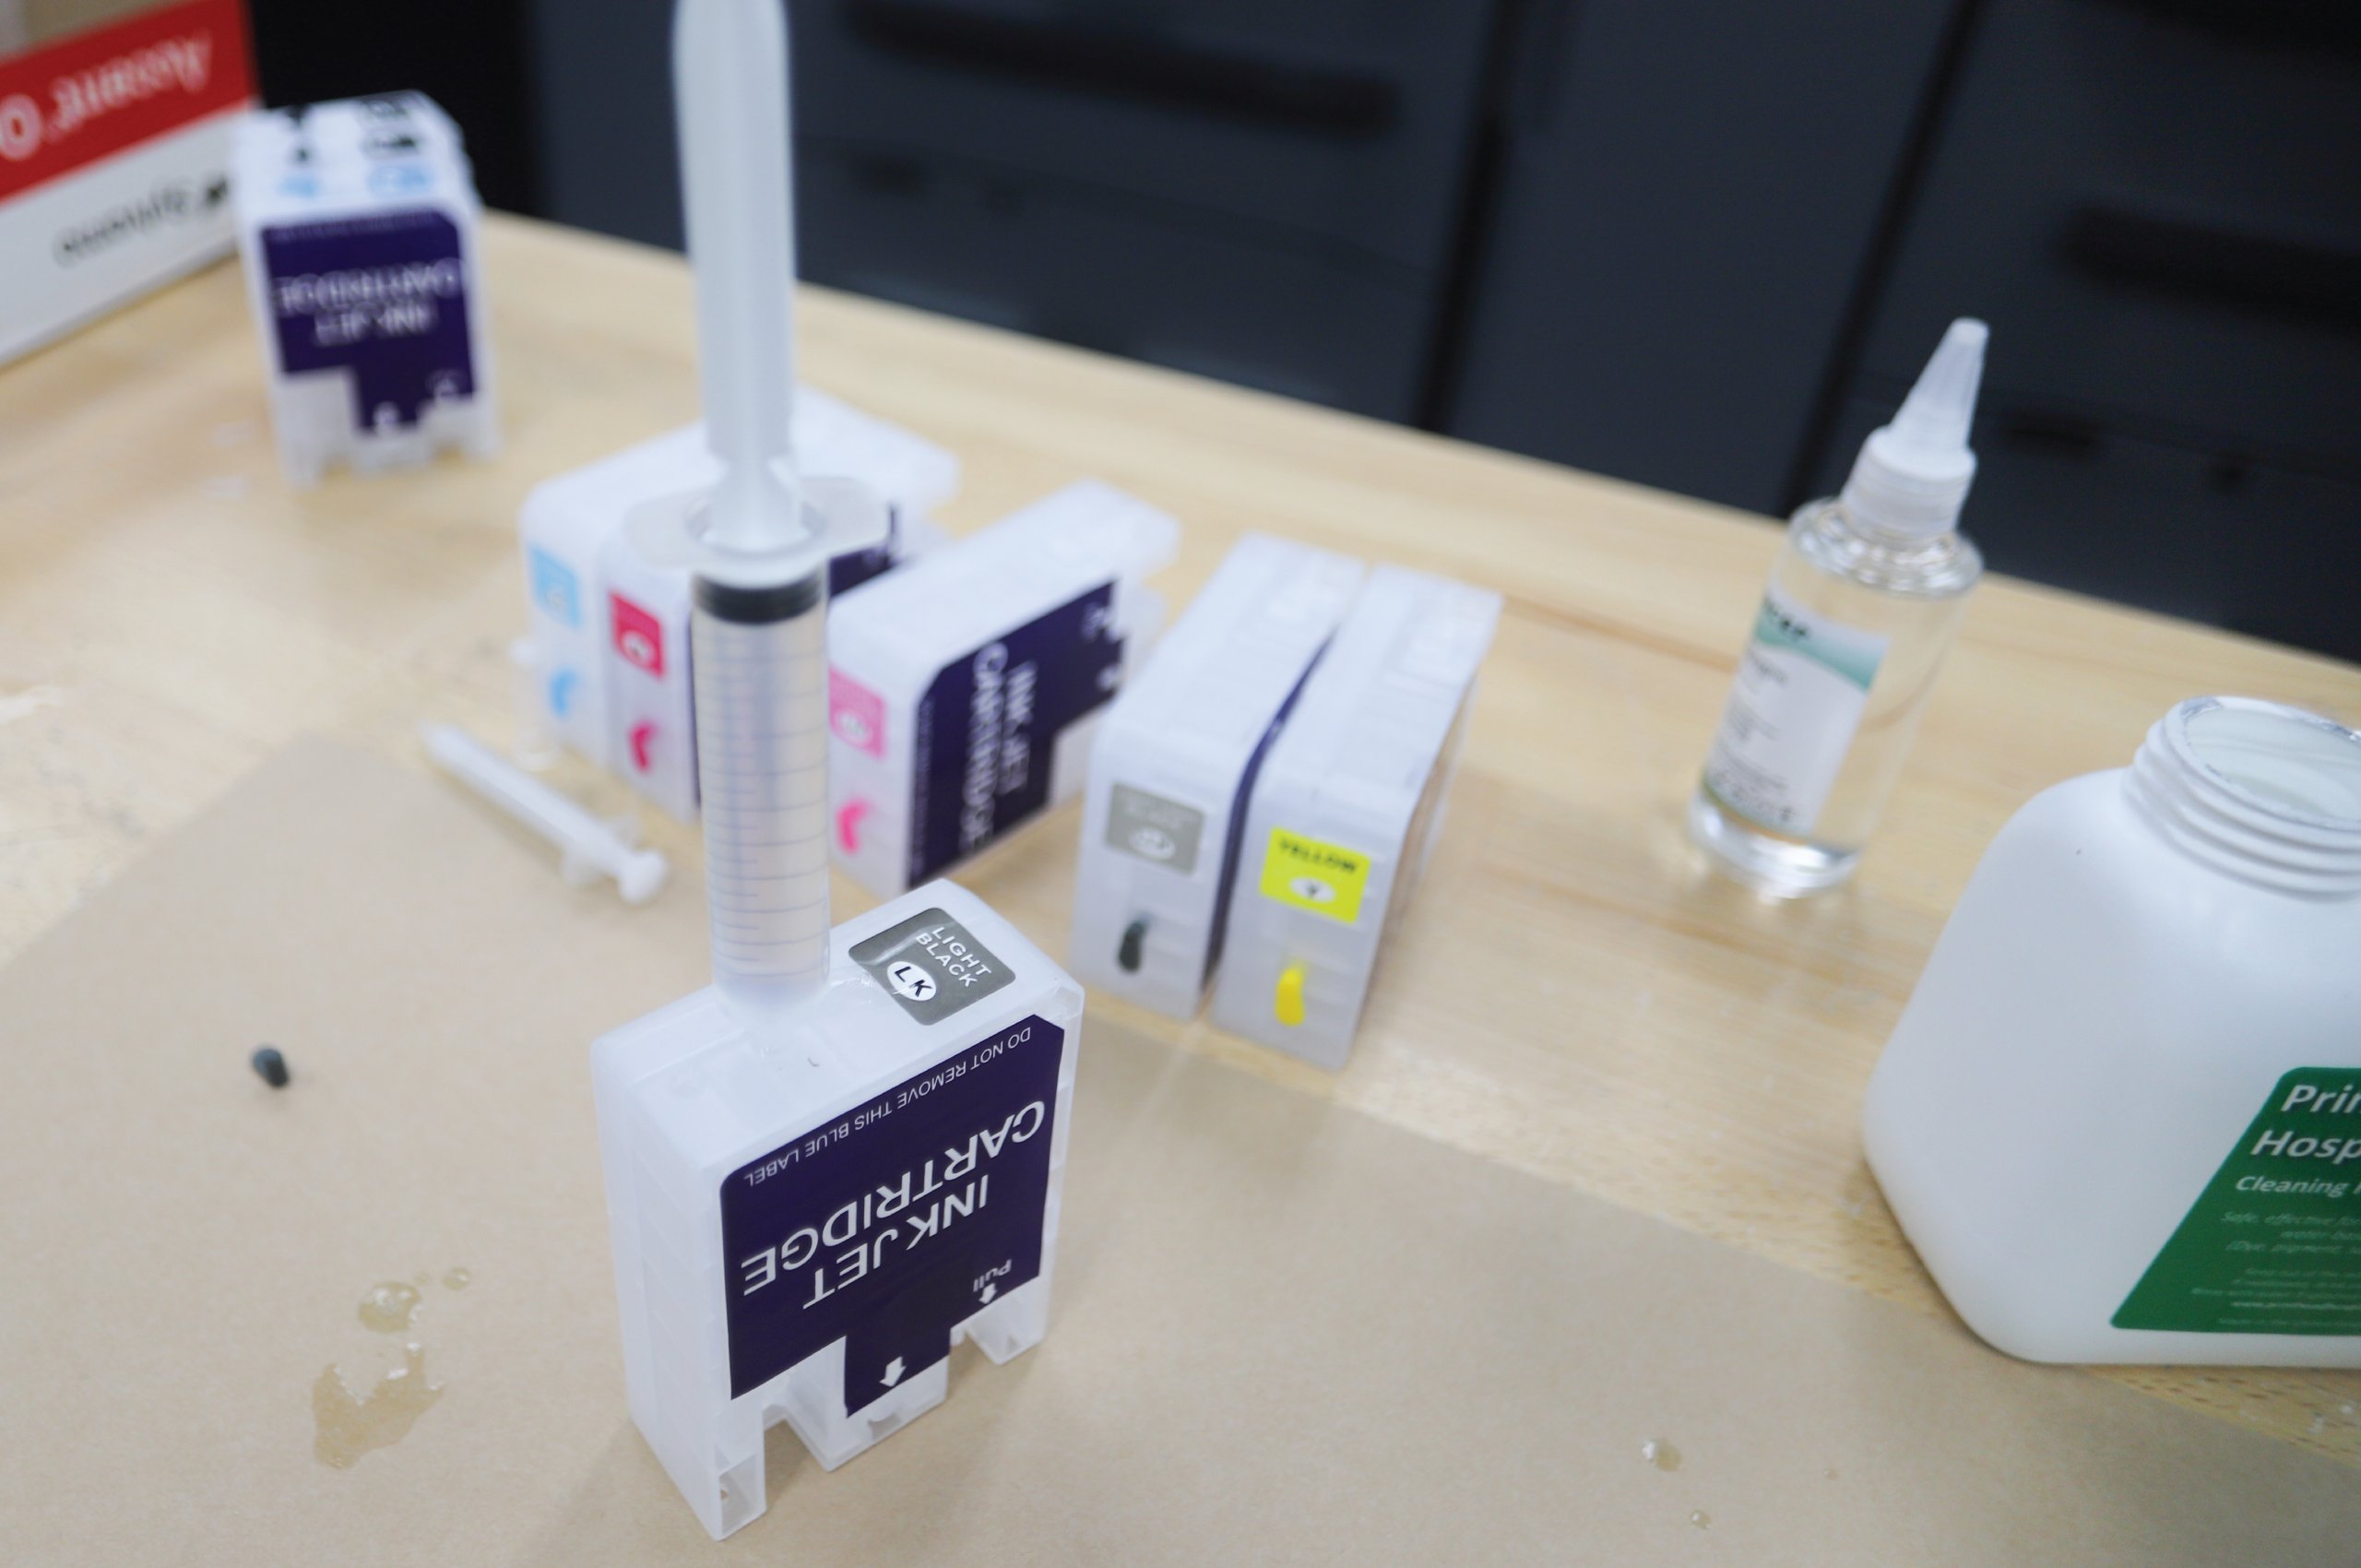

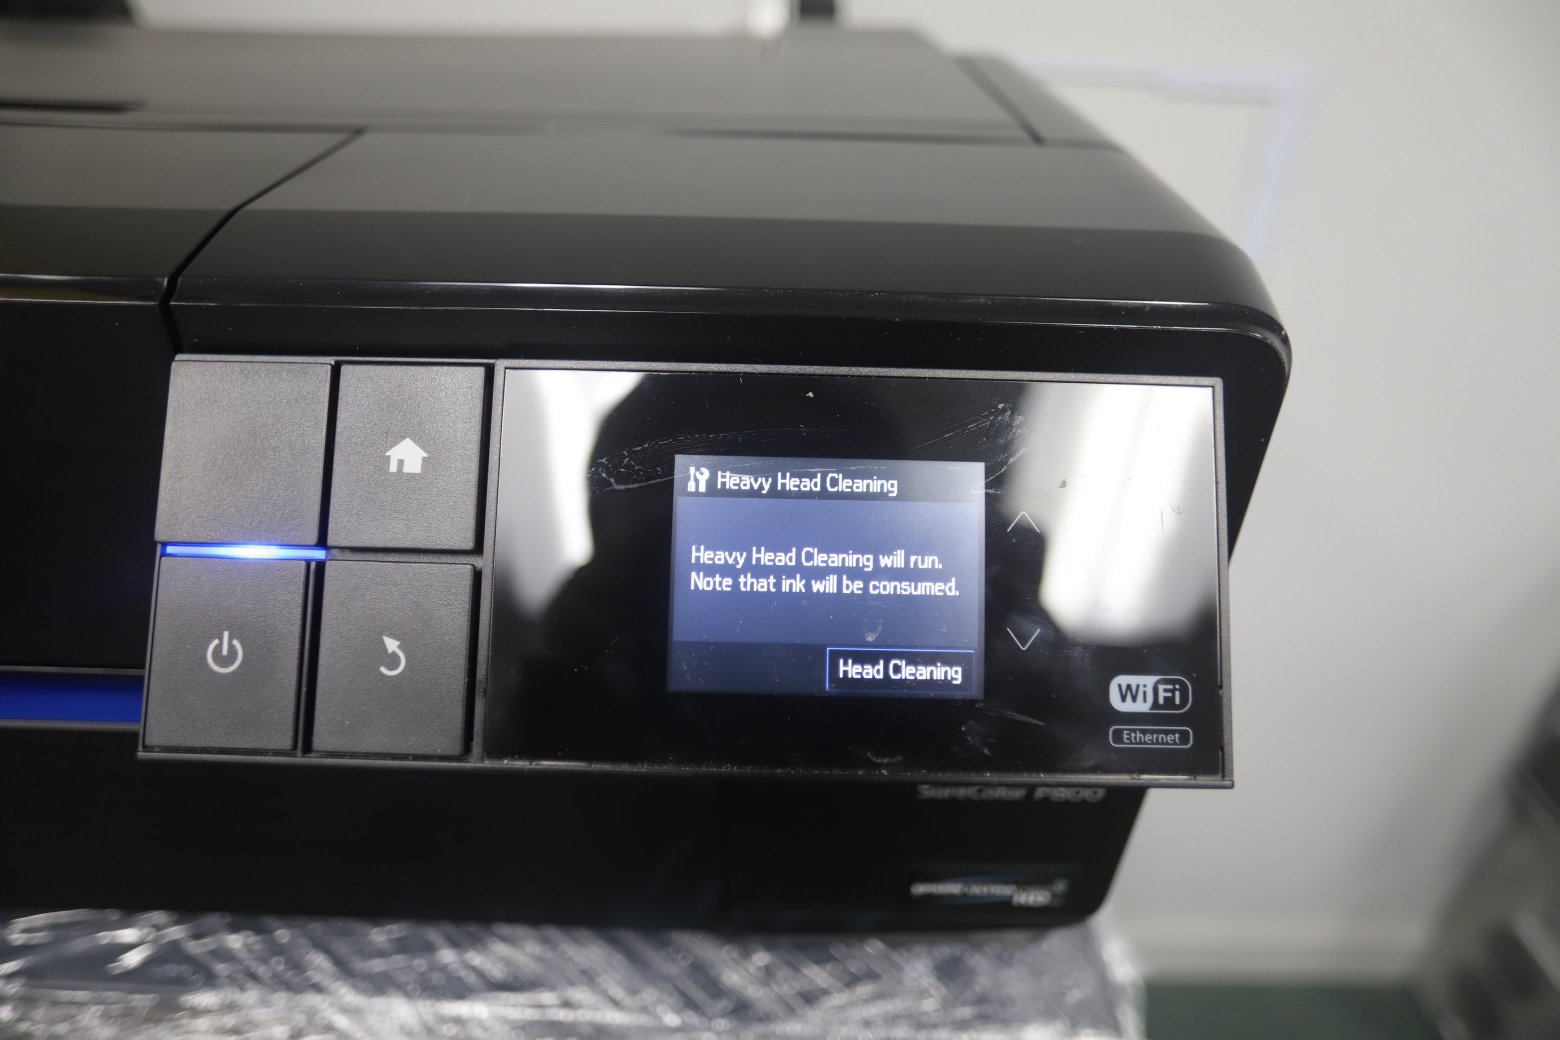
I filled nine empty cartridges with the cleaning solution and ran the printer’s “Heavy Head Cleaning,” which basically runs “ink” through the print head and out to a waste container.
After flushing the print head, I installed the DTF ink cartridges and ran the heavy head cleaning a couple of times. I ended up not needing the PiezoFlush.
Software, CADlink
None of this will work without the right software. I’ve been using CADlink Digital Factory. I’d never heard of CADlink up until two weeks ago, but apparently they were bought out by EFI.
Ink Order Control
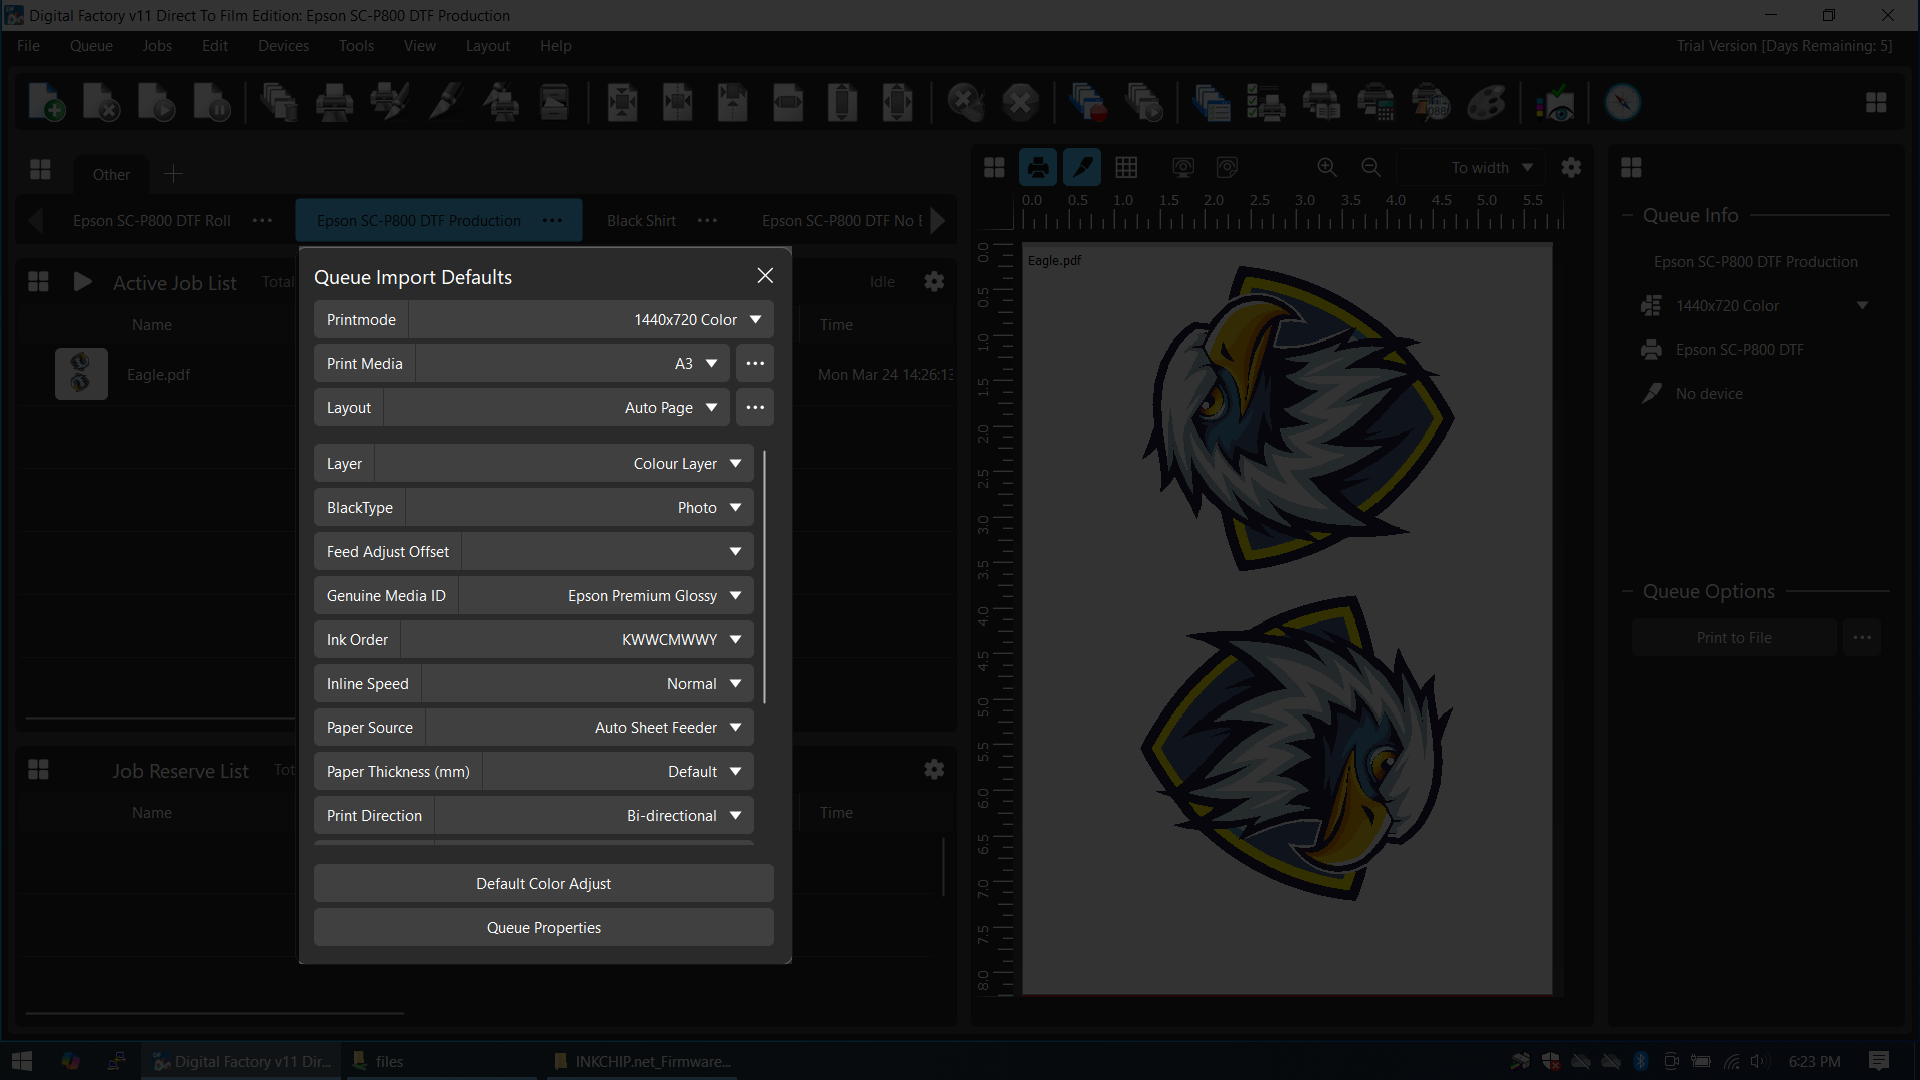
The CADLink software has the ability to re-assign the ink channels. This makes printing using the CMYK+White DTF inks possible.
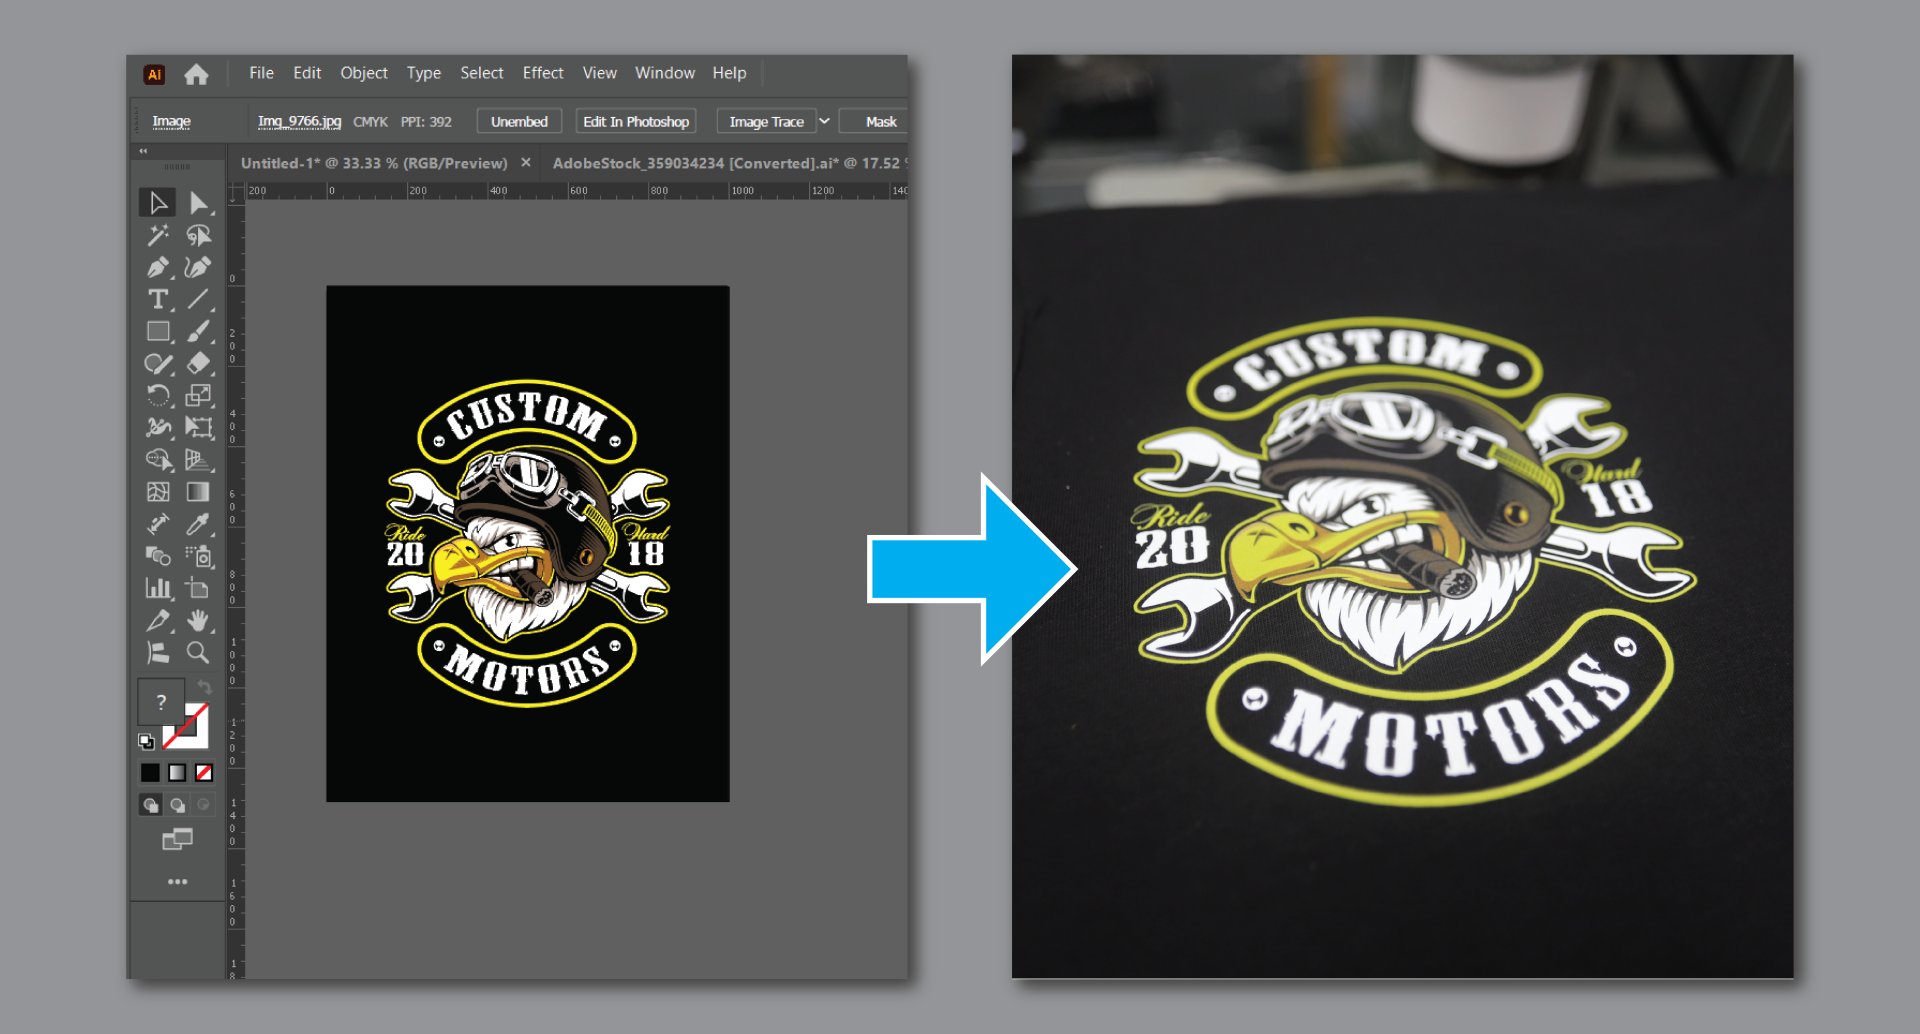
White Underbase
DTF ink isn’t entirely opaque. If you print on dark garments, the color of the material will blend with your design, making it appear darker than intended. This is why an “under-coat” of white ink is needed.
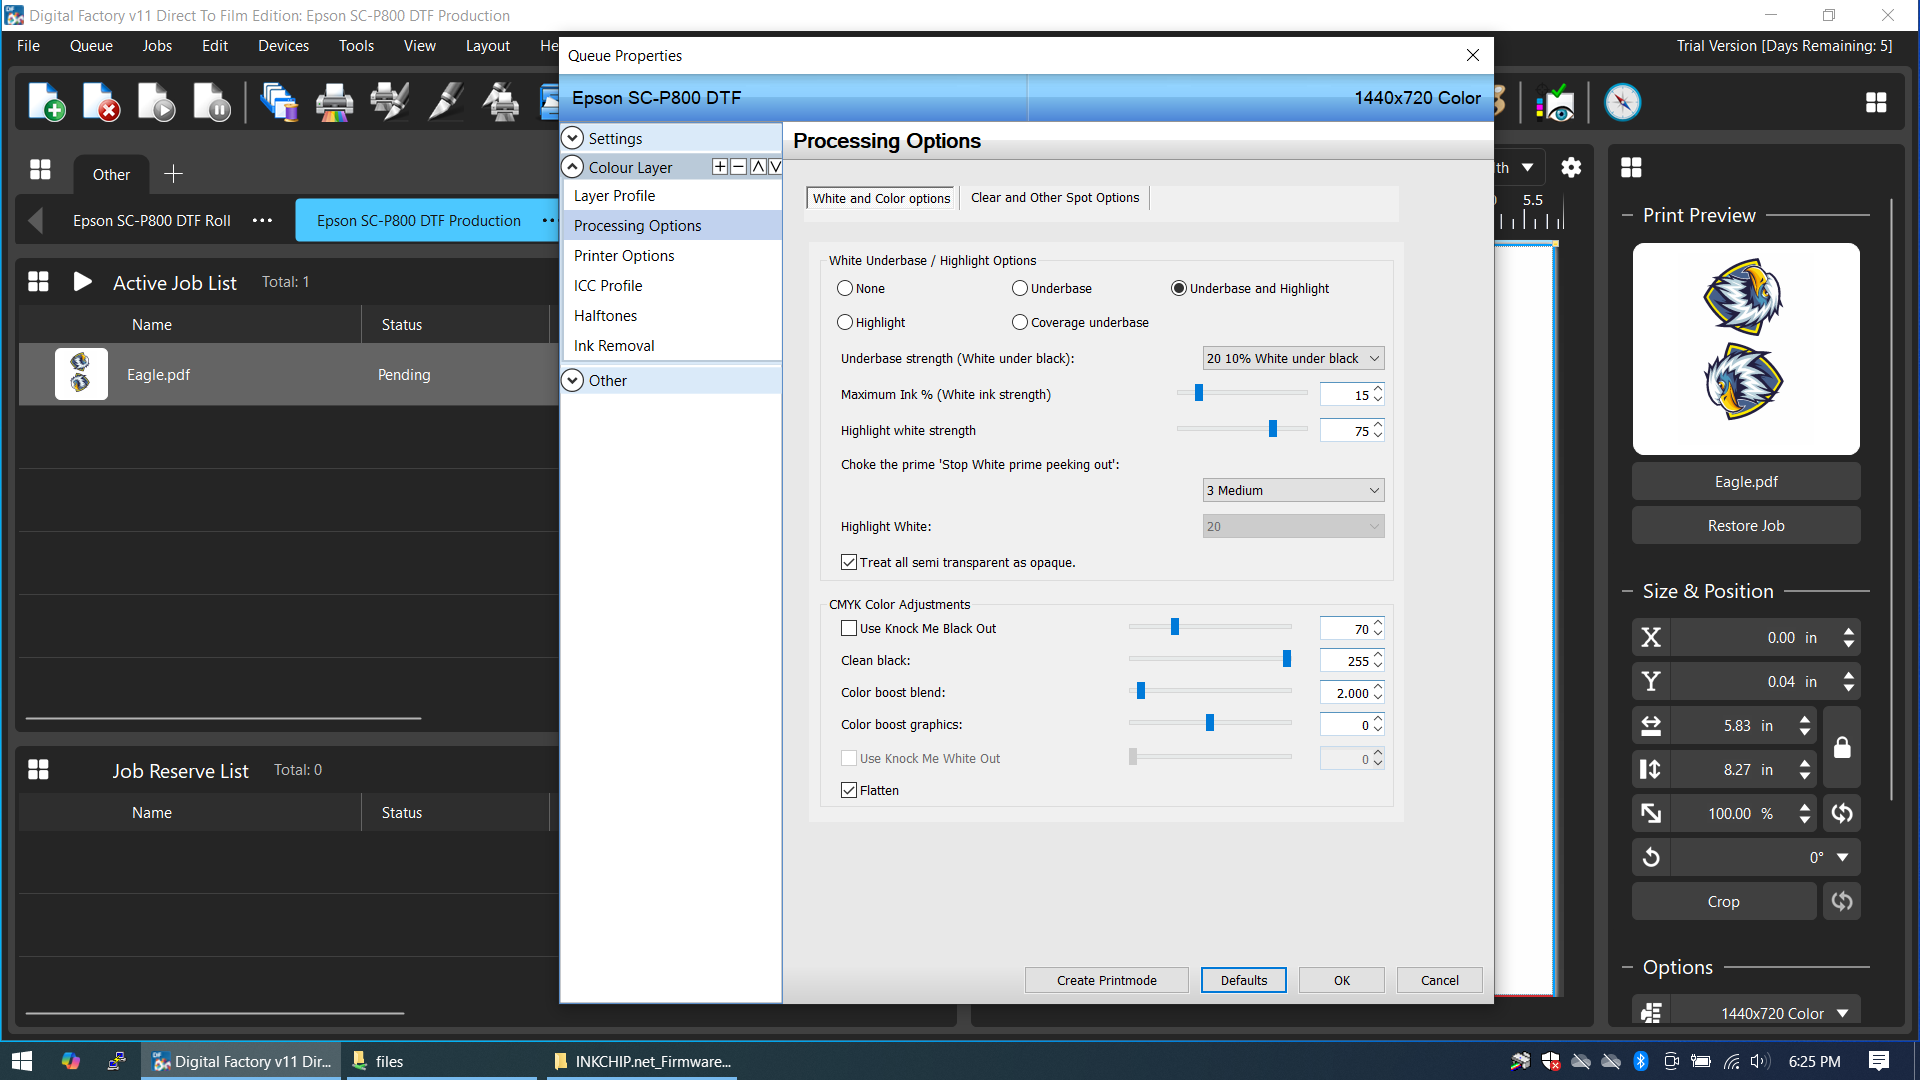
CADLink has fine controls for how the white underbase is put down. It allows you to dial in how much white ink to use depending on your desired effect. If you’re printing on anything other than a white shirt, you should use a white underbase.
Costs
I’m using the trial version of CADLink for now. The full license is $450 USD and my company will likely purchase it after the trial expires.
CADLink has a cost estimator. You can input the cost of ink, film, and other consumables. If the estimator is to be believed, most of my prints were fifty cents or less in consumables. Make of that what you will.
Printing Stuff

Powder, Curing and Heat Press
Powder
DTF powder is applied to the wet ink after printing. The powder acts as a glue between the ink and the shirt. Once heated, the powder will melt, bonding the ink and garment.
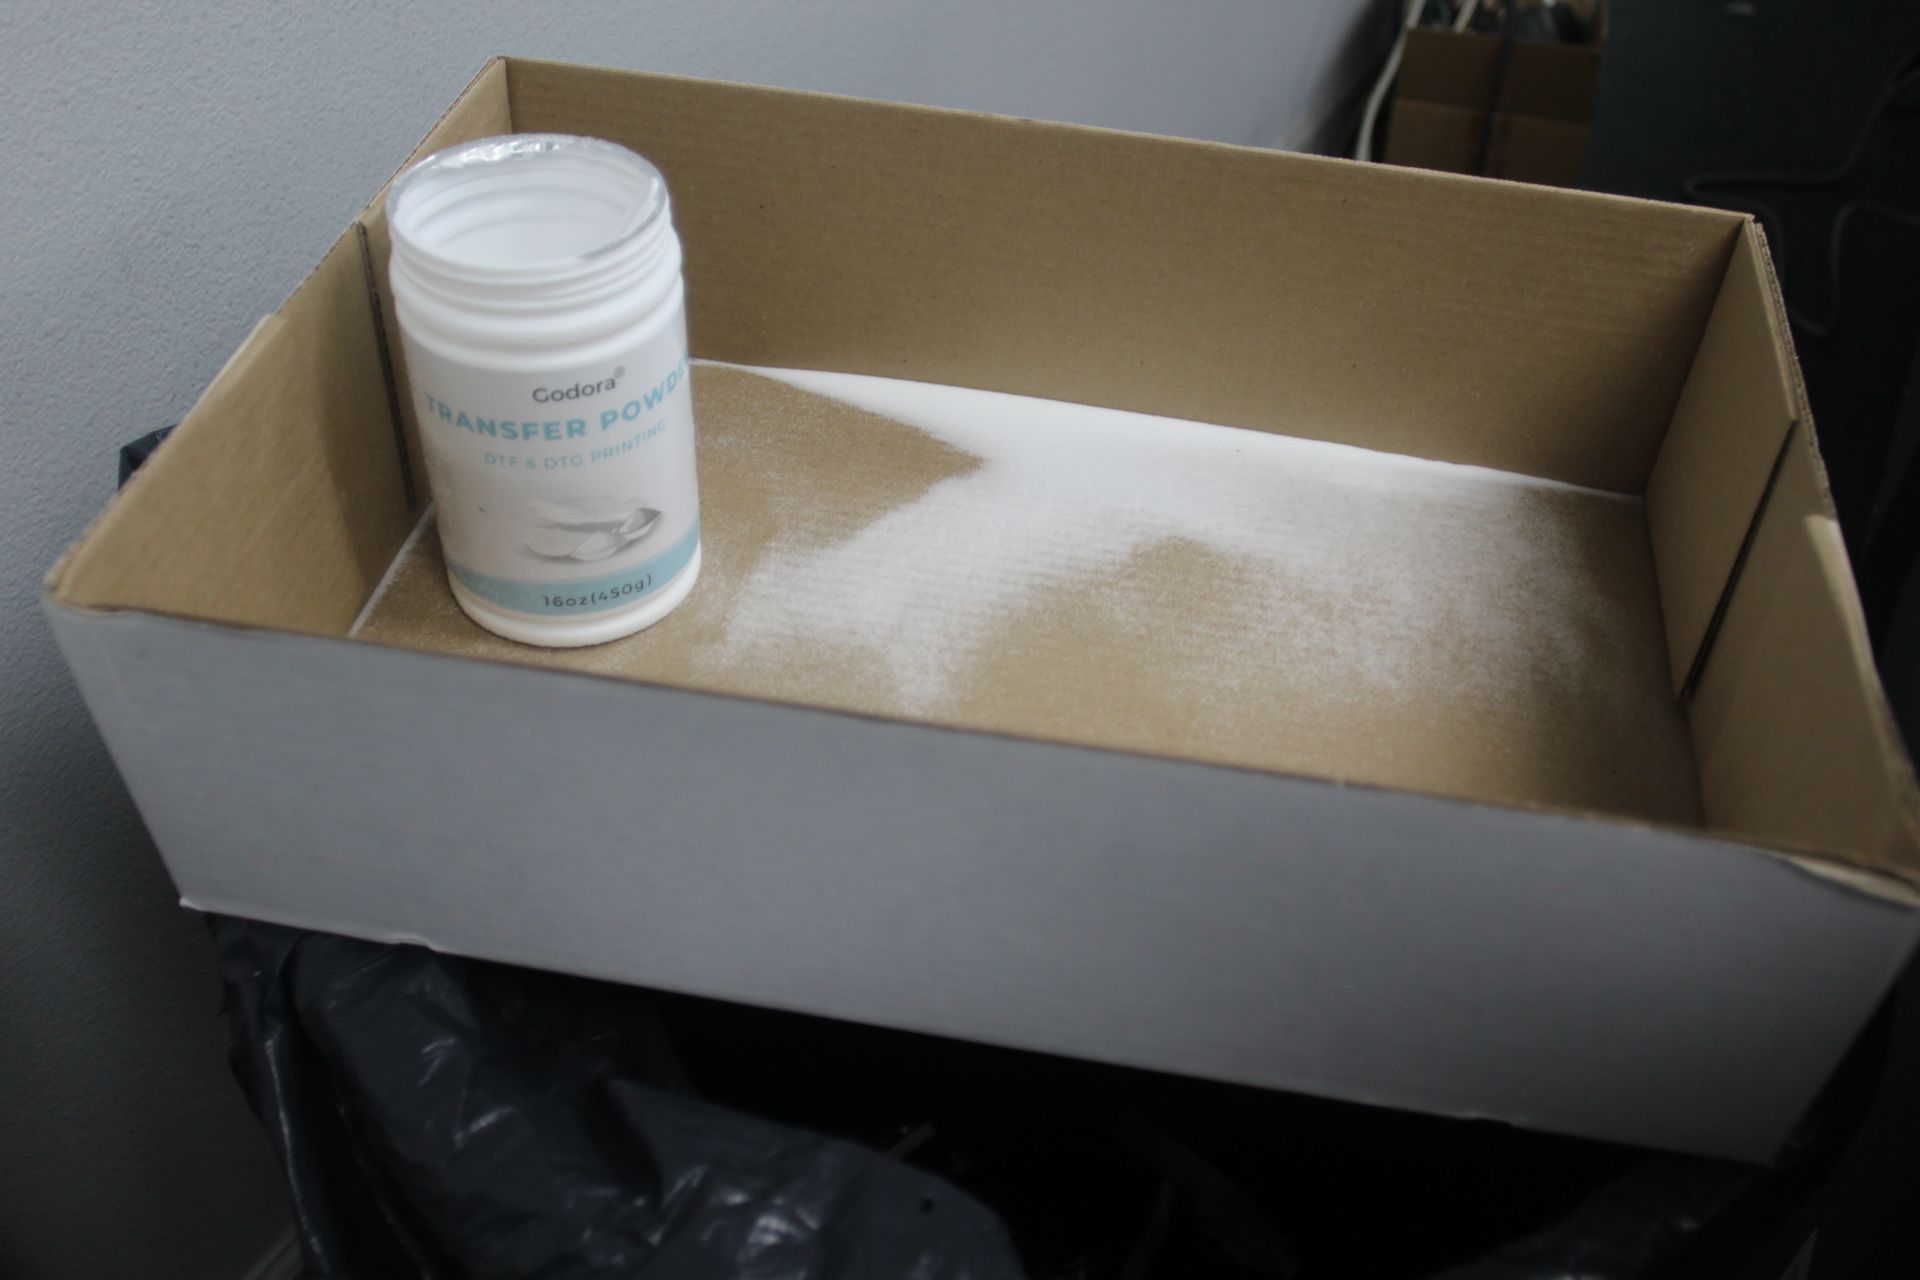
There’s no special technique to this. I dump a scoop of powder on the print and move it around like a gold prospector. Then shake the excess off.
Curing
Curing DTF film after printing involves some kind of heat. You can use a DTF curing oven or a heat press — either one should deliver good results. I’ve heard of people using irons, hot air guns, or even toaster ovens. I’ve never tried these myself, so I can’t speak to how they perform.
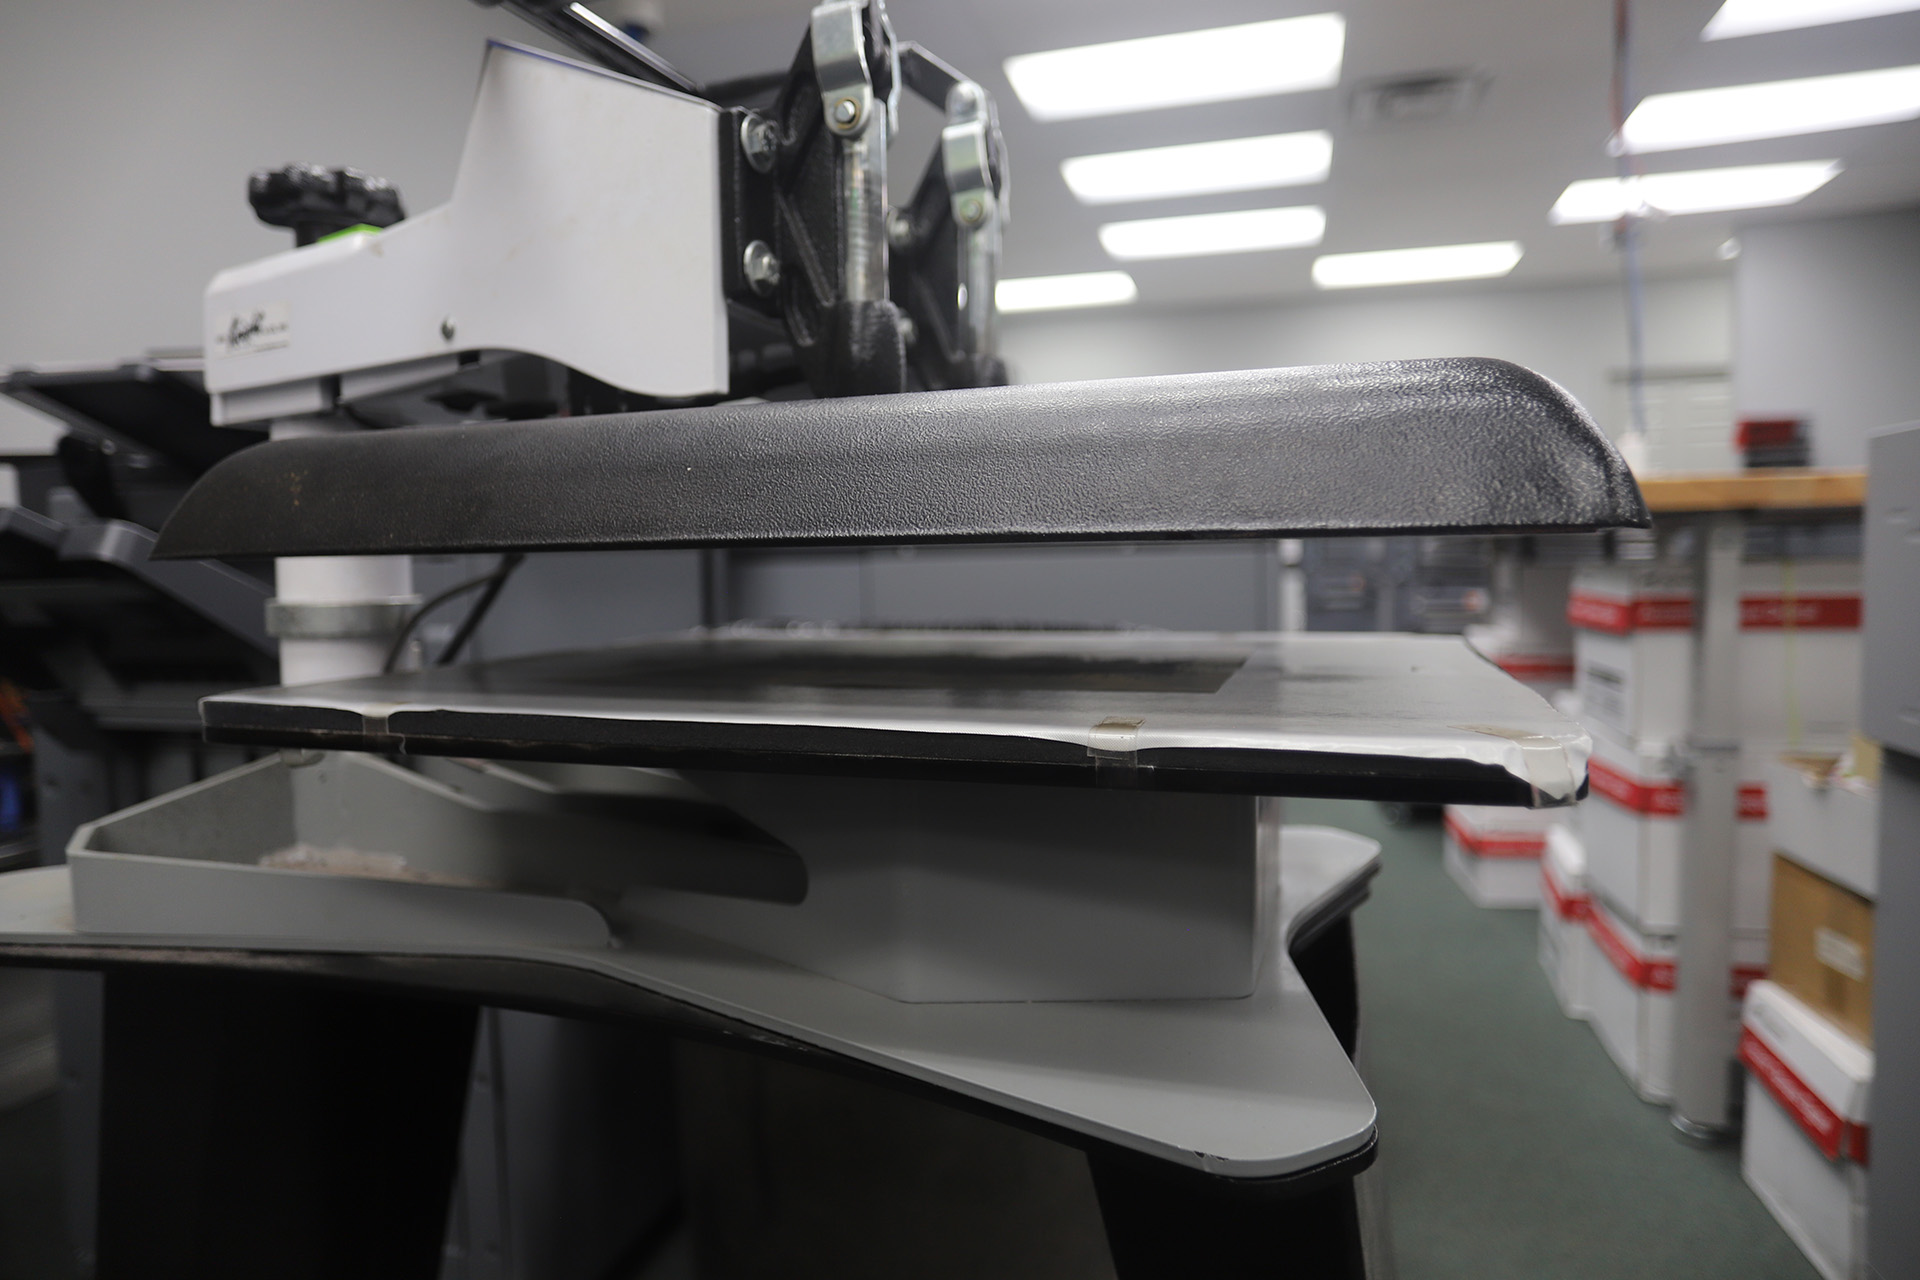
I use a swing away heat press for curing. After powder is applied, I place the film — powder-side up — under my heat press for three minutes at 325-350°F. If the design is very small I will do it for two minutes. The heat plate hovers a few inches above the film for curing.
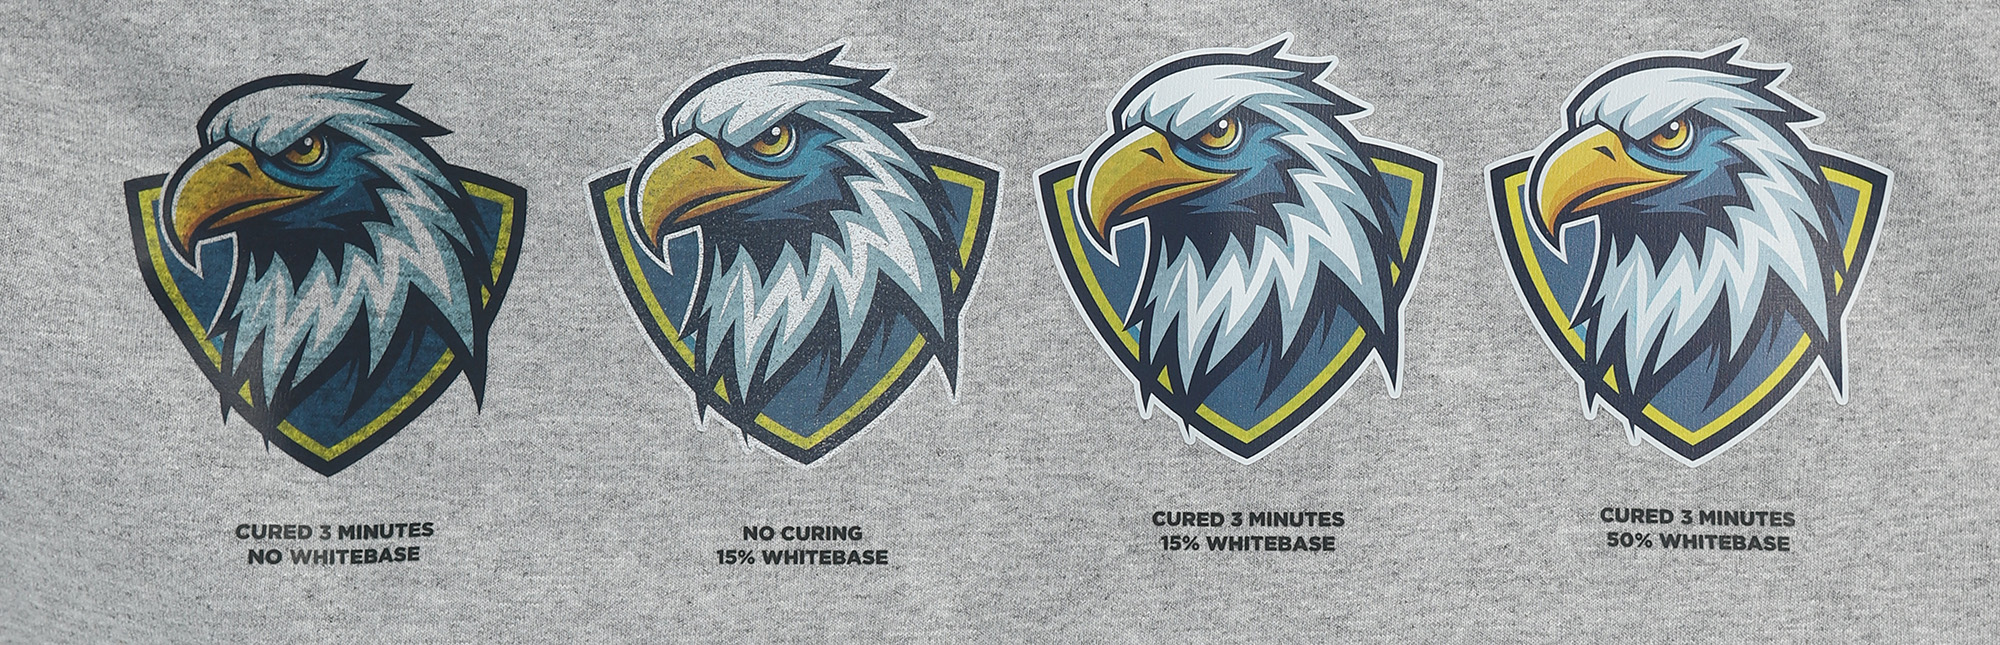
Why is curing necessary?
Here are four samples I made. The second eagle from the left has no curing. If you look closely at the second one, you can see that the white and most of the logo isn’t solid.
Heat Press
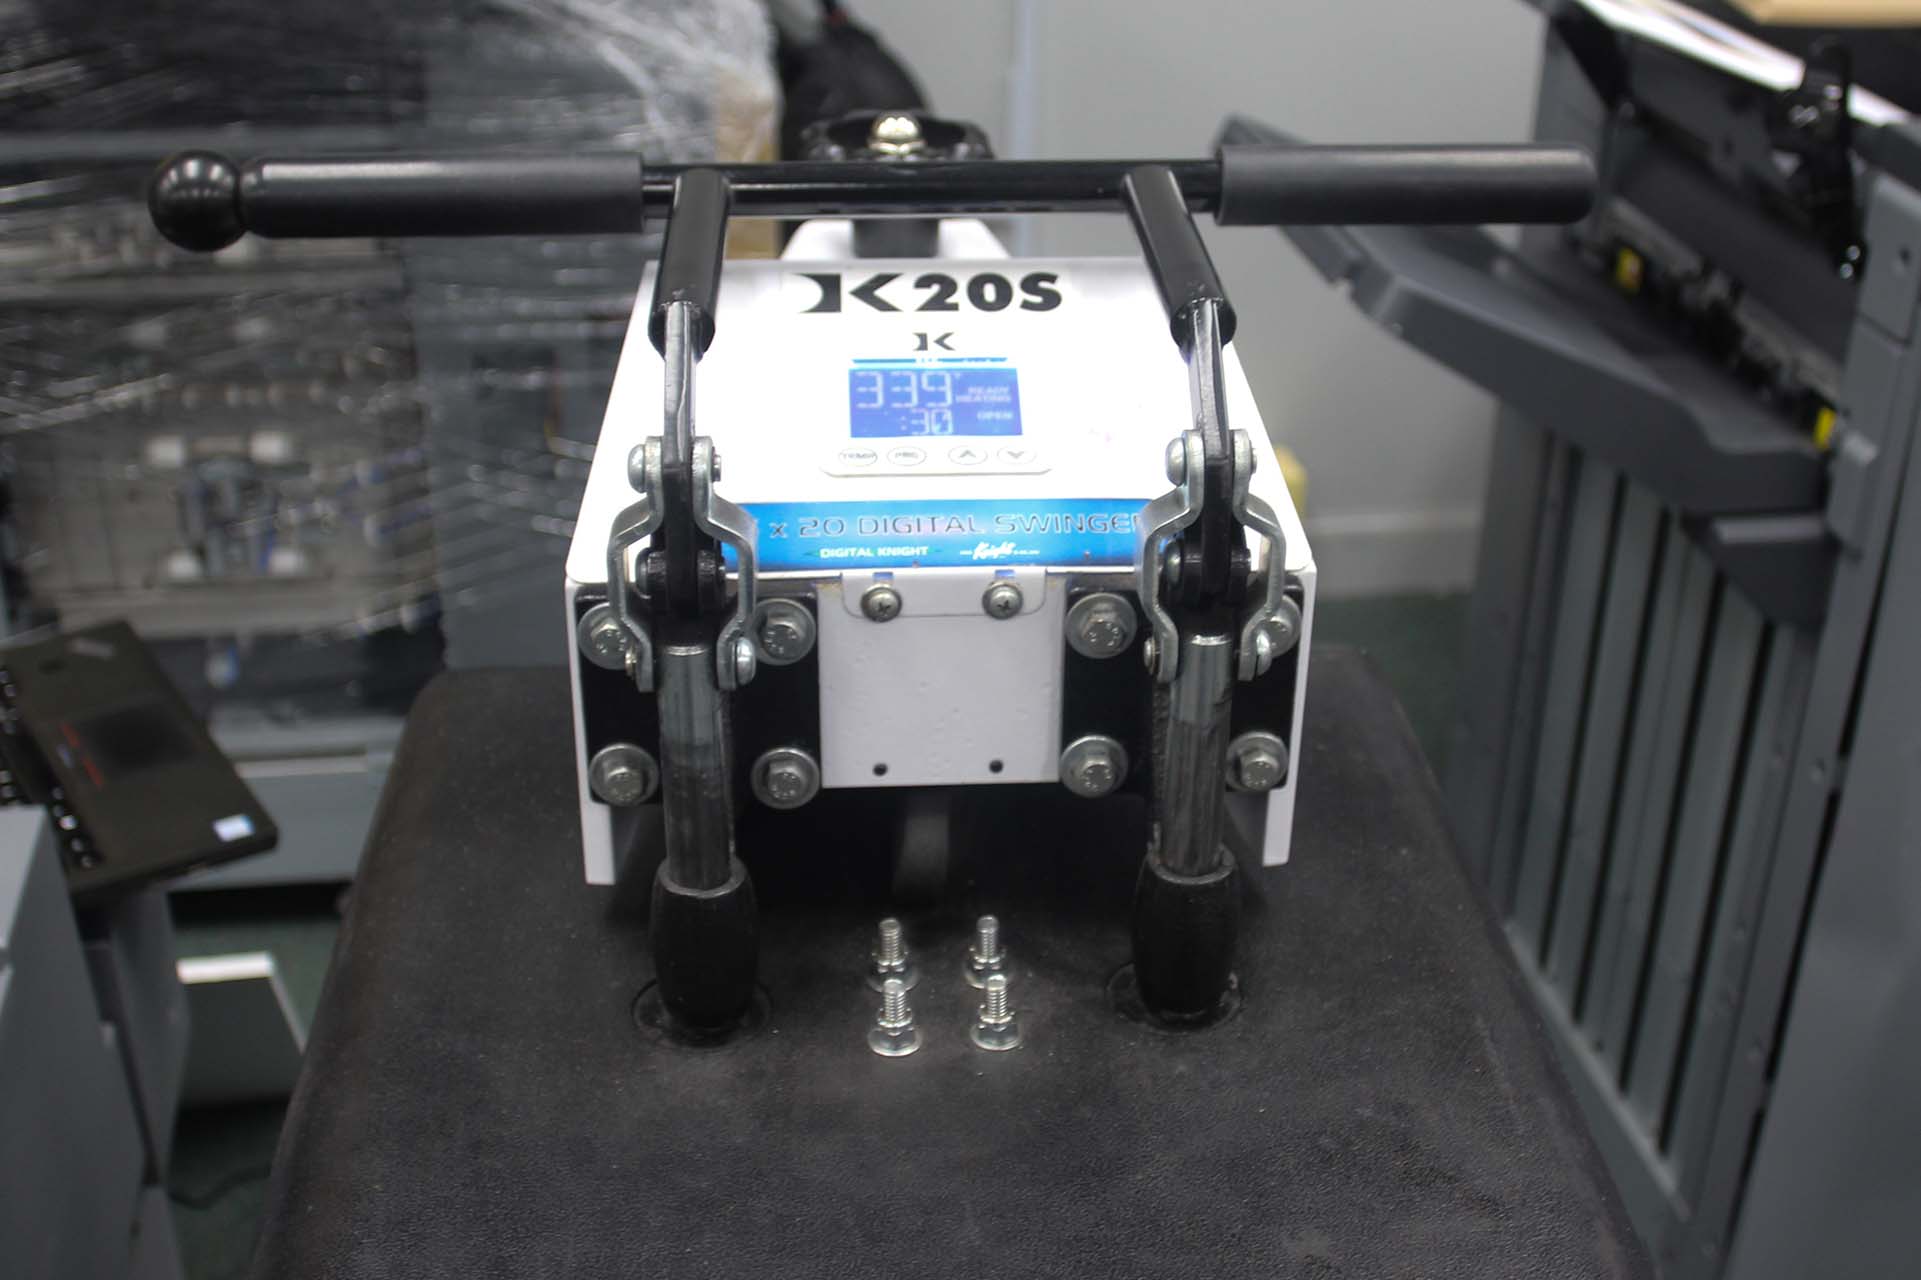
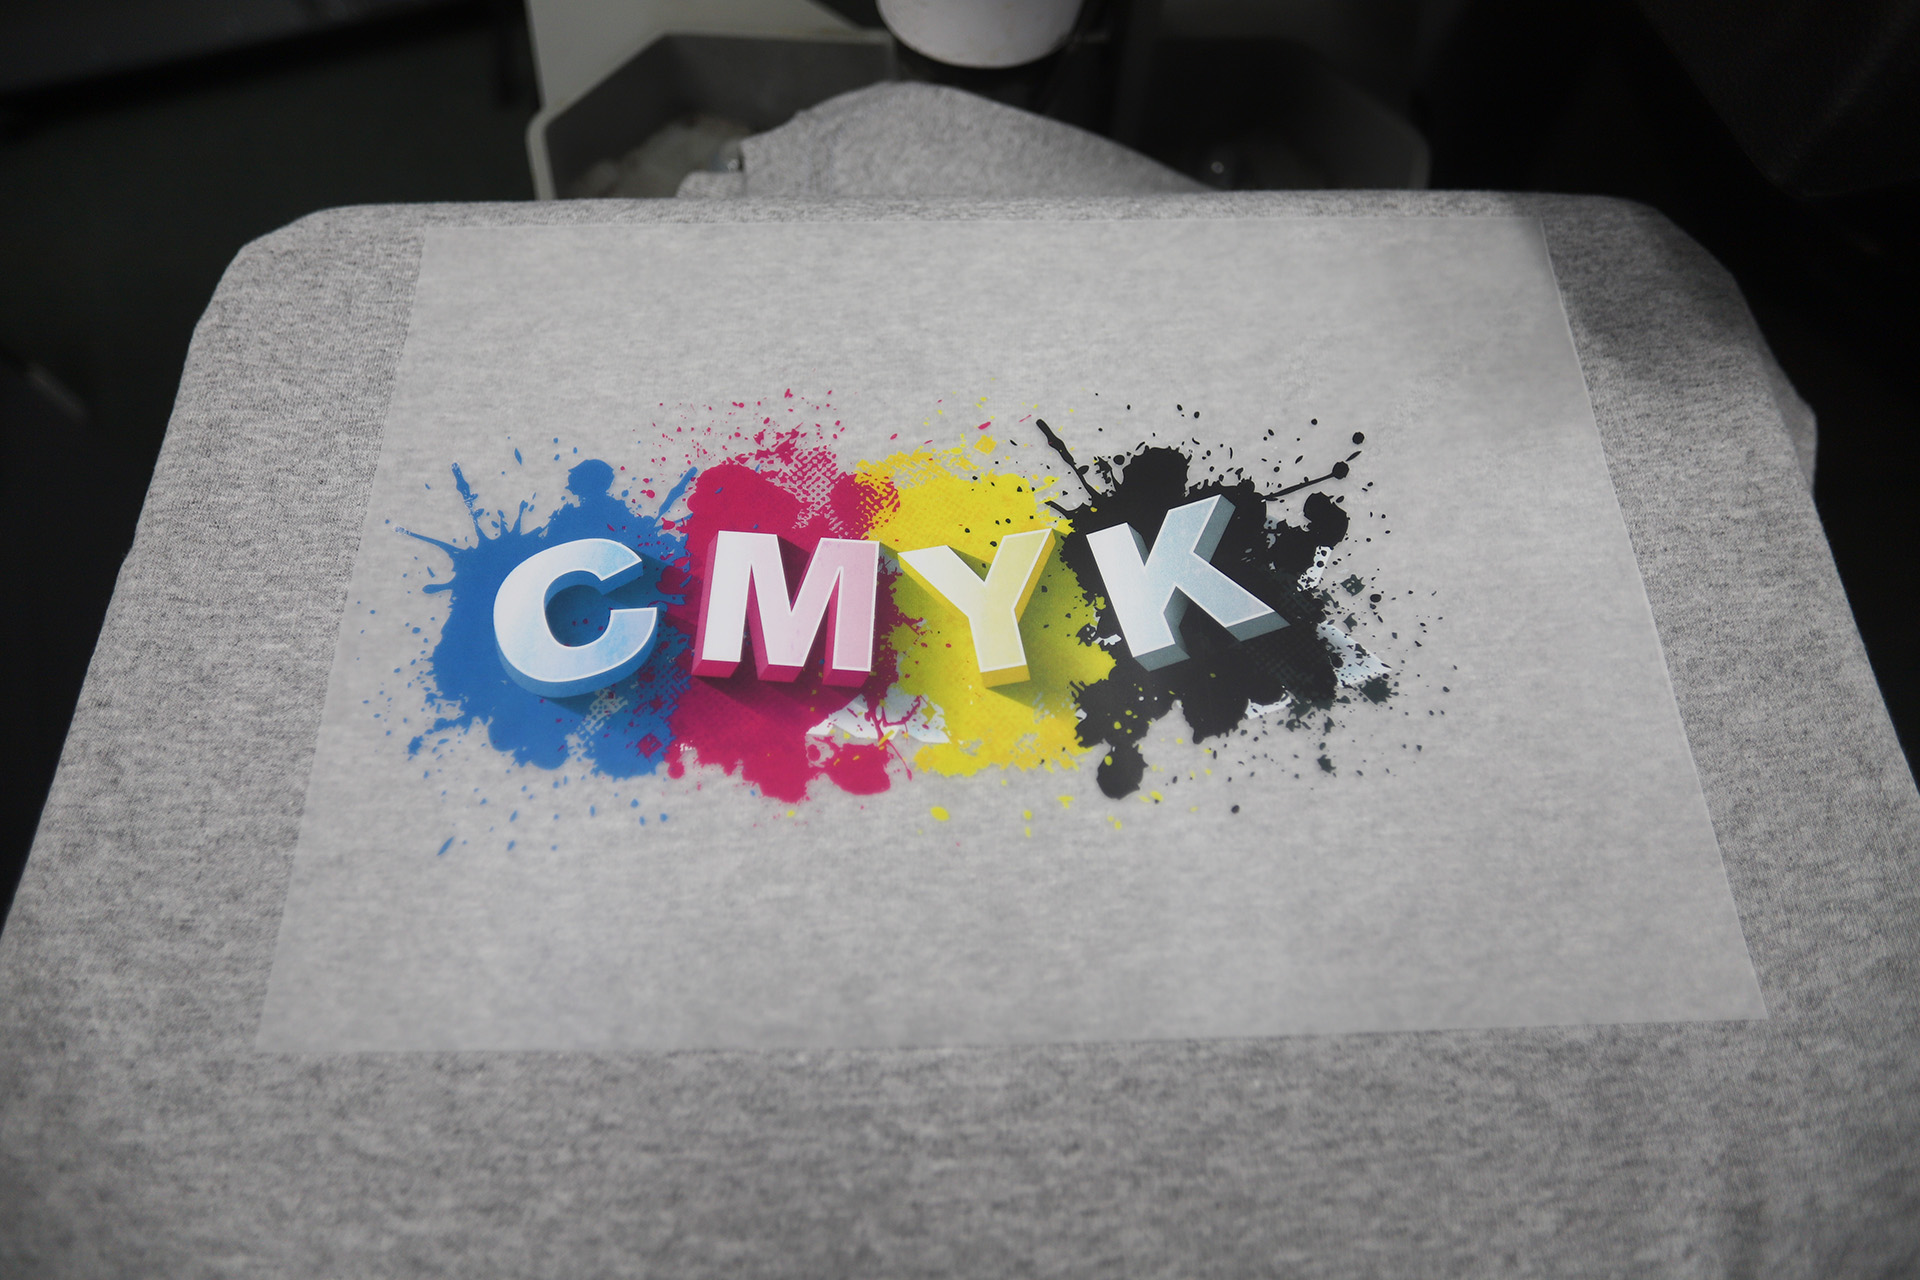
I have a Geo Knight DK20S. I press with a Teflon sheet over the DTF film at 350°F for 25 seconds. After the first press, I remove the PET carrier sheet and press again for five seconds with the Teflon sheet directly on the now-dry ink.
I change my temperatures and times depending on the application, (i.e. larger prints will get more time).
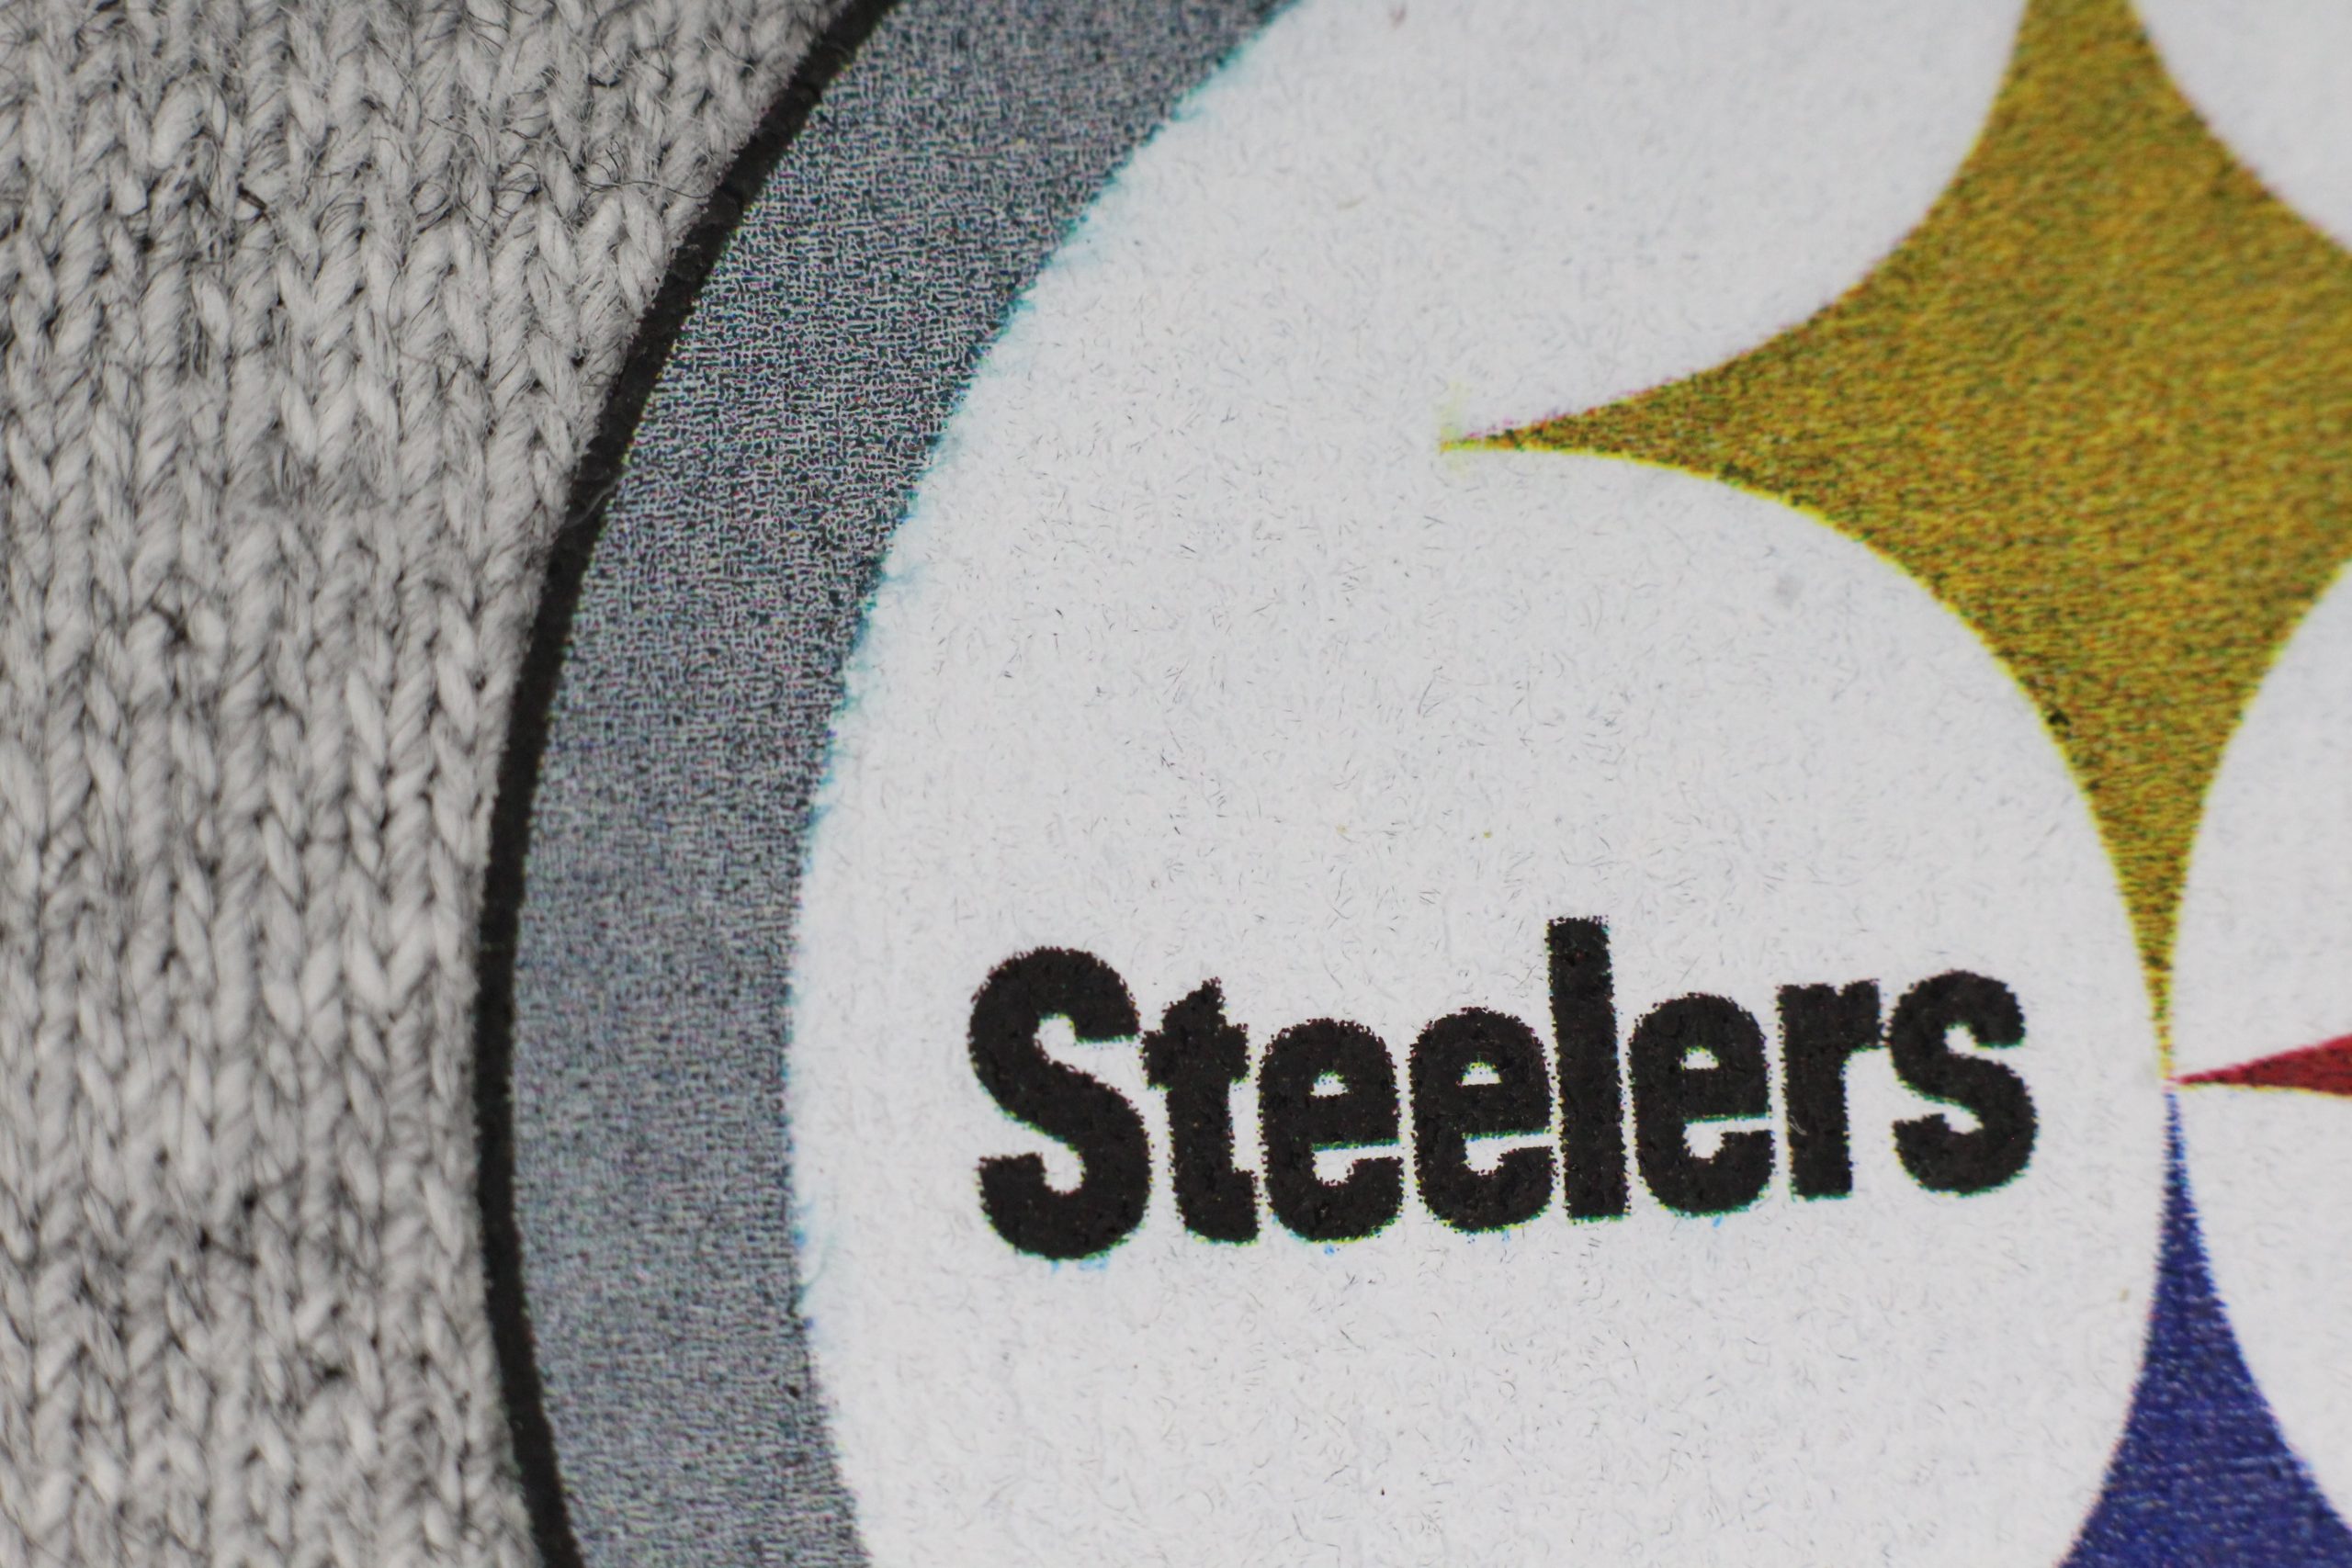
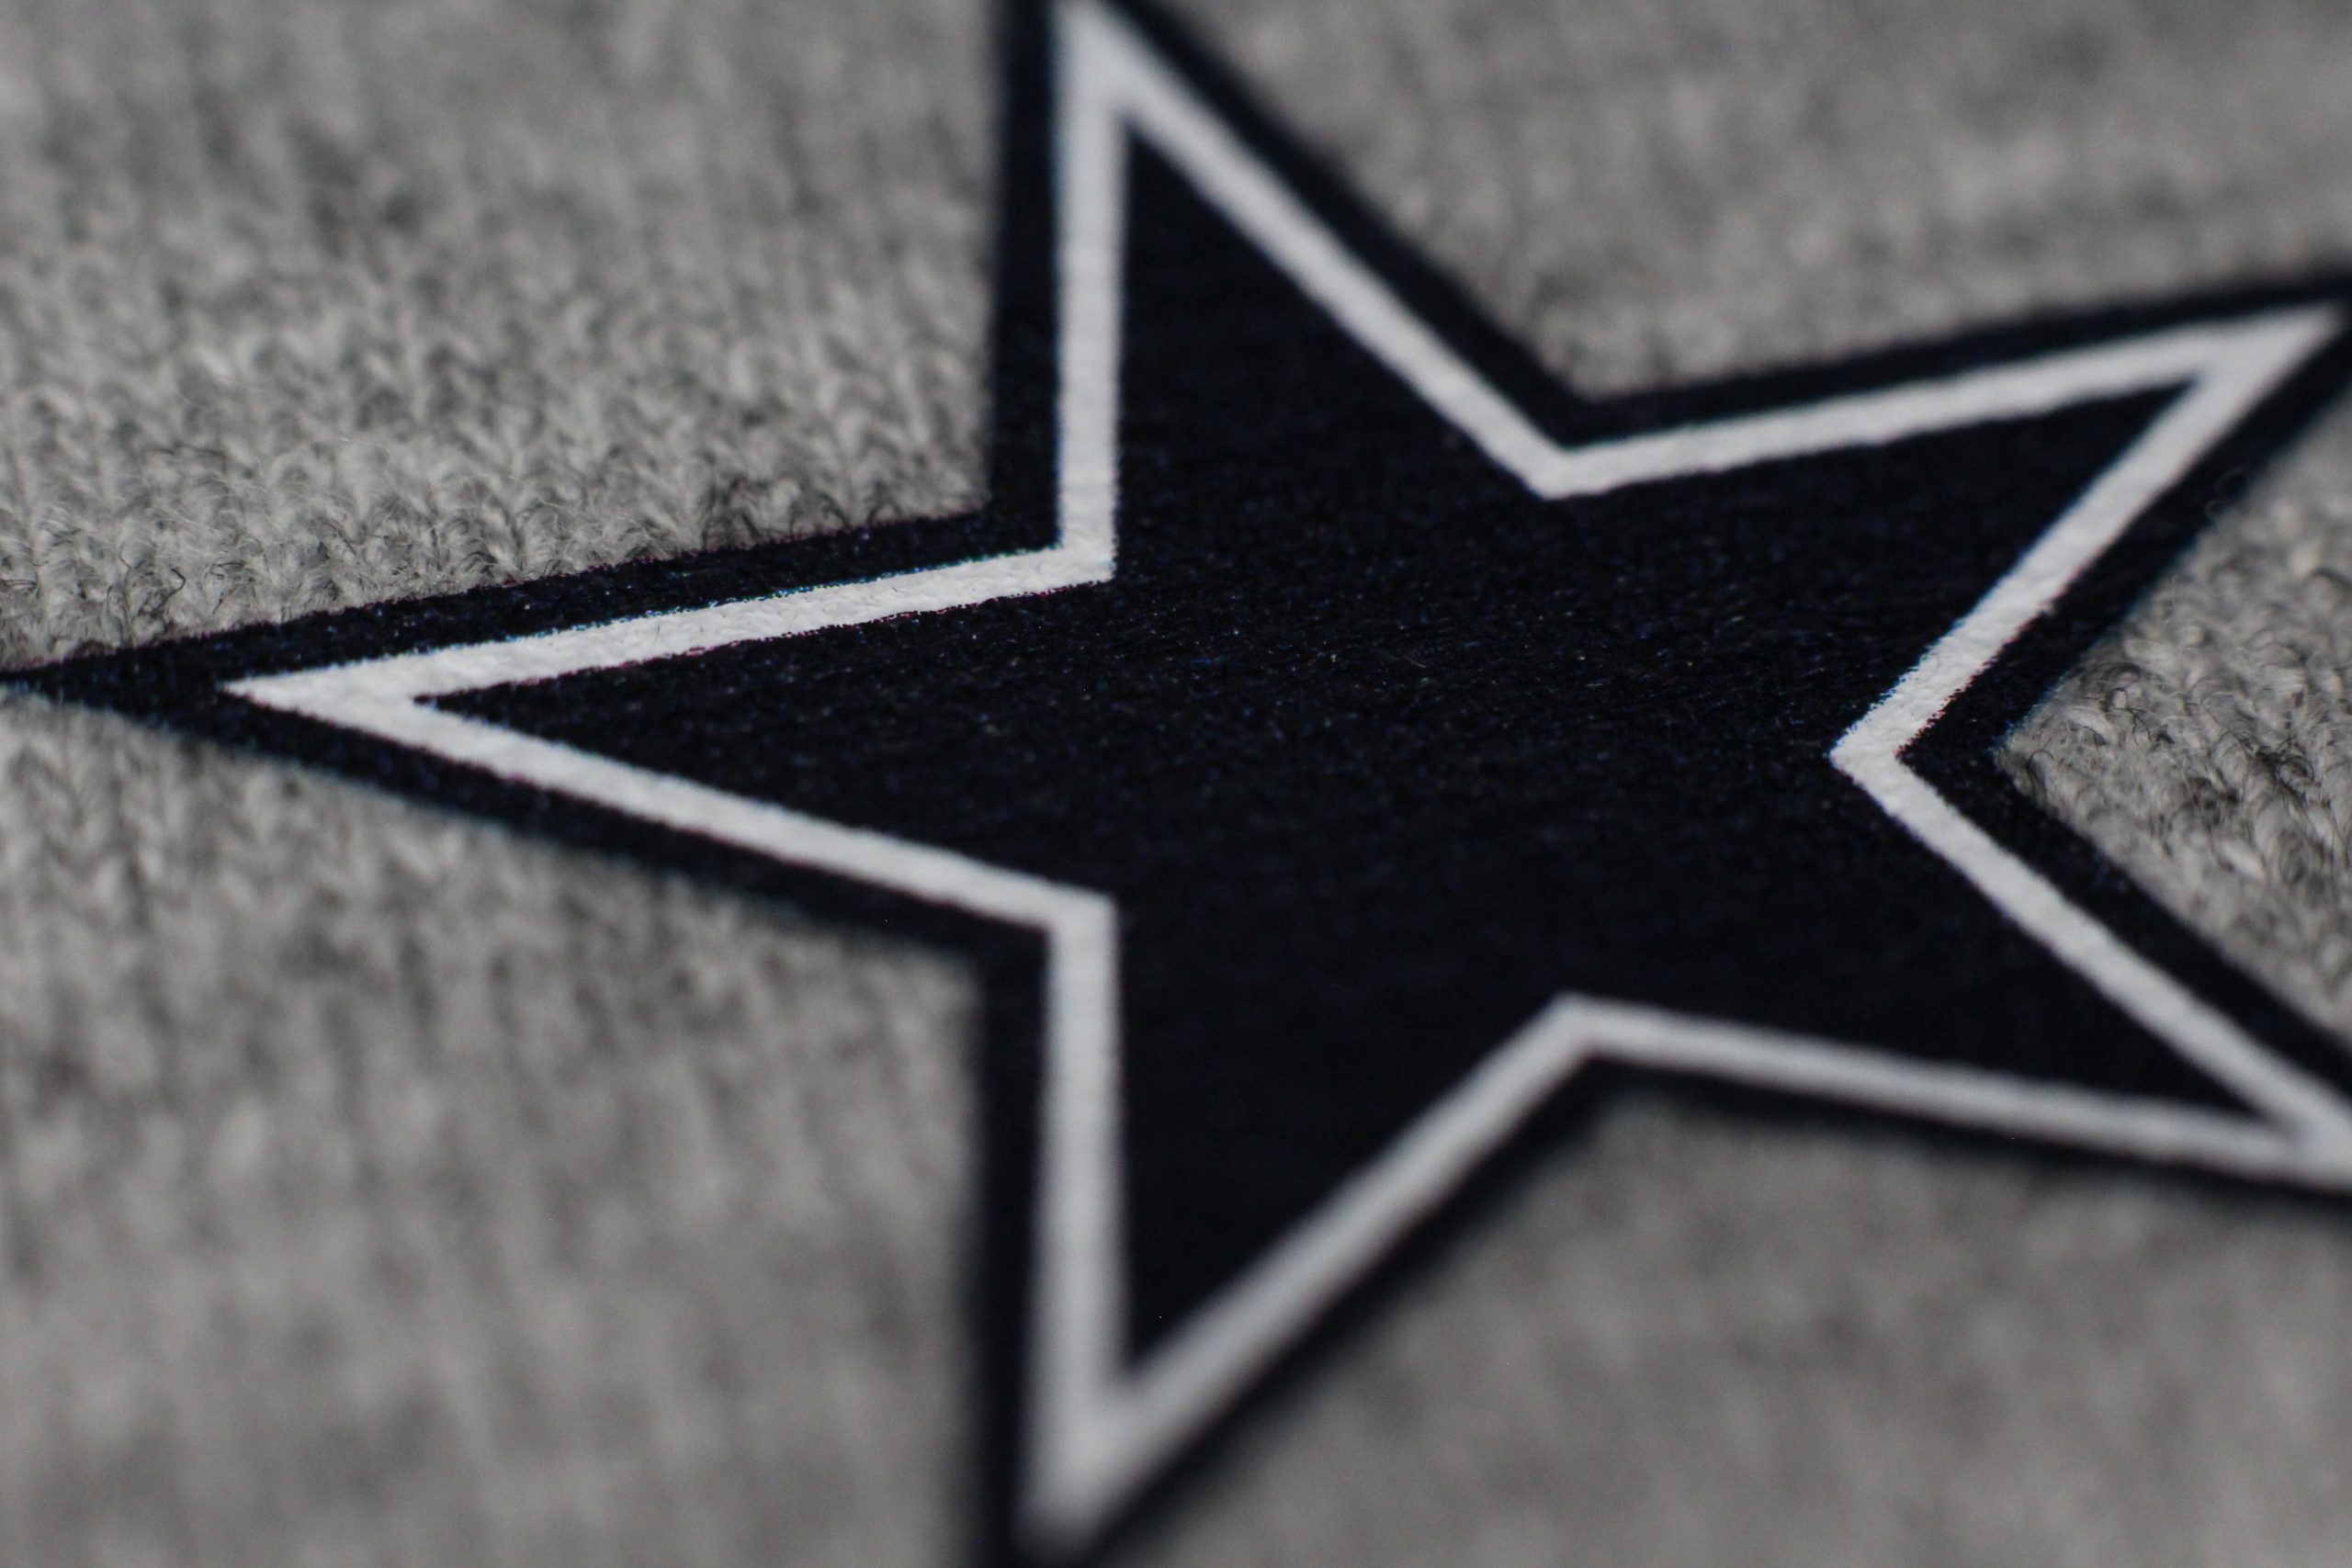
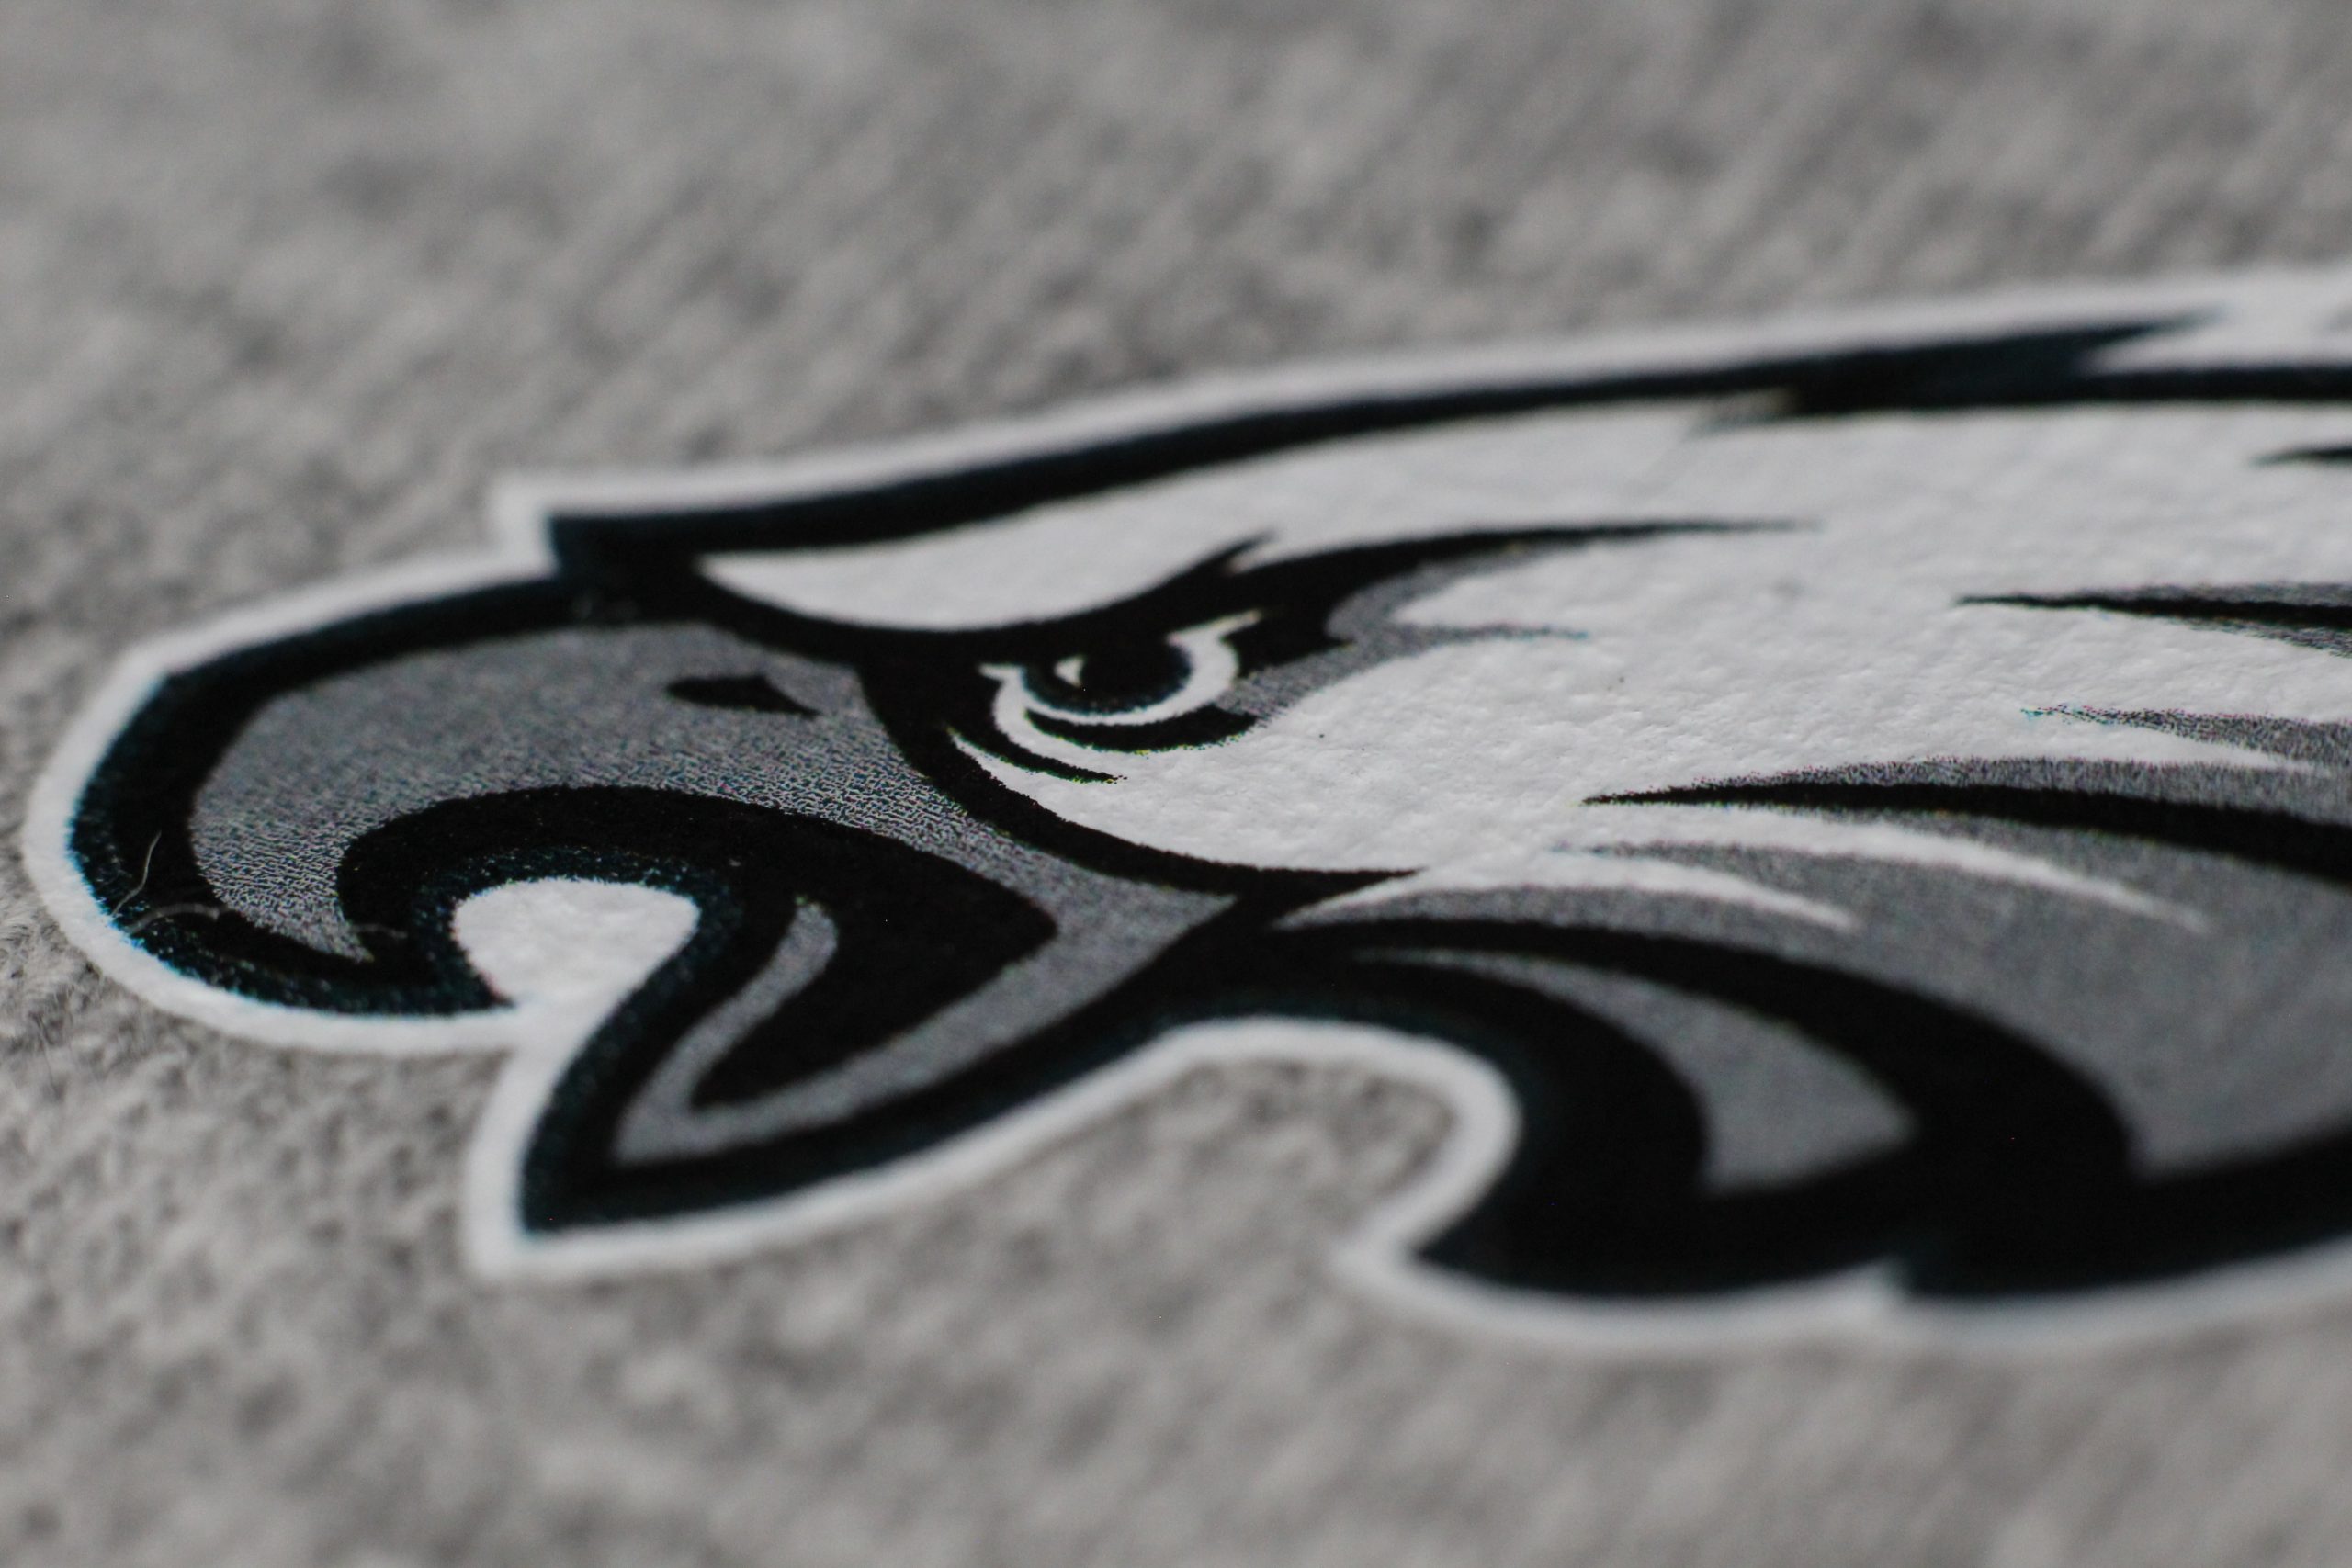
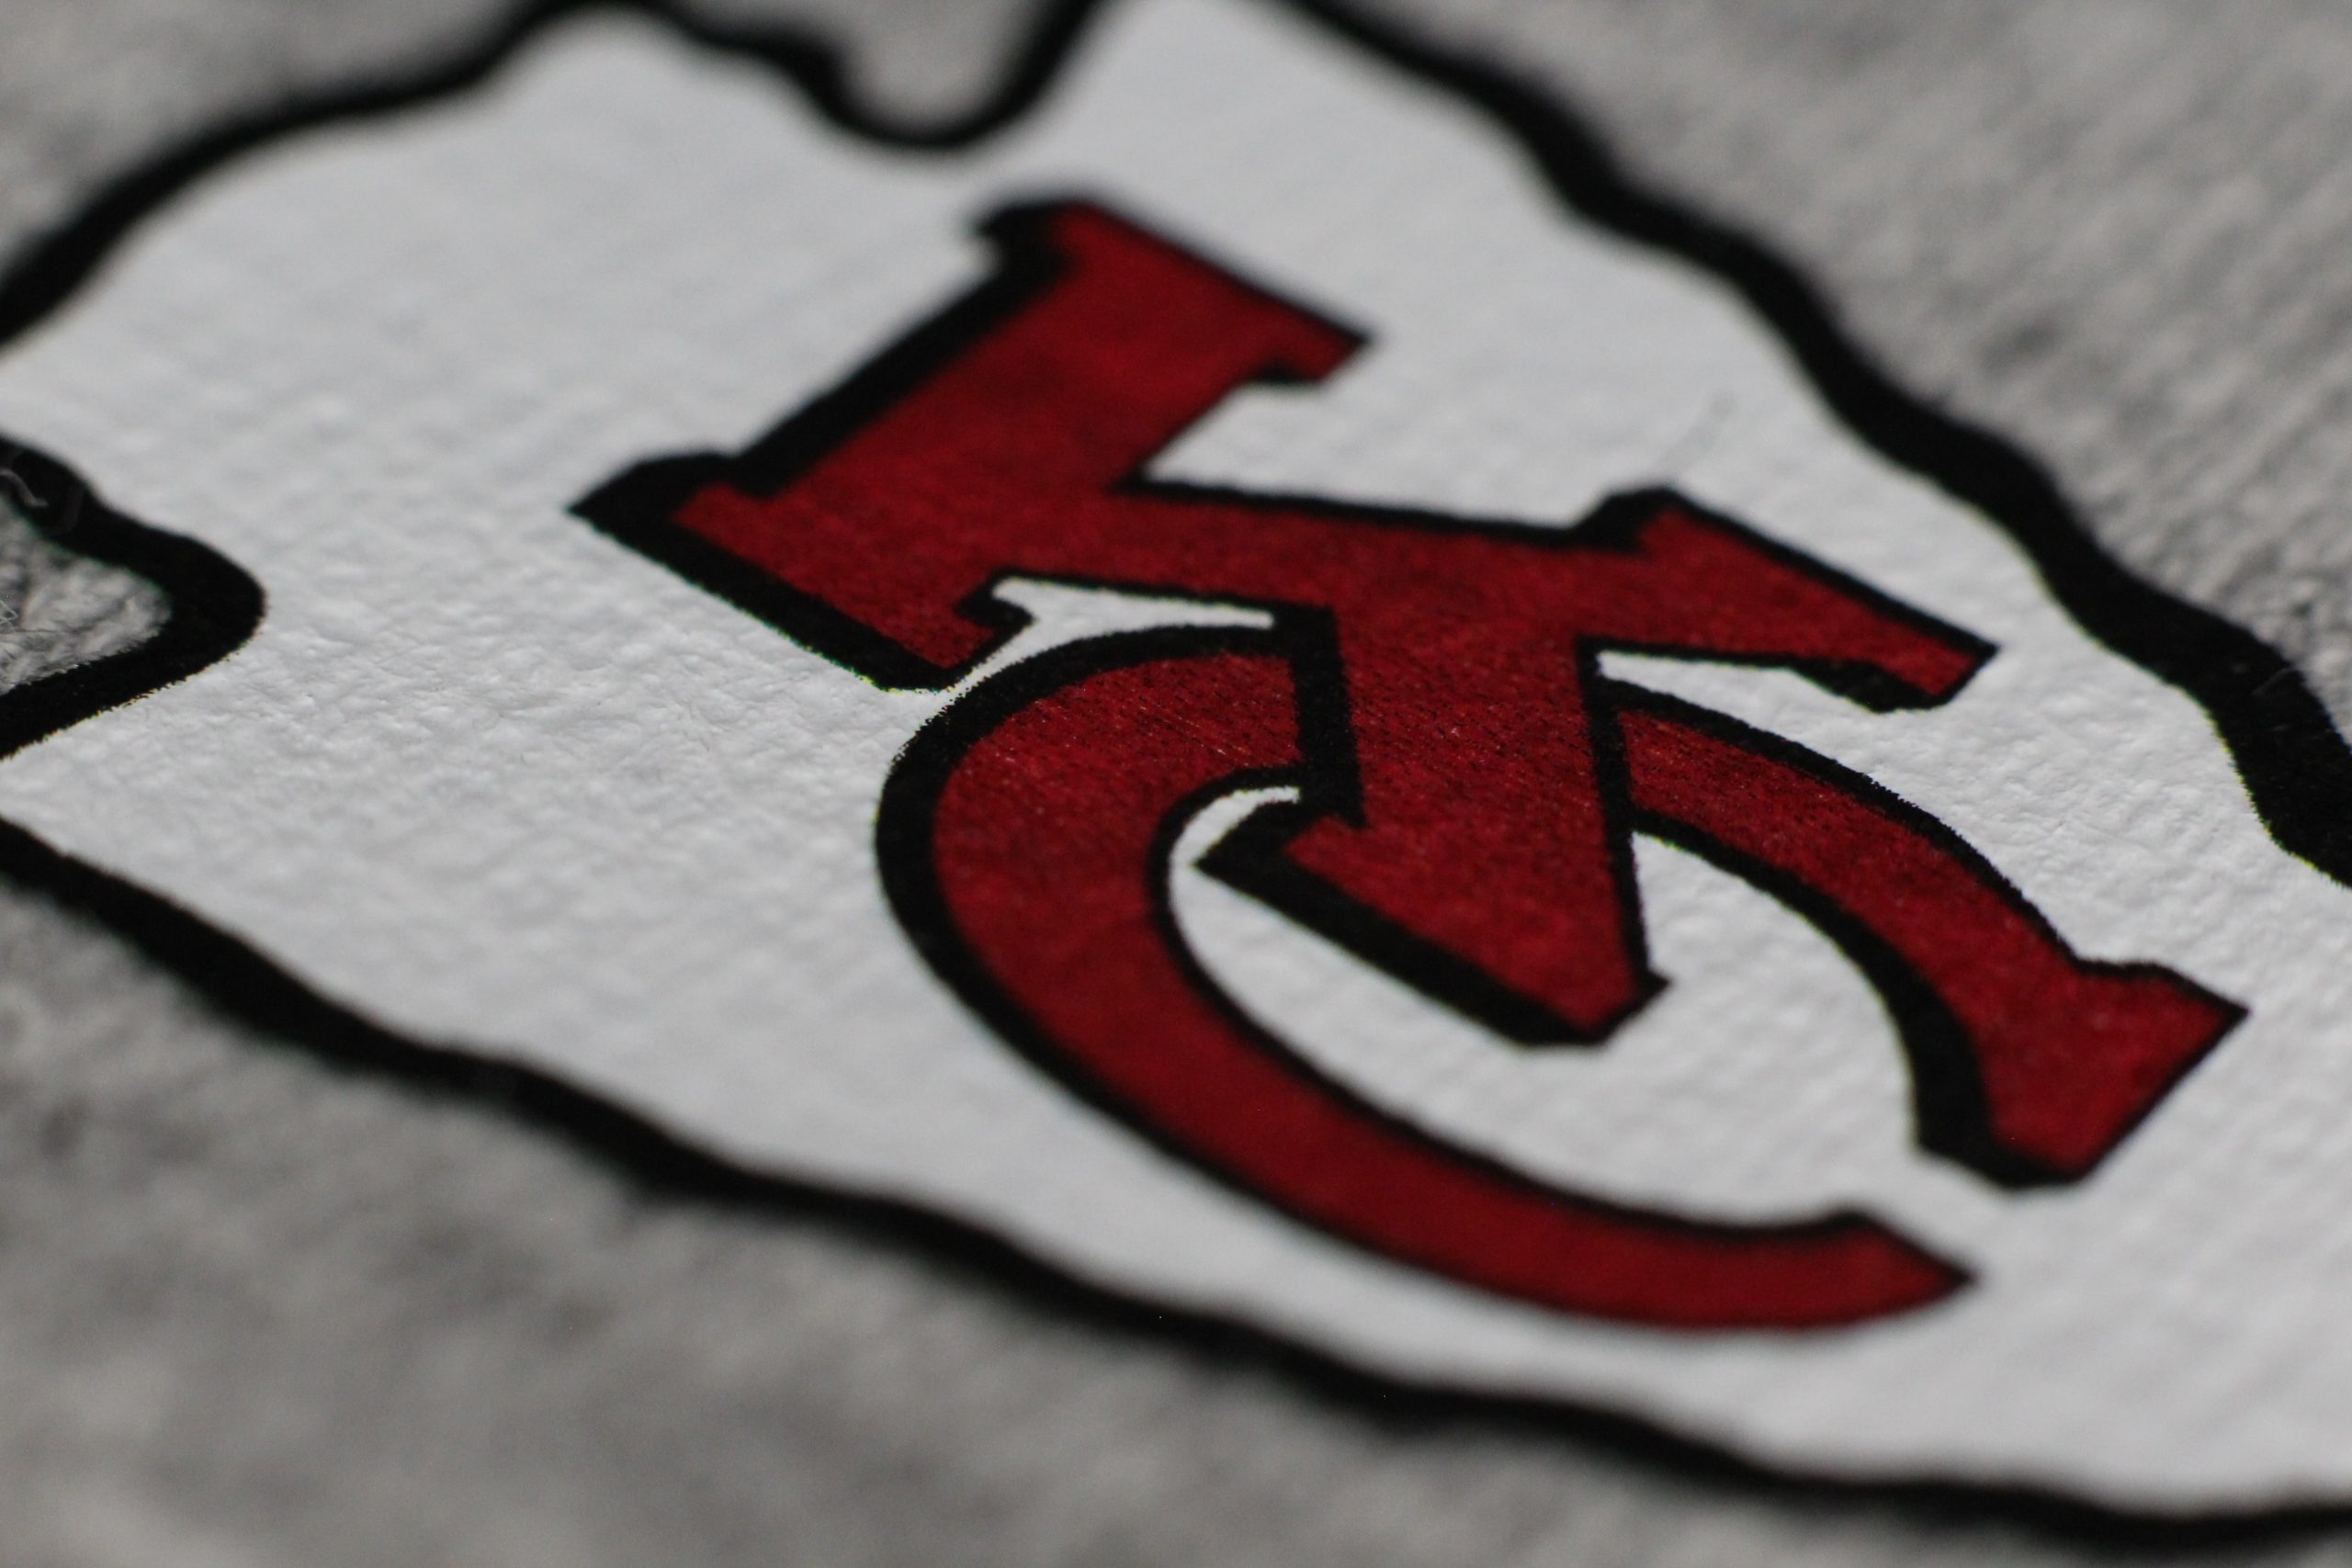
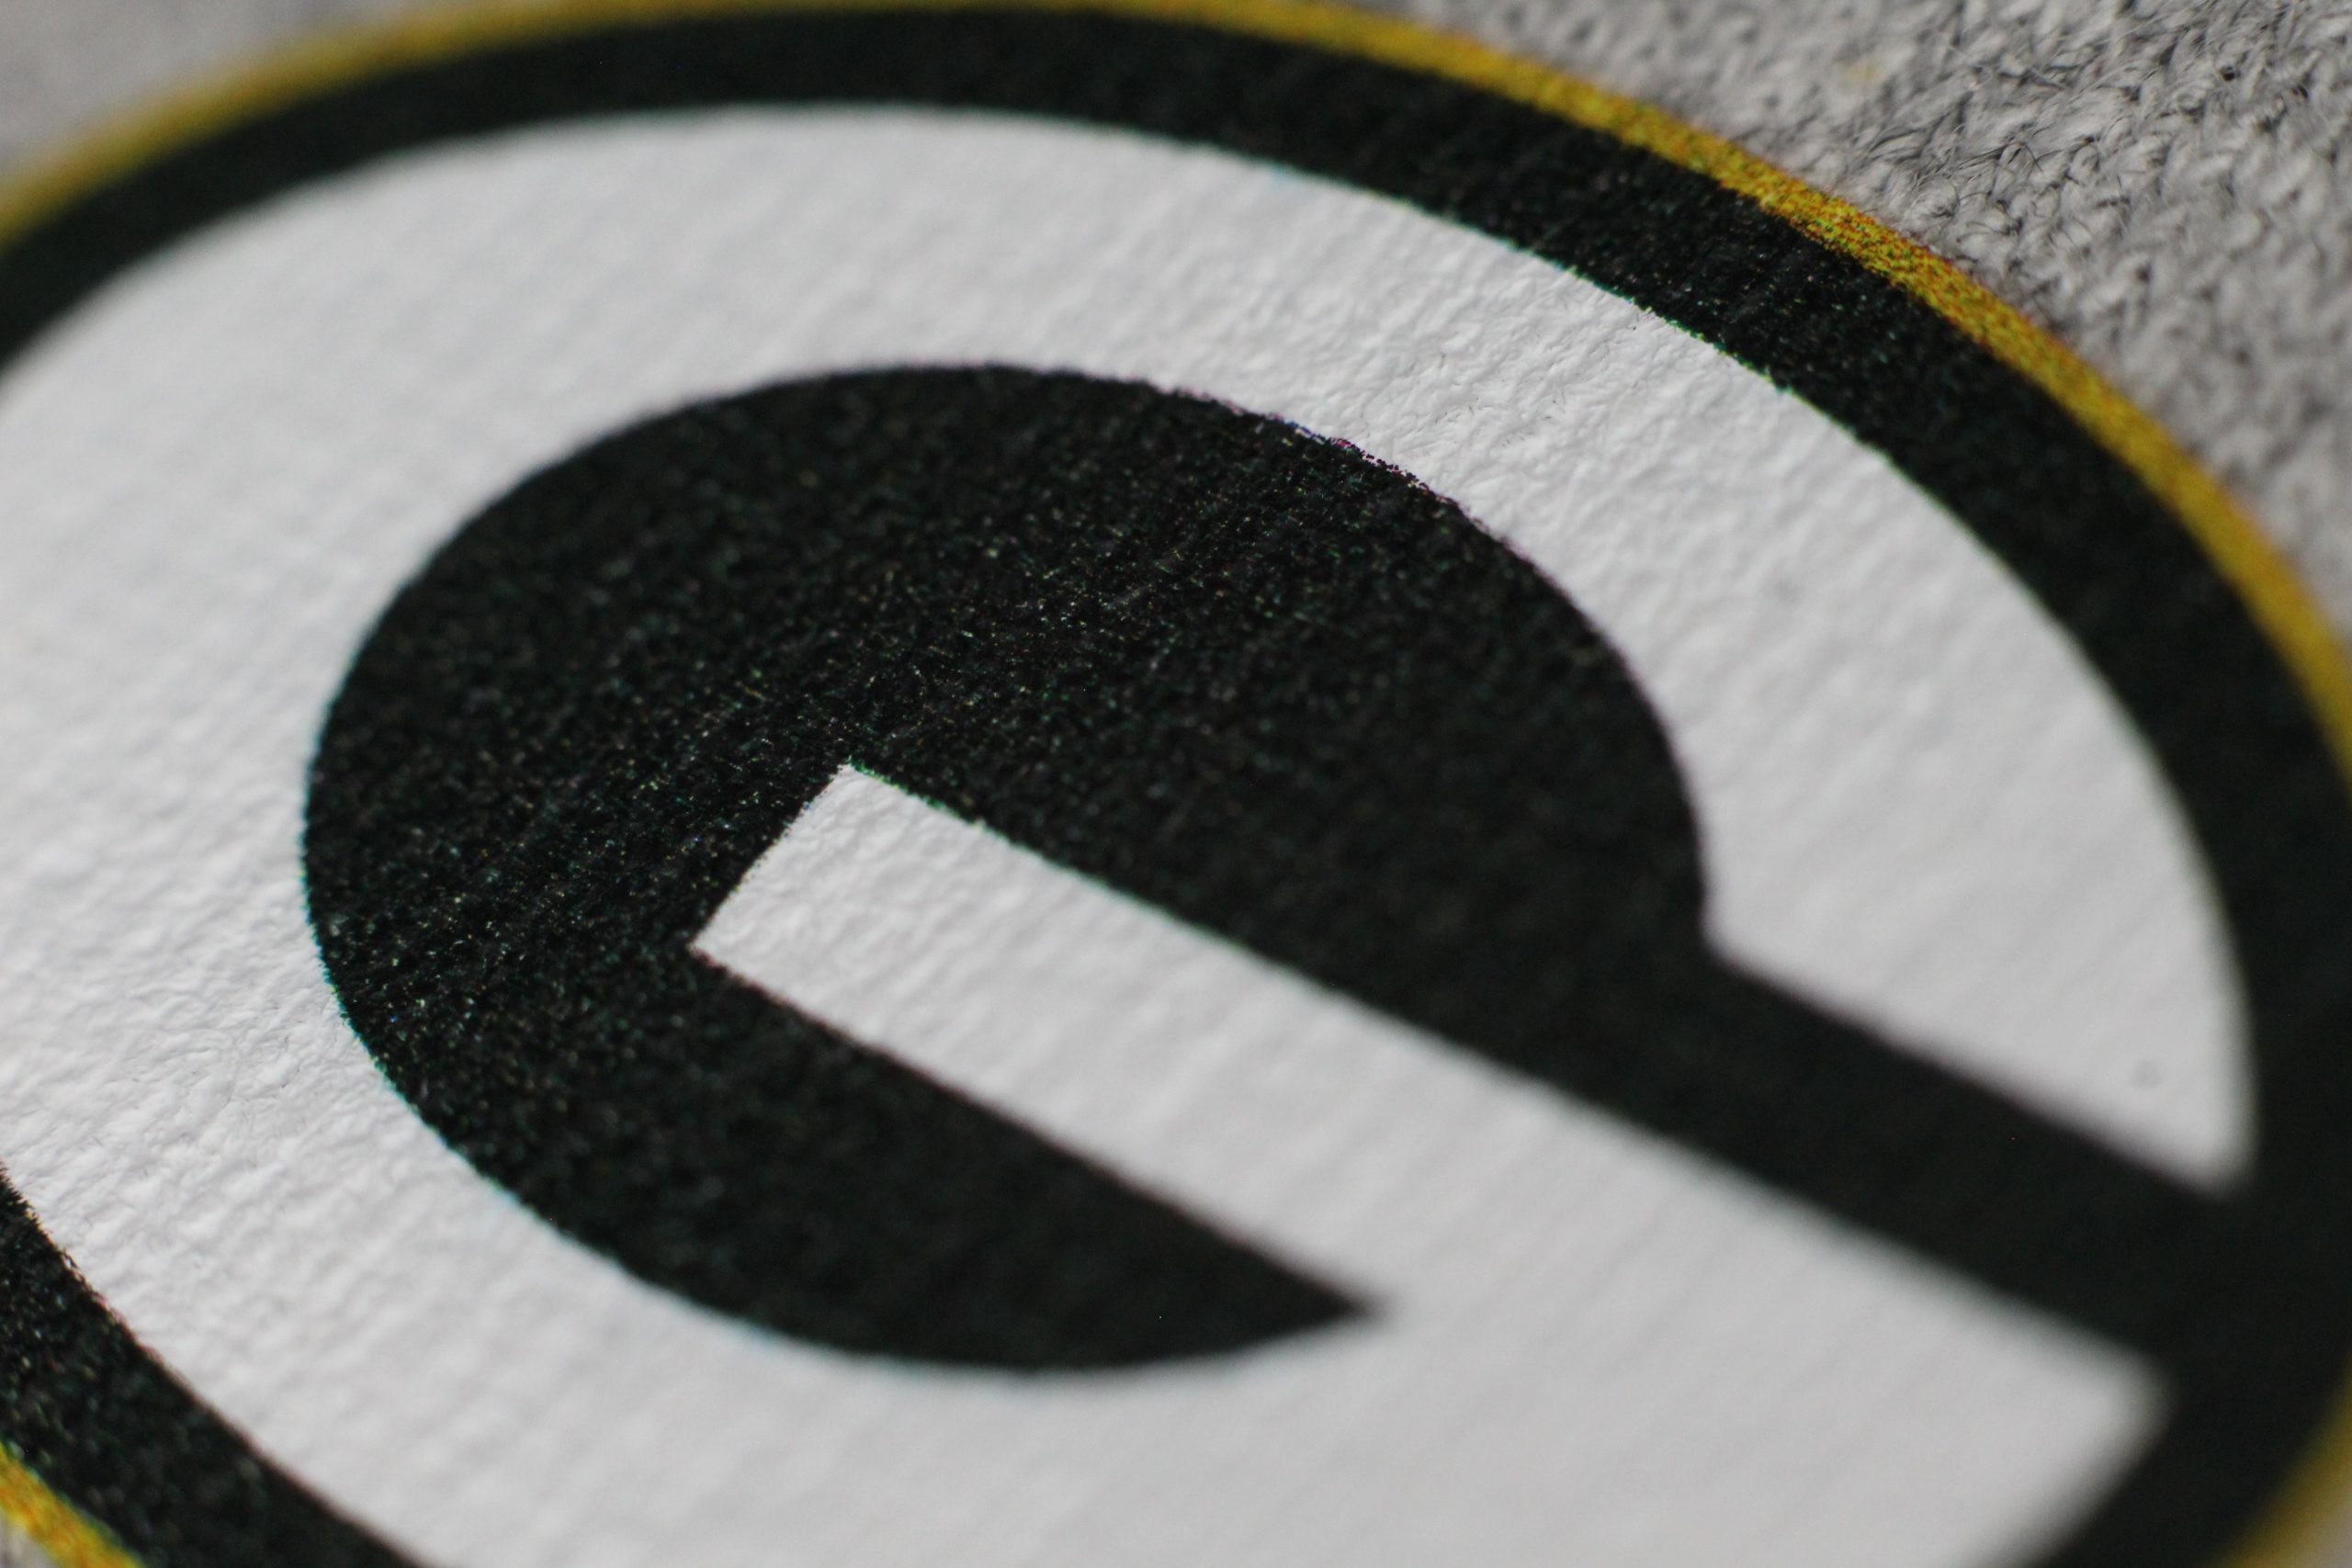
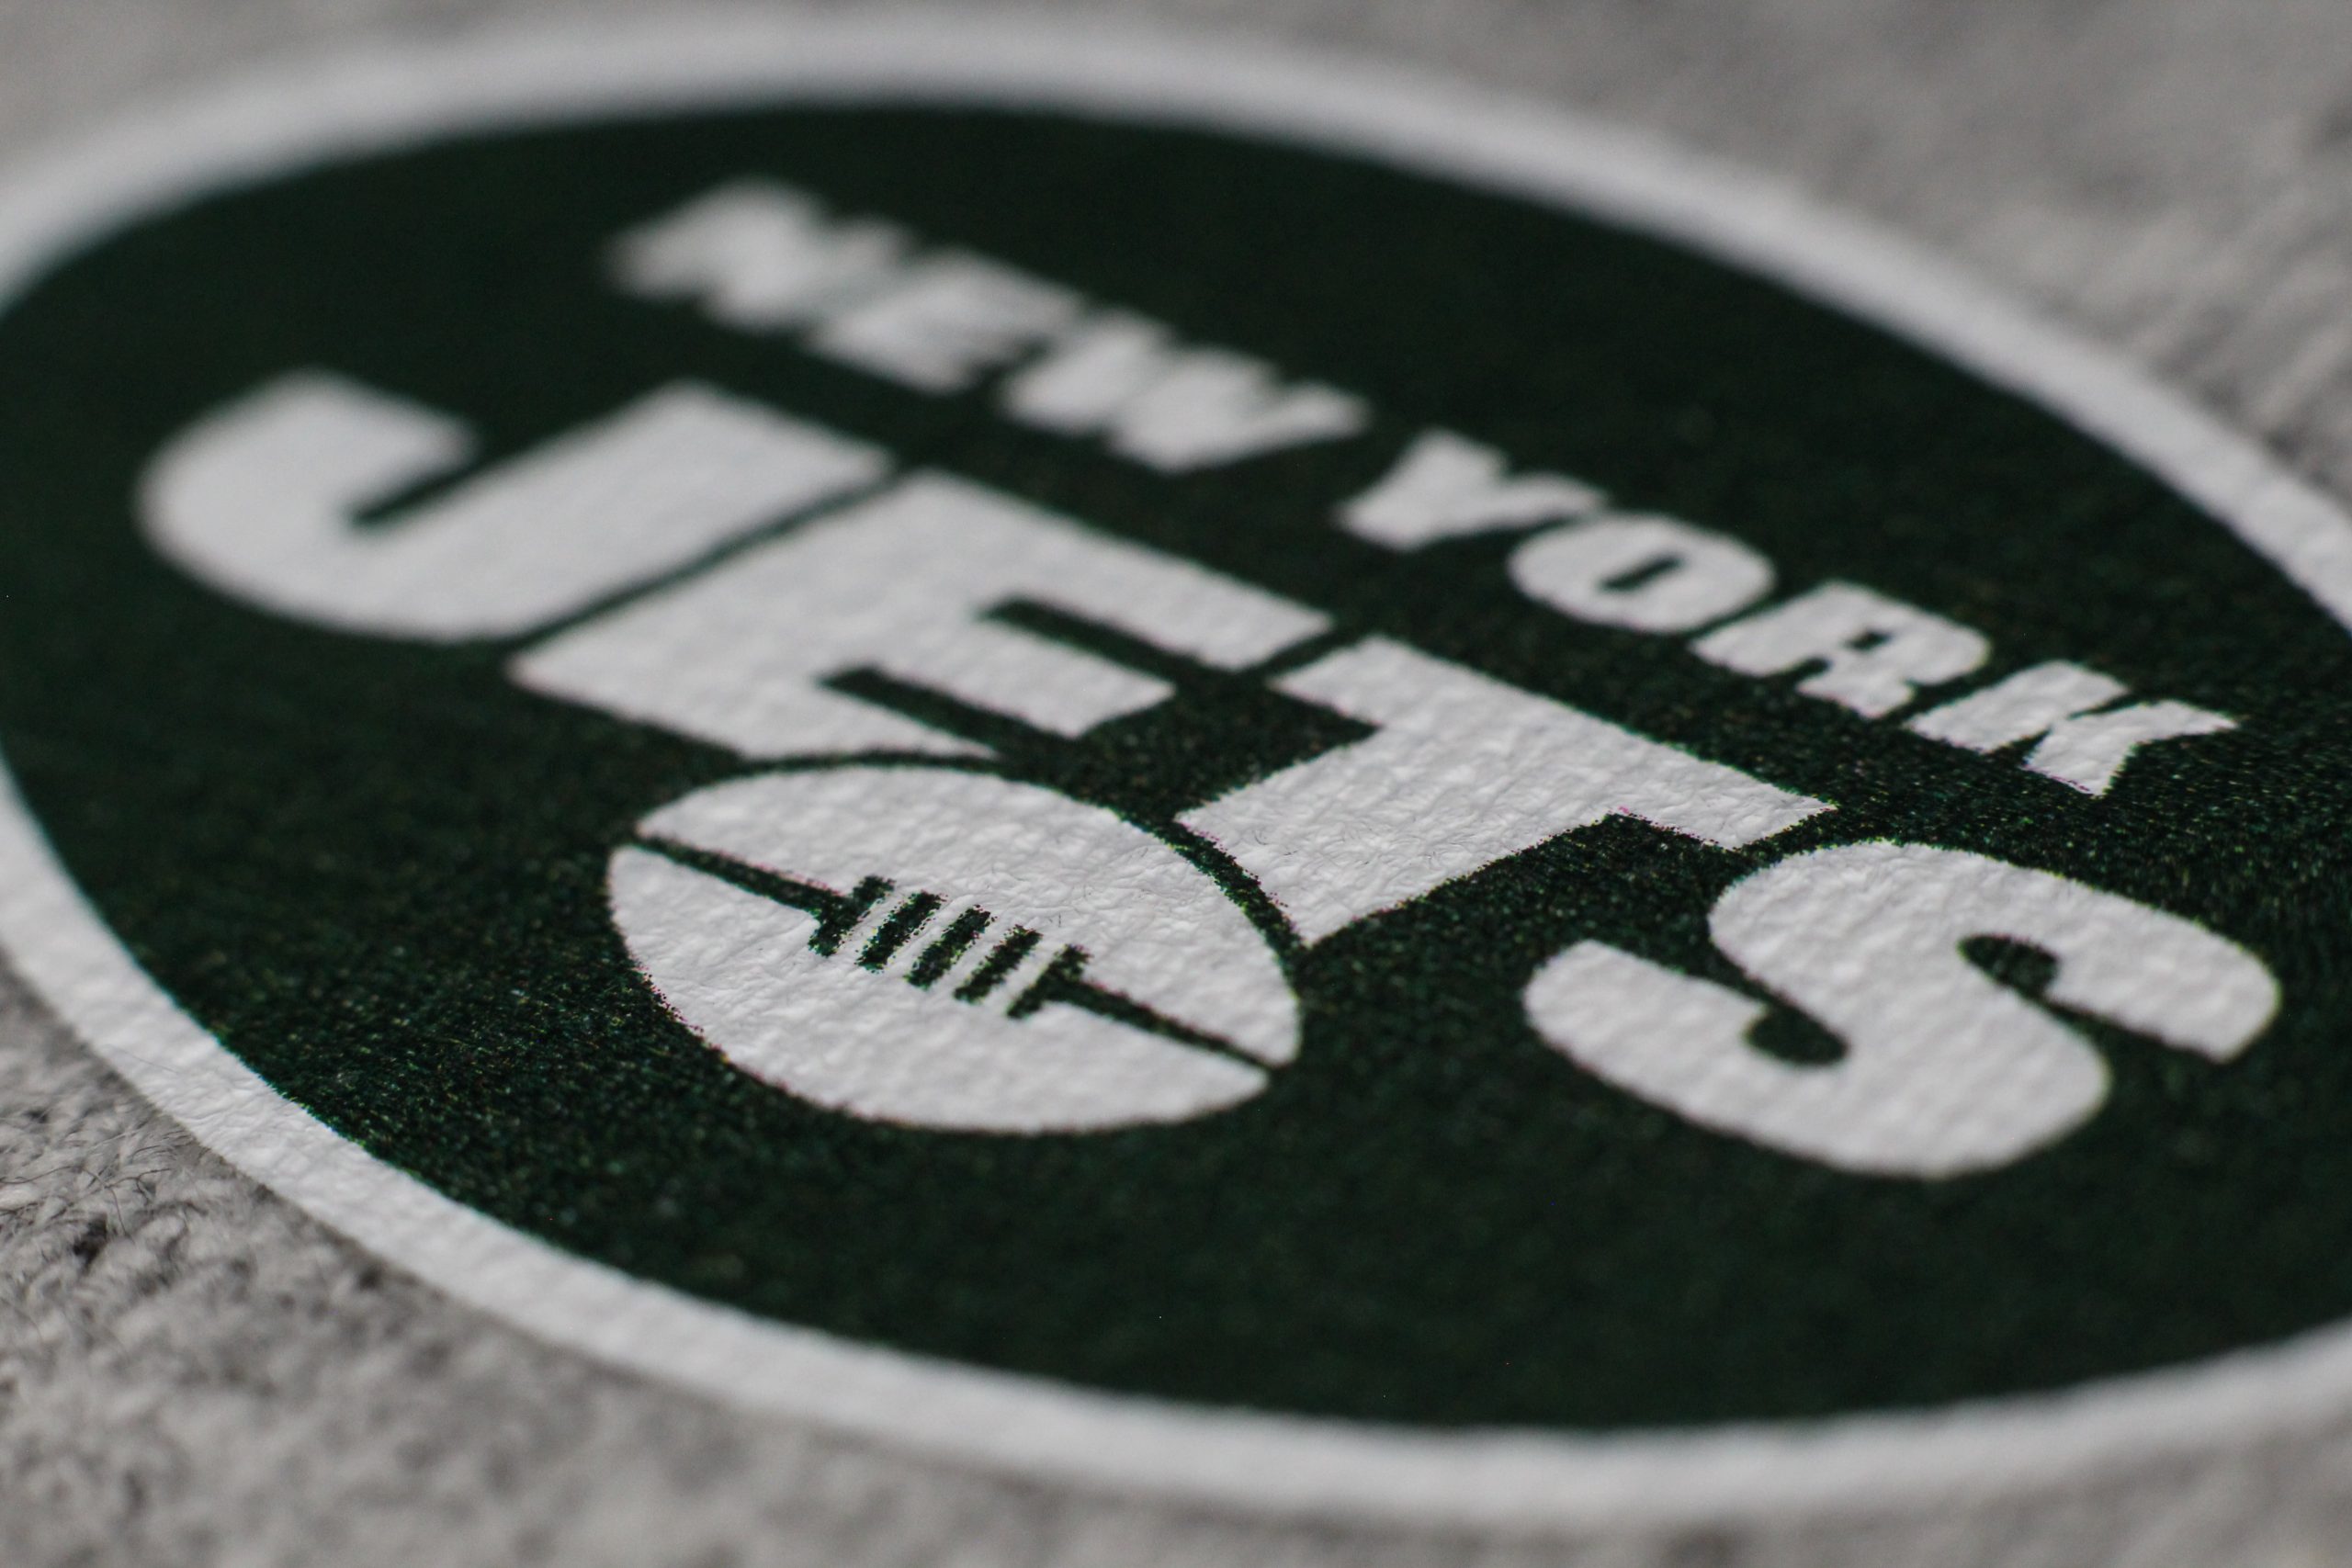
Closeup Shots
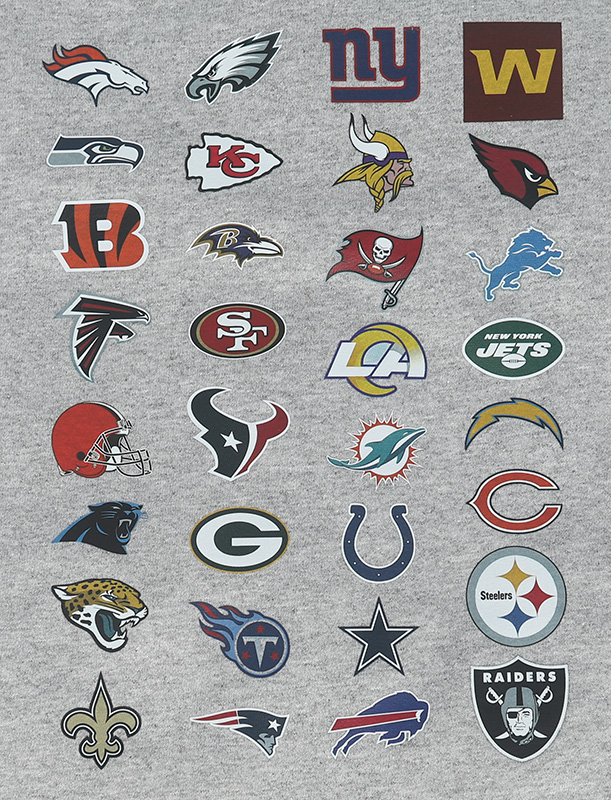
These logos are about an inch and a half across.
Final Thoughts
There was a lot of trial and error, which isn’t surprising since the printer was never designed for this.
The output tray is the most important part. The half-inch foam board I used supports the print as it’s coming out. The film has to be perfectly flat and supported. Otherwise the film will bow or deform, causing the print head to rub against your artwork. Thus ruining the print. I said this in the post. I mention it again because it bears repeating.